
Finding the right piano note stickers for your keyboard in Singapore involves matching the physical layout of your instrument with a clear, non-damaging visual aid. The ideal stickers fit your specific key width, use low-tack or static-cling adhesives to protect the key surfaces, and present notation in a format that aligns with your learning curriculum. Rather than searching for a single universal brand, success comes from verifying the dimensions, material properties, and visual design of the stickers against your keyboard model before making a purchase.
In Singapore’s humid climate, adhesive behavior can change over time, making material selection even more critical. Standard stickers can degrade or leave a sticky residue when exposed to moisture and finger oils during long practice sessions. By focusing on removable, instrument-safe options, you can accelerate your learning process without risking the long-term condition or resale value of your digital piano or electronic keyboard.
How to Match Stickers to Your Keyboard Size
To select the correct set of stickers, you must first identify the exact size and configuration of your keyboard. Electronic keyboards and digital pianos typically come in three standard sizes: 61 keys, 76 keys, or a full 88 keys. Counting your keys from left to right is the most reliable way to confirm your instrument’s size, as some specialized or older models may have non-standard layouts.
Products mentioned in this guide
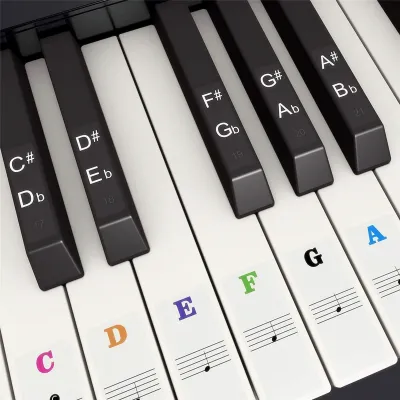
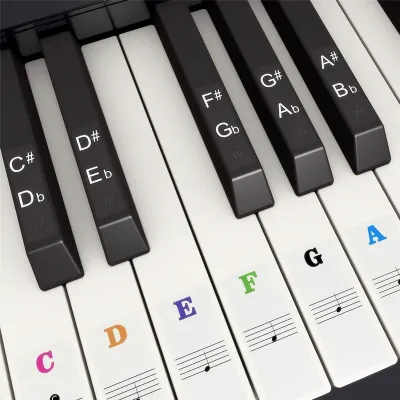
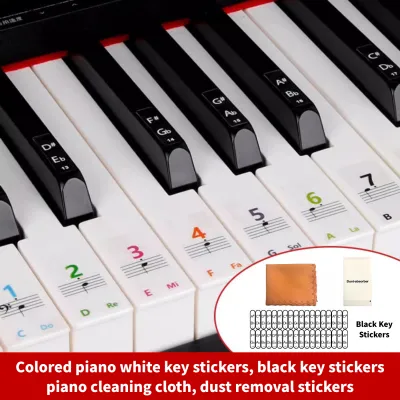
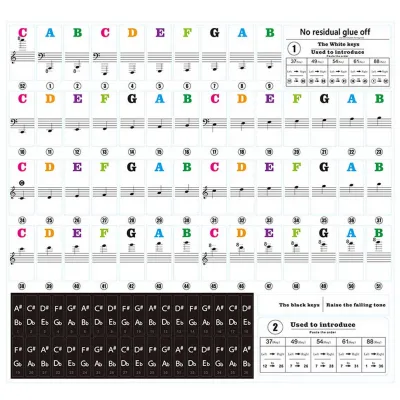
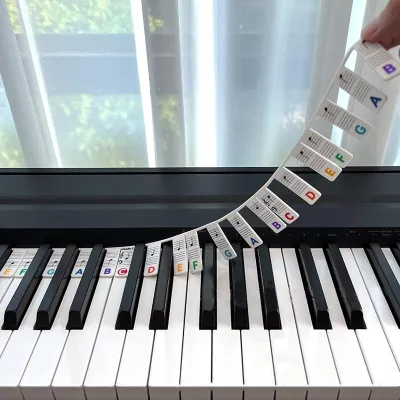
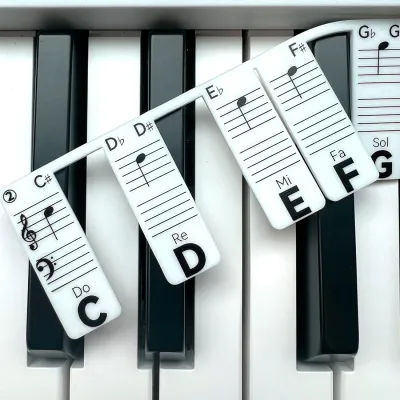
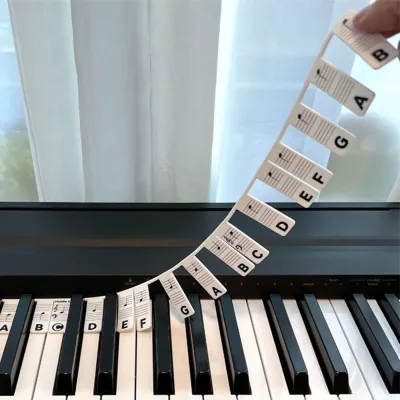
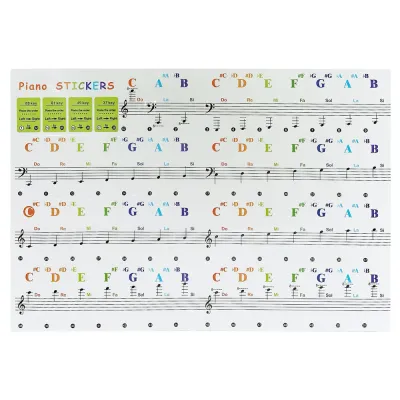
Prices are valid at publication and may change. Please refer to the product page for the latest price.
Once you know your key count, verify whether a sticker pack is designed to cover the entire keyboard or only a specific range. Many beginner sticker sets are optimized for the middle octaves, which is where most introductory lessons and simple songs are played. If you have an 88-key digital piano, a set designed only for a 61-key keyboard will leave the highest and lowest octaves bare, which can be confusing as your skills progress.
The physical dimensions of the stickers themselves are just as important as the key count. Standard piano keys have a specific width, but some portable electronic keyboards, synthesizer controllers, or children’s toy pianos feature narrower “slim” keys. Applying standard-sized stickers to slim keys will cause the edges to overlap onto the black keys or hang over the sides of the white keys, catching on your fingers during play and causing the stickers to peel off prematurely.
Before purchasing, measure the width of your keyboard’s white keys with a ruler. Compare this measurement with the dimensions listed in the product specifications of the sticker pack. Most standard white keys are approximately 2.2 centimeters wide, while slim keys can be significantly narrower. Ensuring the sticker width is slightly narrower than your key width will provide a clean, centered fit that does not interfere with your playing technique.
Choosing the Right Visual Style for Beginner Readability
The visual design of your piano note stickers should directly support the specific learning method you are using. The most common notation system uses standard letter names (C, D, E, F, G, A, B), which is the standard for most English-language method books, online tutorials, and popular sheet music. If your lessons or learning apps rely on this system, choosing stickers that prominently feature these letters will help you build a direct mental link between the sheet music and the physical keys.

Alternatively, some music curricula, particularly those influenced by classical European or traditional methods, use the solfège system (Do, Re, Mi, Fa, Sol, La, Si). If your teacher or instructional videos use solfège, applying letter-based stickers can create an unnecessary layer of translation in your mind, slowing down your reaction time. Many modern sticker packs solve this by including both the letter names and the corresponding solfège syllables on the same sticker, offering a versatile solution for different learning paths.
Color-coding is another popular visual aid, especially for younger learners or visual thinkers. Color-coded stickers assign a specific color to each note or octave, making it easier to identify patterns across the keyboard. However, you should verify whether the color scheme matches the materials you are using. Some popular learning apps and beginner books use their own proprietary color systems; if your stickers use a different color scheme, it can cause confusion rather than clarity.
Beyond the notation system, the physical appearance of the sticker background plays a major role in readability. Transparent stickers with black or colored text are highly popular because they blend seamlessly with the white keys, maintaining the clean look of your instrument. However, if your practice space has dim lighting or if you suffer from eye strain, transparent stickers can sometimes be difficult to read against the reflective surface of plastic keys.
In contrast, stickers with solid white backgrounds offer high contrast and excellent visibility under various lighting conditions, but they are much more noticeable on the keyboard. If you prefer a minimalist aesthetic, look for stickers that place the notation at the very top of the key, close to the fallboard. This placement keeps the visual aid within your line of sight while leaving the lower half of the key—where your fingers actually strike—completely clear and clean.
Material and Adhesive Checks to Protect Your Keys
Protecting your keyboard’s surface is a primary concern. Standard paper stickers, office labels, or decorative vinyl decals are not designed for musical instruments and should be avoided. These materials use permanent or high-tack adhesives that bond too strongly with plastic or acrylic keys, making them difficult to remove and leaving a thick, sticky residue.
Instead, look for stickers made from thin silicone, static-clinging materials, or low-tack vinyl. Silicone note strips are an increasingly popular alternative because they do not use adhesive. These strips lay flat across the keys, held in place by gravity and the keyboard fallboard. They can be placed and removed in seconds, making them excellent for shared instruments or players who want to practice without visual aids.
If you choose adhesive stickers, ensure the description explicitly states they are “repositionable,” “low-tack,” or “residue-free.” These adhesives hold firmly during daily playing but release cleanly when peeled. This is particularly important in Singapore’s warm and humid environment, where heat and humidity can cause low-quality adhesives to break down, turn gooey, or bond permanently.
Key texture also influences how well different materials perform. Entry-level electronic keyboards usually have smooth, glossy plastic keys, which work well with both static-cling and low-tack adhesive stickers. However, mid-range and high-end digital pianos often feature textured keys designed to mimic natural ivory or ebony. These textured surfaces have microscopic ridges that can prevent static-cling materials from adhering properly, making low-tack adhesive stickers a more reliable choice.
Before applying any sticker to a textured or high-end key surface, check the manufacturer’s guidelines for your digital piano. Some synthetic ivory coatings are delicate and can be damaged by certain chemical adhesives or cleaning agents. If you are unsure about the compatibility of a sticker pack with your specific keyboard material, it is always recommended to test a single sticker on the lowest or highest key of the instrument—where it is rarely played—before labeling the entire keyboard.
Building Your Shortlist: What to Verify Before Checkout
When browsing online marketplaces or local music shops in Singapore, verifying several key details before checkout will help you avoid common pitfalls like missing pieces, incorrect sizes, or poor-quality materials.
First, confirm what is included in the package. A complete set should feature a detailed placement guide or reference chart showing which sticker corresponds to each physical key. Applying stickers without a guide can lead to mistakes, such as placing a note on the wrong key. Some sets also include application tools, like plastic tweezers or an alignment card, which help you position the stickers precisely without touching the adhesive.
Next, cross-reference the listed sticker dimensions with your keyboard measurements. Do not rely solely on generic compatibility claims like “fits all 88-key pianos.” Look for exact millimeter or centimeter measurements in the product description, and avoid listings where these specifications are missing.
Pay close attention to the material composition. Avoid listings that use vague terms like “high-quality plastic” without specifying the adhesive type. Look for clear terms like “double-layer vinyl,” “silicone,” or “electrostatic film,” which are more durable and less likely to curl at the edges under regular practice.
Finally, check the seller’s return and exchange policies regarding defects or adhesive failure. Purchasing from a reputable seller ensures you can obtain a replacement if the stickers arrive damaged or creased. Reading recent customer feedback also provides valuable insights into how well the stickers hold up over time and whether other buyers experienced issues with residue.
Application and Removal Tips for a Clean Setup
Proper application is key to ensuring your piano note stickers look neat, remain readable, and stay securely attached to your keyboard. Before you begin, it is essential to prepare the surface of your keys. Over time, keyboard keys accumulate invisible layers of finger oils, dust, and sweat, which can prevent even high-quality low-tack adhesives from bonding properly.
Start by wiping down every key with a clean, lint-free microfiber cloth that has been slightly dampened with water. Avoid using harsh household detergents, alcohol-based cleaners, or abrasive scrubs, as these chemicals can strip away the protective coating of the plastic or cause the keys to discolor. Once you have wiped the keys, allow the keyboard to dry completely for at least fifteen to twenty minutes before attempting to apply the stickers.
When you are ready to apply the stickers, use the included tweezers or a clean, flat tool like a plastic card to lift each sticker from the backing sheet. Avoid touching the adhesive side of the sticker with your bare fingers, as the natural oils on your skin can weaken the adhesive at the edges, leading to premature peeling. Refer to your placement guide to identify the correct starting key, which is typically the lowest note on the far left of your keyboard.
Align the sticker carefully so that it is precisely centered on the key. It is generally recommended to place the sticker on the upper half of the white key, closer to the black keys, rather than the lower half where your fingers make the most contact. This placement minimizes the physical wear on the sticker and prevents your fingers from constantly rubbing against the edges. Once aligned, press down firmly from the center outward to smooth out any air bubbles and ensure a secure bond.
When the time comes to remove the stickers—either because you have memorized the notes or because you are upgrading your instrument—do so slowly and carefully. Start at one corner of the sticker and peel it back flat against itself rather than pulling straight up, which minimizes stress on the key surface. If any minor adhesive residue remains, wipe it away gently using a microfiber cloth dampened with a tiny amount of mild soapy water or an instrument-safe key cleaner, then dry the keys immediately.
Frequently Asked Questions (FAQ)
Do piano note stickers work for weighted digital piano keys?
Yes, standard low-tack piano note stickers generally work well on weighted digital piano keys, provided the key surfaces are thoroughly cleaned before application. However, because weighted keys require more physical force to play, the increased impact and finger friction can cause standard stickers to wear down or peel at the edges more quickly than they would on a light, unweighted keyboard. If you practice frequently on a weighted digital piano, look for ultra-thin vinyl stickers or non-adhesive silicone note strips, which are highly durable and will not interfere with the natural feel or response of the weighted action.
Will removing the stickers damage my keyboard?
When using high-quality, instrument-specific low-tack stickers or silicone strips, removing them is highly unlikely to damage standard plastic or acrylic keyboard keys. To ensure a safe removal, always peel the stickers off slowly and at a shallow angle. If you encounter significant resistance, if the sticker begins to tear, or if your keyboard features a specialized synthetic ivory coating, stop immediately. In these cases, consult your keyboard manufacturer’s manual or contact a professional technician to identify a safe, non-abrasive solvent that can dissolve the adhesive without damaging the delicate key surfaces.
Community discussion
Share your experience or ask a question. Comments are reviewed before publication.