
Playing drums in a high-density Singapore apartment, whether a Housing & Development Board (HDB) flat or a private condominium, presents a unique acoustic challenge. The close proximity of neighbors means that every strike of a stick or press of a pedal can easily reverberate through shared concrete slabs. While a dedicated drum mat is an essential first step for any home drummer, it is important to understand its realistic capabilities. A drum mat primarily serves to protect your flooring from scratches, prevent your hardware from sliding during intense practice sessions, and dampen minor high-frequency vibrations. However, it is not a magic bullet that will completely silence your kit; rather, it functions as one critical component within a broader, multi-layered noise management strategy. This guide will help you evaluate different drum mat materials, understand how sound travels through apartment structures, and determine when you need to upgrade to more advanced isolation solutions.
Understanding Drum Noise Transmission in HDB and Condo Buildings
To choose the right acoustic treatment, you must first understand how drum noise moves through a typical apartment. Sound travels in two distinct ways: through the air as airborne noise, and through the building’s physical structure as structure-borne vibration. Both types of transmission require different mitigation strategies, and a simple floor covering cannot address both equally.
Airborne noise consists of the high-frequency and mid-frequency sounds generated directly by your instruments, such as the sharp crack of a snare drum, the bright wash of cymbals, or the acoustic click of wooden sticks hitting rubber electronic drum pads. These sound waves travel through the air, bouncing off hard concrete walls, ceilings, and windows, and escaping through gaps under doors or ventilation grates. While heavy curtains, acoustic panels, and door seals can help absorb and contain these airborne waves, a drum mat on its own has a very limited effect on them, only slightly reducing the sound reflecting off the floor directly beneath the kit.
Products mentioned in this guide
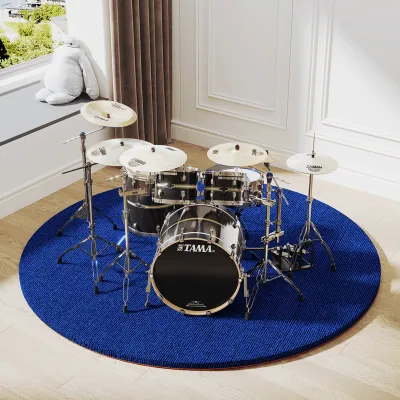
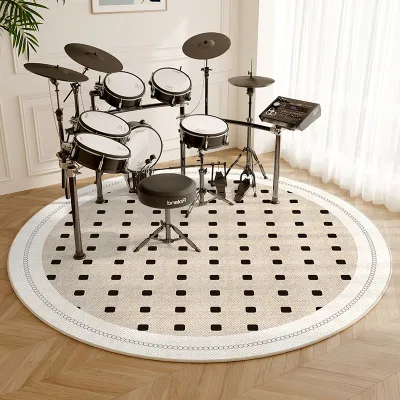
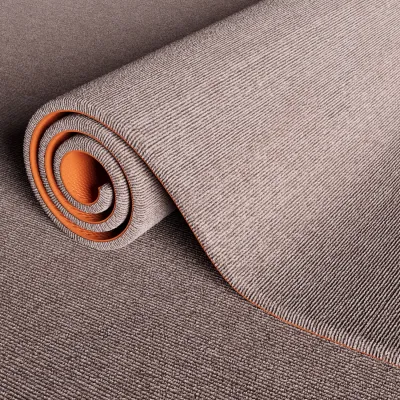
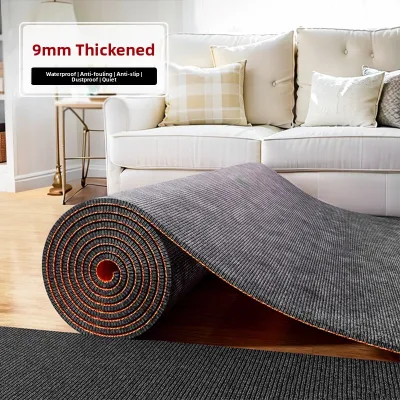
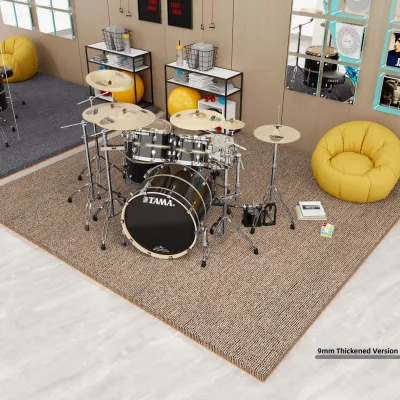
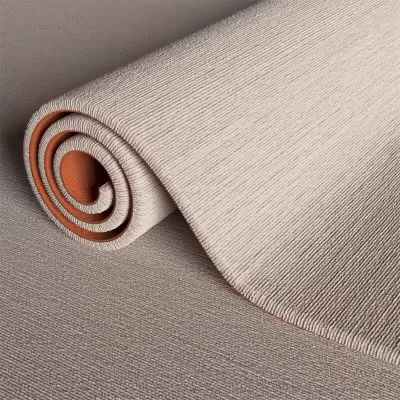
Prices are valid at publication and may change. Please refer to the product page for the latest price.
Structure-borne noise, on the other hand, is the primary source of friction between apartment drummers and their neighbors. When you press a bass drum pedal or strike a tom-tom, the physical impact sends kinetic energy directly down through the hardware stands and into the floor. Because HDB flats and condos are constructed with reinforced concrete slabs, these low-frequency vibrations travel incredibly well through the building’s structural frame, turning your neighbor’s ceiling below into a giant speaker cone. This manifests as a dull, repetitive thumping sound that is highly disruptive.
A standard drum mat is highly effective at absorbing high-frequency surface vibrations and preventing metal hardware from rattling against hard tile or vinyl floors. However, because low-frequency structural vibrations carry immense energy, a thin sheet of rubber or carpet cannot absorb them completely. Understanding this limitation is crucial: a mat will quieten the immediate room and stop minor rattles, but it cannot fully decouple a heavy kick pedal from a concrete floor.
Key Material and Design Features for Apartment Drum Mats
When shopping for a drum mat, you should look past basic aesthetic designs and focus on the physical properties that influence sound absorption and stability. Evaluating these features systematically will ensure you select a mat that offers the best possible performance for your specific living space.

Density and Mass: The fundamental law of acoustics states that mass blocks sound. A heavier, denser mat will always perform better at dampening vibrations than a light, porous alternative. When comparing options, check the manufacturer’s specifications for the total weight of the mat. A heavy rubber or dense composite mat will absorb more kinetic energy from your pedal strokes, converting that energy into trace amounts of heat rather than letting it pass directly into the subfloor.
Thickness and Layering: Single-layer mats, such as basic utility carpets, offer minimal acoustic benefit. For superior noise reduction, look for multi-layer constructions. These mats typically feature a dense, heavy rubber or vinyl base layer to block vibration, coupled with a softer, fibrous top layer like tight-weave carpet or felt. This combination of materials with different acoustic impedances helps disrupt the path of the sound waves, absorbing high-frequency reflections on the surface while dampening lower-frequency vibrations underneath.
Surface Texture and Grip: A drum mat must keep your entire drum kit perfectly stationary. Look for a mat with a highly textured, non-slip rubber backing that grips your apartment’s flooring, whether you have smooth ceramic tiles, vinyl planks, or polished parquet. The top surface should feature a durable, tightly woven fabric that allows the spurs of your bass drum and hi-hat stand to dig in securely without tearing the material. If your kit slides during play, you will naturally play harder, which increases the physical impact and subsequent noise.
Size and Coverage: Before purchasing, measure the full footprint of your drum kit, including the stool (drum throne) and all extended cymbal stands. It is a common mistake to buy a mat that only fits the drums themselves, leaving the throne on the bare floor. Your body weight on the throne actually helps stabilize the mat and compress the dampening layers, which improves overall vibration reduction. Ensure the mat is large enough so that every single point of contact with the floor sits entirely within its boundaries.
Evaluating Drum Mat Types for Vibration and Sound Control
Drum mats generally fall into three distinct categories, each offering a different balance of floor protection, stability, and acoustic isolation. Understanding these categories allows you to match the mat to your specific apartment layout and the sensitivity of your neighbors.
Standard PVC and Rubber Mats: These are thin, lightweight mats designed primarily to protect floors from scratches and prevent hardware slippage. While they are highly durable, easy to roll up, and affordable, their acoustic isolation properties are minimal. They are suitable if you live on the ground floor, have incredibly thick subfloors, or only need to stop your electronic drum kit from sliding on a smooth tile floor.
Multi-Layer Acoustic Mats: Specifically engineered for musicians, these mats combine high-density rubber bases with sound-absorbing carpet tops. They are significantly heavier than standard utility mats and are designed to target both surface noise and minor structural vibrations. If you play an electronic drum kit in a modern condo or HDB flat and want to minimize the physical “clack” of your pedals, a dedicated acoustic mat is the most balanced off-the-shelf option.
Interlocking Foam or Rubber Tiles: Often sold as gym flooring or utility tiles, these allow you to customize the size and shape of your drum area. High-density rubber tiles offer excellent mass and vibration dampening, while softer EVA foam tiles provide decent cushioning but lack the mass required to block low-frequency sound. If you choose this route, ensure the tiles lock together tightly so they do not separate under the lateral forces of your bass drum pedal.
To help you compare these options, consider the following structural framework:
| Mat Type | Primary Function | Vibration Isolation Level | Ideal Apartment Use Case |
|---|---|---|---|
| Standard PVC/Rubber | Floor protection & grip | Low | Ground floor units or carpeted rooms |
| Multi-Layer Acoustic | Sound absorption & stability | Moderate | Electronic kits in HDB/condo apartments |
| Interlocking Rubber Tiles | Customizable coverage & mass | Moderate to High | Heavy acoustic kits or custom drum alcoves |
Upgrading Your Setup: When a Mat Needs an Isolation Platform
For many apartment drummers, even the highest-quality drum mat may not be enough to keep the peace with the neighbors downstairs. If you receive persistent complaints about a low-frequency “thumping” sound, or if you can feel the floor vibrating under your feet when you play, your setup requires a more advanced solution.
The key to stopping low-frequency kick drum noise is a concept known as acoustic decoupling. Decoupling involves creating a physical break between your drum kit and the building’s structure, preventing kinetic energy from transferring into the floor. While a drum mat compresses under weight and still allows some energy to pass through, a dedicated drum riser or isolation platform uses specialized dampening mounts—such as tennis balls, acoustic foam blocks, or rubber isolators—to suspend the kit above the actual floor.
You can easily combine a drum mat with an isolation platform for maximum effectiveness. In this setup, the drum mat sits on top of the wooden platform to provide a non-slip surface and absorb high-frequency stick noise, while the platform itself rests on decoupling feet to swallow the low-frequency pedal vibrations. This dual-layer approach is highly recommended for anyone playing an acoustic kit or a heavy electronic kit with a physical bass drum pad in a high-density building.
In addition to structural isolation, you can also look into complementary low-volume gear to reduce the overall noise footprint of your practice sessions. Replacing standard acoustic drum heads with mesh heads drastically reduces airborne noise, while low-volume perforated cymbals cut down on high-frequency ring. For electronic drummers, switching to specialized silent kick pedals or using beaterless trigger pedals can significantly reduce the physical impact force, making your drum mat’s job much easier.
Floor Protection and Installation Checklist for Apartment Drummers
To get the most out of your drum mat and protect your apartment’s valuable flooring, proper installation and ongoing maintenance are essential. Follow this checklist to ensure your setup remains stable, clean, and acoustically optimized over time.
Subfloor Inspection: Before laying down your new mat, thoroughly sweep and mop the floor area. Any trapped dirt, sand, or small pebbles beneath a heavy rubber mat will act like sandpaper under the weight of your kit, permanently scratching vinyl, laminate, or parquet finishes. Ensure the floor is completely dry to prevent moisture from getting trapped, which can ruin wood flooring and lead to mold growth.
Acclimatization: High-density rubber and PVC mats are typically shipped tightly rolled. When you first unbox your mat, lay it flat in a warm room for at least 24 to 48 hours before placing your heavy drum hardware on it. This allows the material to relax and flatten out completely, preventing curled edges that present tripping hazards or cause your cymbal stands to sit at an unstable angle.
Hardware Placement: When setting up your kit, pay close attention to the spurs on your bass drum legs and hi-hat stand. While these metal spikes are designed to dig into carpets to prevent sliding, they can easily puncture thin mats and damage the subfloor underneath. Adjust the spurs so they only grip the top fabric fibers of your mat without penetrating all the way through to your tiles or wood.
Routine Maintenance: Over months of regular practice, the areas directly beneath your bass drum pedal and drum throne will experience constant, heavy pressure. Periodically inspect these high-stress zones to ensure the mat’s material has not become permanently compressed or degraded, as compressed rubber loses its ability to dampen vibrations. Vacuum the top fabric layer regularly to remove dust and wood shavings, which can degrade the fibers over time.
Frequently Asked Questions (FAQ)
Can a standard gym mat or yoga mat replace a dedicated drum mat?
While a standard gym mat or yoga mat might seem like a cost-effective alternative, they are generally unsuitable for long-term drum kit isolation. Yoga mats are far too thin and soft; the heavy spurs of your drum hardware will easily puncture them, and they lack the mass required to absorb any meaningful vibration. Interlocking gym mats made of soft EVA foam are slightly better for cushioning, but they tend to compress permanently under the weight of a drum throne and can slide apart under the lateral force of your kick pedal. If you must use gym mats, look for high-density solid rubber tiles rather than soft foam, and consider placing a thin, tight-weave rug on top to prevent your hardware from sinking or sliding.
Will a drum mat stop my neighbors from hearing my kick drum?
A drum mat alone will not completely stop your downstairs neighbors from hearing your kick drum. While a high-quality mat will dampen the high-frequency mechanical clicking of the pedal and prevent your stands from rattling against the floor, it cannot block the low-frequency, structure-borne vibrations caused by the physical impact of the beater hitting the pad. To truly silence a kick drum for neighbors living directly below you, you must decouple the pedal from the floor. This is best achieved by building or purchasing a dedicated acoustic isolation platform to use in tandem with your drum mat, or by switching to a low-impact, beaterless kick trigger pedal.
How do I clean and maintain a rubber drum mat in a humid climate?
Singapore’s humid tropical climate requires careful maintenance of rubber and PVC drum mats to prevent mold, mildew, and material degradation. Clean your mat using a mild, pH-neutral soap diluted in warm water, avoiding harsh chemical solvents or bleach which can dry out and crack natural rubber. To prevent moisture buildup, never lay a mat on a damp floor, and occasionally lift the mat to let both the subfloor and the underside of the mat breathe, especially if your music room is not constantly air-conditioned. If you notice a musty smell, wipe the mat down with a highly diluted mixture of white vinegar and water, ensuring it dries completely in a well-ventilated area out of direct sunlight before reinstalling your drum kit.
Community discussion
Share your experience or ask a question. Comments are reviewed before publication.