
Selecting the right cabling is often the deciding factor between a pristine, high-fidelity audio performance and a set plagued by distracting hums, dropouts, or signal degradation. For DJs and karaoke enthusiasts setting up equipment, Ghostfire cables offer a range of options designed to bridge the gap between various audio components. Finding the ideal cable requires a clear understanding of your specific hardware interfaces, the physical environment of your venue, and the technical specifications of the cables themselves. By matching the correct cable type, shielding, and gauge to your gear, you can ensure reliable signal transmission and protect your valuable equipment from electrical issues.
In professional and home audio setups alike, cables are the unsung heroes that maintain signal integrity. A single mismatched or poorly shielded cable can introduce unwanted noise into your signal chain, ruining the experience for your audience or guests. Whether you are mixing tracks at a local venue or hosting a lively karaoke night at home, understanding how to select and verify your cabling is essential for achieving professional-grade sound.
Identifying Your Setup Requirements
Before purchasing any cables, you must map out the physical and electrical layout of your specific DJ or karaoke configuration. Different environments place unique demands on cabling, and understanding these differences will help you choose cables that offer the right balance of durability, flexibility, and signal protection.
Products mentioned in this guide
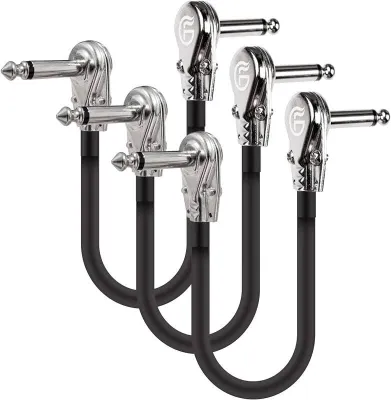
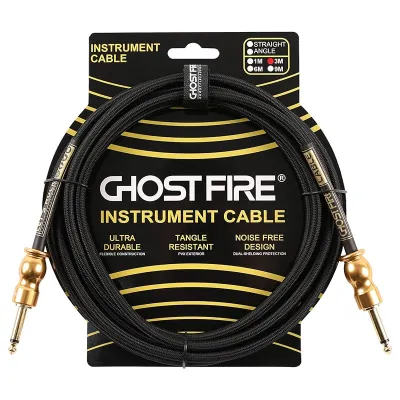
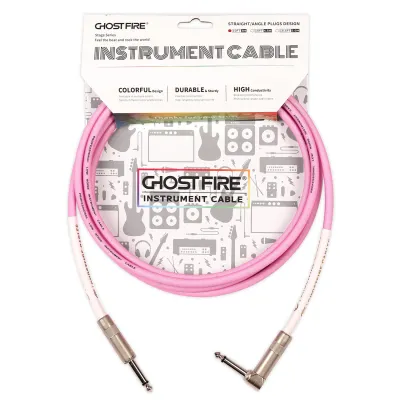
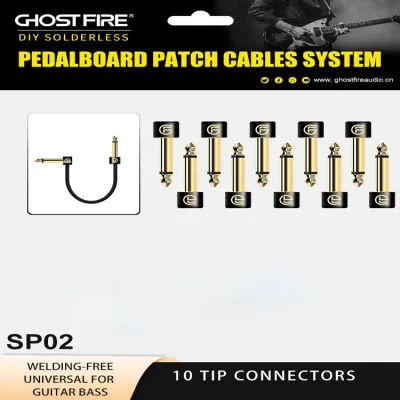
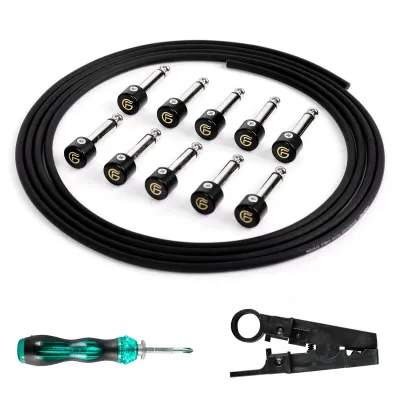
Prices are valid at publication and may change. Please refer to the product page for the latest price.
Mobile DJ rigs require cables that can withstand the physical rigors of frequent packing, unpacking, transport, and foot traffic. In these setups, cables are constantly coiled, uncoiled, stepped on, and pulled, making physical durability and robust strain relief the most critical factors. The outer jacket must be thick and abrasion-resistant, while the internal solder joints must be secure enough to handle repeated mechanical stress without failing.
Permanent club installations, on the other hand, prioritize long-term stability and environmental resistance. In these venues, cables are often routed through walls, ceilings, or tight conduits where they remain static for long periods. The primary challenges here are heat buildup from nearby lighting rigs, dust accumulation, and potential electromagnetic interference from parallel high-voltage power lines. For these applications, cables with high-coverage shielding and flame-retardant jackets are essential to ensure safety and performance over time.
Home karaoke systems, typically set up in residential spaces such as HDB living rooms, face a different set of challenges. These setups are often highly space-constrained, requiring cables to route tightly around furniture, smart TVs, and media consoles. Additionally, home environments are filled with wireless signals from Wi-Fi routers, smart home devices, and mobile phones, which can easily introduce electromagnetic interference into poorly shielded audio lines. Managing cable clutter and selecting cables with adequate shielding are key to maintaining a clean, noise-free home setup.
Once you understand your environment, you must identify the exact input and output ports on your equipment. DJ controllers and mixers typically feature balanced XLR or TRS outputs for connecting to main PA systems, alongside unbalanced RCA inputs for media players or turntables. Active speakers usually accept line-level XLR or TRS inputs, whereas passive speakers require high-current Speakon connections from an external power amplifier. Microphones almost universally utilize balanced XLR inputs to ensure low-noise signal transmission over long runs.
Finally, calculate the required cable lengths by measuring the actual path the cable will take, rather than drawing a straight line between devices. Always route cables along walls, baseboards, or dedicated cable paths to prevent tripping hazards and protect the cables from physical damage. Never pull a cable taut to make it reach a port; always add 10% to 15% extra length to provide necessary slack. This slack prevents physical strain on the delicate internal connectors of both the cable and your expensive audio gear.
Key Specifications to Verify on Ghostfire Cables
To make an informed purchase, you must look past marketing claims and focus on the verifiable technical specifications found on product labels and manufacturer spec sheets. Understanding these specifications allows you to assess whether a cable is truly suited for your specific application.

Connector types and plating materials play a vital role in signal transfer and long-term reliability. XLR connectors feature a three-pin design and a secure locking mechanism, making them the industry standard for balanced microphone and line-level connections. TRS (Tip-Ring-Sleeve) 1/4-inch connectors are also used for balanced line-level signals or stereo headphone outputs. RCA connectors are standard for unbalanced consumer audio gear, while Speakon connectors are designed specifically for high-current passive speaker connections, featuring a twist-lock design that prevents accidental disconnection.
The plating material on the connector contacts affects both conductivity and durability. Gold-plated contacts offer exceptional resistance to corrosion and oxidation, which is highly beneficial in Singapore’s humid tropical climate. However, gold is a relatively soft metal and can wear away over time with frequent plugging and unplugging. Nickel-plated contacts are physically harder and more durable, making them excellent for mobile DJ rigs where cables are connected and disconnected daily, though they may require occasional cleaning to prevent oxidation buildup.
Shielding construction is your primary defense against electromagnetic interference (EMI) and radio frequency interference (RFI). Braided shielding uses woven copper strands to surround the inner conductors, providing excellent physical strength and high coverage (typically 90% or more) against low-frequency interference. Spiral shielding consists of flat copper strands wrapped in a single direction around the core; this design offers superior flexibility, making it ideal for handheld microphone cables, though the shield can open up gaps if the cable is bent sharply. Foil shielding uses thin aluminum wrapped around the conductors, providing 100% coverage against high-frequency RFI, but it is physically fragile and best suited for permanent, static installations where the cable will not be moved.
Conductor gauge, measured in American Wire Gauge (AWG), determines the thickness of the internal wires. A lower AWG number indicates a thicker conductor with lower electrical resistance. For line-level and microphone signals, 24 AWG or 22 AWG conductors are standard and provide excellent signal integrity. For speaker cables carrying high-current signals from amplifiers to passive speakers, much thicker conductors—typically 14 AWG or 12 AWG—are required to minimize power loss and prevent the cable from overheating under heavy loads.
Matching Cable Categories to Your Equipment
Different parts of your signal chain require different types of cables. Matching the correct cable category to your specific equipment ensures optimal signal transfer and prevents damage to your gear.
Audio and Microphone Connections
Balanced audio connections, which utilize XLR or TRS cables, are essential for maintaining a noise-free signal chain. Balanced cables use two signal conductors (hot and cold) plus a ground shield. The receiving device reverses the phase of the cold signal, which effectively cancels out any noise picked up along the cable run through a process known as common-mode rejection. This noise-canceling capability is crucial for any cable run exceeding 4.5 meters, especially in environments with high electrical activity.
Unbalanced connections, such as those using RCA or TS (Tip-Sleeve) cables, use only a single signal conductor and a ground shield. Because they lack common-mode rejection, unbalanced cables are highly susceptible to picking up electromagnetic hums and buzzes from nearby power cables and electronic devices. To minimize noise, keep unbalanced cable runs as short as possible, ideally under 3 meters. When connecting consumer-grade karaoke players or DJ decks to your mixer, verify the pin configurations and ensure the cables are routed away from power sources.
Impedance matching is another critical factor for microphone connections. Microphones generate very low-voltage, low-impedance signals that must be connected to low-impedance inputs on your mixer (typically 150 to 600 ohms). Using a high-impedance cable or connecting a microphone to a high-impedance instrument input can result in severe signal loss, reduced high-frequency response, and increased noise. Always check your equipment manuals to ensure proper impedance matching across your signal chain.
Digital, MIDI, and Control Links
Modern DJ controllers and digital karaoke systems rely heavily on USB and MIDI connections to transmit control data and high-resolution audio between devices and computers. When selecting USB cables for your DJ controller, verify that the cable specifications match the data transfer rates required by your hardware and software. For example, high-performance controllers with built-in multi-channel audio interfaces may require USB 2.0 or USB 3.0 high-speed cables to prevent latency spikes or data dropouts.
Digital cables must feature robust shielding to protect the delicate data packets from electromagnetic interference. In high-interference environments, such as a DJ booth packed with power supplies, wireless receivers, and lighting controllers, poor shielding can lead to digital dropouts, causing your DJ software to freeze or lose connection to the controller mid-performance. Look for digital cables that feature double shielding (foil and braid) and integrated ferrite beads to suppress high-frequency noise.
Connector durability and strain relief are also paramount for digital links. USB ports on laptops and DJ controllers are physically delicate and can easily be damaged by heavy cables or sudden tugs. Select cables with lightweight, molded strain relief boots that distribute mechanical stress away from the connector pins. This design protects both the cable’s internal solder joints and the physical ports on your expensive digital hardware from wear and tear.
Power and Speaker Cables
Passive speaker systems require dedicated speaker cables to carry high-voltage, high-current signals from the power amplifier to the speakers. Speakon connectors are the industry standard for these applications due to their secure locking design and high current capacity. When selecting speaker cables, ensure the wire gauge matches the power output of your amplifier and the length of the run; high-wattage systems or long cable runs require 12 AWG or 14 AWG cables to minimize resistance and ensure safe operation.
Power cables for your active speakers, mixers, and amplifiers must be rated for the correct voltage and current capacity. In Singapore, power cables must support a 230V mains supply and feature compliant Type G plugs with appropriate fusing. Always verify that your power cables carry the necessary safety certifications to prevent electrical hazards, especially when operating high-power audio equipment in public venues or residential spaces.
Under no circumstances should you use thin instrument or patch cables (TS) to connect an amplifier to a speaker. Instrument cables are designed to carry low-voltage, high-impedance signals and feature very thin conductors with high resistance. Passing high-current speaker signals through a thin instrument cable will cause the cable to rapidly overheat, melting the insulation and potentially causing a short circuit that can destroy your power amplifier or start a fire. Always double-check that your speaker connections are made with dedicated, heavy-gauge speaker cables.
Pre-Purchase Verification and Compatibility Checklist
Before finalizing your purchase of Ghostfire cables, perform a thorough compatibility check to ensure the cables will work seamlessly with your existing gear and meet your performance expectations.
Start by cross-referencing the cable specifications and interface requirements with the official user manuals of your DJ or karaoke equipment. Verify the exact connector sizes, pinouts, and signal levels (e.g., mic level, line level, or instrument level) required for each connection. This step prevents the common mistake of purchasing a cable with the wrong connector type or gender, saving you time and money.
When purchasing cables from online marketplaces, verify the seller’s authorization status to ensure you are buying genuine products. Check the return policies and warranty terms offered by the seller, as this provides protection in case a cable arrives with a manufacturing defect or is incompatible with your setup. Avoid purchasing from unverified third-party sellers who cannot guarantee product authenticity or provide reliable customer support.
Finally, inspect the physical build quality indicators described in the product listings. Look for heavy-duty metal connector housings, flexible outer PVC or braided jackets, and reinforced strain relief boots. Reading detailed user reviews can provide valuable insights into how the cables perform under real-world conditions, helping you assess their long-term durability and suitability for your specific DJ or karaoke setup.
Frequently Asked Questions (FAQ)
How can I test if an audio cable is causing signal noise?
To isolate a noisy cable in your setup, follow a systematic troubleshooting sequence. First, mute all other channels on your mixer to isolate the problematic signal path. Next, swap the suspected cable with a known working cable of the same type; if the noise disappears, the original cable is likely faulty. You should also check for ground loop issues, which often cause a low-frequency hum, by ensuring all connected audio equipment is plugged into a common, properly grounded power source. Finally, inspect the physical connectors of the cable for loose housing, bent pins, or signs of oxidation, and clean them with electronic contact cleaner if necessary.
Does cable length affect audio quality in a home karaoke setup?
Yes, cable length can significantly impact audio quality depending on the signal type. Unbalanced cables, such as RCA or TS cables commonly used in home karaoke setups, are highly susceptible to high-frequency signal loss and noise interference over long distances. It is best to keep unbalanced cable runs under 3 meters (10 feet). Balanced cables, such as XLR or TRS, can run up to 30 meters (100 feet) or more without noticeable signal degradation due to their noise-canceling design. Additionally, avoid tightly coiling excess unbalanced cable near power adapters or wireless receivers, as this can create an inductor that introduces noise and alters the high-frequency response of your audio system.
Community discussion
Share your experience or ask a question. Comments are reviewed before publication.