
Quick Answer: Core Features for Electronic Production
When selecting an electronic drumset for electronic music production, your priorities must shift from traditional acoustic emulation to digital precision and integration. While a student or live performer might prioritize built-in acoustic drum libraries and physical stage presence, a music producer requires high-resolution MIDI velocity transmission, low-latency connectivity, and flexible sample manipulation. The drumset in a studio environment serves primarily as a highly expressive MIDI controller designed to trigger software samplers, virtual instrument (VST) plugins, and digital audio workstation (DAW) drum racks.
To successfully produce genres like techno, house, drum and bass, or hip-hop, your kit must deliver exceptional trigger accuracy to capture subtle performance dynamics. It should also offer robust user sample import capabilities, allowing you to map custom WAV files directly to physical pads. Finally, seamless connectivity—both digital MIDI and multi-channel analog audio—is essential to ensure your recorded performances align perfectly with your project grid without distracting latency or tedious manual editing.
Evaluating the Sound Engine and Sample Customization
The drum module, often referred to as the “brain,” is the core of your electronic drumset. For electronic music production, the value of a module is not measured by how many preset acoustic kits it contains, but by how easily you can customize, manipulate, and replace those sounds. You must verify that the module supports custom user sample import, typically via an SD card or USB flash drive. Look for compatibility with standard high-resolution audio formats, such as 16-bit or 24-bit WAV files at 44.1 kHz or 48 kHz, which allows you to load your own curated sample libraries directly into the hardware.
Products mentioned in this guide
![Alesis Nitro Pro 8-Piece Electronic Drums Kit for Beginners to Advanced Players with Bluetooth [LIMITED STOCK]](https://img.lazcdn.com/g/p/fba2c7c3ade9763f9c88e42370eb61a5.png_400x400q80.png_.webp)
![Alesis Nitro Max Kit Foldable Electronic Drum Set With Dual Zone Mesh Head Snare Toms Cymbals Kick Pedal Module Drumsticks [LIMITED STOCK]](https://img.lazcdn.com/g/p/b547a4b2e62e79fe5eee647b3c9dfb29.png_400x400q80.png_.webp)
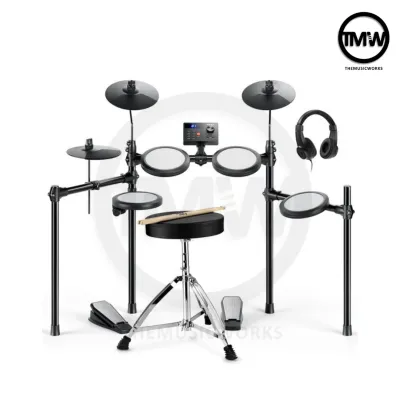
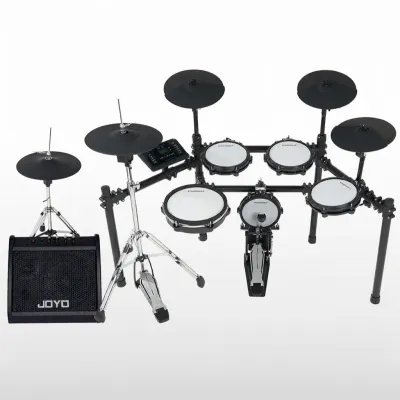
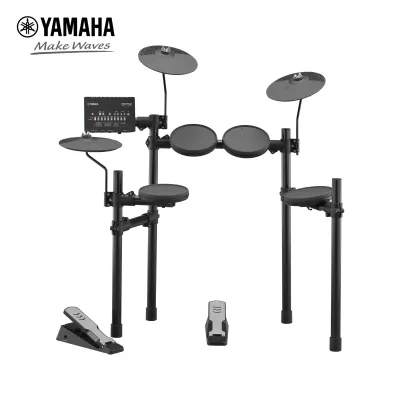
![Yamaha DTX452K Electronic Drums Digital Drum Set DTX-452K DTX 452 K DTX 452K DTX452 [PREORDER]](https://img.lazcdn.com/g/p/af5553ead0032cf1aa86c61dfabcbc22.jpg_400x400q80.jpg_.webp)
![AROMA TDX-18SC Electronic Drum Kit [AROMA TDX18SC Digital Drum]](https://img.lazcdn.com/g/p/f3eb7bc4d0fcaf4316f92647395675b8.jpg_400x400q80.jpg_.webp)
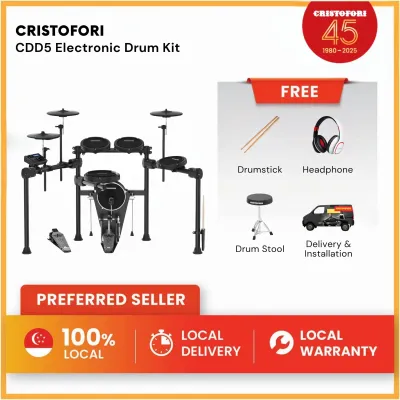
Prices are valid at publication and may change. Please refer to the product page for the latest price.

Once your custom samples are loaded, the module’s internal synthesis and editing parameters become critical. Electronic music relies heavily on sound design, meaning you need the ability to shape samples on the fly. Key parameters to look for include pitch shifting, which allows you to tune kick drums and percussion to the specific key of your track, and envelope control. Adjusting the attack, decay, sustain, and release (ADSR) of a sample lets you transform a long, boomy kick into a tight, punchy transient, or shape a crash cymbal into a reversed swell.
Onboard effects tailored for electronic music are equally important. A production-ready module should offer per-channel compression, equalization, saturation, and spatial effects like delay and reverb. These tools allow you to pre-mix your drum sounds within the module before they ever reach your DAW, saving valuable computer processing power.
Finally, pay close attention to the module’s polyphony limits and multi-layer sampling capabilities. High polyphony (the number of individual notes or voices the module can play simultaneously) prevents note dropout during fast, complex drum rolls or when triggering long, sustaining ambient samples alongside rapid percussion patterns. Multi-layer sampling allows you to assign different samples to different velocity levels on a single pad. Instead of simply playing the same sample louder when you strike harder, the module can transition smoothly between entirely different sounds, adding organic movement and complexity to your electronic beats.
Assessing Trigger Responsiveness and Pad Materials
The physical hardware of your electronic drumset is responsible for translating your physical performance into digital data. The material of the pads plays a significant role in both the physical playing experience and the accuracy of the MIDI data generated. The two primary pad materials available are mesh and rubber, each offering distinct characteristics for the studio environment.
Mesh pads feature a woven drumhead that can be tensioned using a standard drum key. This design provides a realistic rebound that closely mimics the feel of an acoustic drum, reducing wrist fatigue during long tracking sessions. Additionally, mesh heads are exceptionally quiet, making them ideal for home studios in high-density residential areas, such as apartments or HDB flats in Singapore, where physical impact noise can easily travel through concrete floors. Rubber pads, while generally more compact and budget-friendly, offer a stiffer rebound and produce a louder, more distinct acoustic “thwack” when struck, which can bleed into open studio microphones.
To capture the full nuance of your playing, you must evaluate the pad’s triggering technology. Look for multi-zone triggering and positional sensing. A dual-zone drum pad allows you to trigger different sounds from the head and the rim, which is highly useful for mapping a standard snare to the head and a rimshot, sidestick, or electronic percussion effect to the rim. Three-zone cymbal pads (supporting edge, bow, and bell triggers) are equally valuable for complex hi-hat and ride patterns. Positional sensing detects exactly where you strike the pad—from the center to the edge—and alters the MIDI velocity or control change (CC) data accordingly, allowing for highly humanized, expressive programming.
Perhaps the most critical component for electronic music expression is the hi-hat controller. Entry-level kits often use a simple digital switch pedal, which only registers two states: fully open or fully closed. For electronic production, a continuous variable hi-hat controller is highly recommended. This type of controller sends a continuous stream of MIDI CC data (typically CC4), allowing your software sampler to play a smooth gradient of sounds from tightly closed, to half-open, to fully open. This level of control is essential for programming the dynamic, driving hi-hat patterns common in house and techno music.
Verifying Connectivity and DAW Integration
To integrate an electronic drumset into a modern music production workflow, you must carefully examine its connectivity options. The primary method for sending performance data from the drum module to your computer is MIDI. Most modern modules feature MIDI over USB, which allows you to connect the drumset directly to your computer using a single USB cable. This setup is highly convenient and typically provides plug-and-play functionality with major DAWs.
However, if you plan to integrate your drumset with external hardware synthesizers, hardware samplers, or older MIDI gear without a computer, you must verify that the module also includes traditional 5-pin MIDI DIN input and output ports. This physical connection bypasses the computer entirely, allowing you to trigger hardware drum machines directly with zero computer-induced latency.
When it comes to recording audio, you must choose between stereo mixes and individual direct outputs. Most entry-level and mid-range modules only offer a single stereo master output (left and right channels). While sufficient for practice or simple stereo recording, a stereo mix limits your ability to process individual drum elements during the mixing stage. For professional production, look for a module with individual direct outputs (multi-channel analog outputs) or a built-in multi-channel USB audio interface. This feature allows you to route the kick, snare, hi-hats, and percussion to separate tracks in your DAW simultaneously, enabling you to apply independent EQ, compression, and sidechain processing to each drum element.
Additionally, verify the kit’s compatibility with major virtual instrument standards, such as VST, AU, or AAX. Many manufacturers provide dedicated desktop editor software for their modules. This software runs on your computer and allows you to adjust trigger sensitivity, edit drum kits, map MIDI notes, and manage sample libraries using a large, user-friendly screen rather than navigating small menus on the physical drum module. This integration significantly speeds up your studio workflow and ensures your hardware and software are perfectly synchronized.
Selection Checklist: Matching Specifications to Your Workflow
To choose the right electronic drumset, you must match the technical specifications of the instrument to your specific production style and physical studio constraints. Different workflows require different hardware configurations.
For Beatmakers and Finger Drummers
If your production style focuses on rapid sample triggering, step sequencing, and compact setups, you may not need a full-size physical drum kit. Instead, prioritize the following specifications:
- Pad Sensitivity: High-sensitivity, low-latency multi-pads or compact desktop trigger pads.
- Layout: A space-saving, integrated multi-pad design that fits easily on a studio desk.
- Sample Import: Rapid USB sample transfer with dedicated software for quick drag-and-drop mapping.
- Foot Control: Inputs for auxiliary expression pedals or sustain pedals to trigger kick and hi-hat functions without taking up floor space.
For Live Drummers Recording Electronic Tracks
If you are a trained drummer who wants to record realistic, physical performances directly into a DAW, your priorities should lean toward acoustic realism and expressive hardware:
- Kit Configuration: A full five-piece kit layout with realistic drum shell sizes and sturdy double-braced hardware stands.
- Pad Material: Multi-ply mesh heads on all drums to ensure realistic stick rebound and minimal wrist strain.
- Triggering: Advanced positional sensing and multi-zone cymbals to capture every nuance of your physical playing style.
- Hi-Hat: A stand-mounted physical hi-hat system that utilizes a standard acoustic hi-hat stand for natural physical feedback.
Pre-Purchase Verification Checklist
Before finalizing your purchase, always perform the following technical checks to ensure compatibility with your existing studio setup:
- OS Driver Compatibility: Verify that the manufacturer provides up-to-date, class-compliant drivers for your specific computer operating system (macOS or Windows), especially if you are using the latest OS versions.
- Firmware Updates: Check the manufacturer's support website to ensure they actively release firmware updates to resolve bugs and improve trigger algorithms.
- Physical I/O Ports: Confirm the exact types of physical ports on the module (e.g., USB-B, USB-C, 1/4-inch TRS balanced outputs, 3.5mm auxiliary inputs, and headphone jacks).
- Cabling and Power: Ensure you have the correct cable lengths for your studio layout, and verify the power supply requirements (especially if importing a kit from another region, ensuring compatibility with local voltage standards).
Frequently Asked Questions (FAQ)
Can I use an acoustic drum trigger system instead of a full electronic kit?
Yes, you can use an acoustic drum trigger system as an alternative to a dedicated electronic kit. This hybrid setup involves mounting external piezoelectric triggers onto the rims or shells of standard acoustic drums equipped with mesh heads. The triggers detect the physical vibrations of the mesh heads and send those signals to an external drum trigger module, which converts them into MIDI data for your DAW.
While this approach offers the visual appeal and familiar physical positioning of a full acoustic kit, it presents several trade-offs in a studio environment. Acoustic shells, even with mesh heads, occupy a significant amount of physical space and can still produce noticeable acoustic resonance. Managing crosstalk—where striking one drum accidentally triggers a sensor on an adjacent drum—requires meticulous calibration of the module’s threshold and crosstalk rejection settings. Additionally, you may still need physical sound isolation or basic acoustic treatment to prevent low-frequency vibrations from traveling through the floorboards of your studio.
Do I need a dedicated audio interface for my electronic drumset?
Whether you need a dedicated audio interface depends entirely on how you plan to record and monitor your drumset. If you only intend to record MIDI data to trigger virtual instruments inside your DAW, you do not strictly need an external audio interface. You can connect the drum module directly to your computer via USB, and the computer will receive the MIDI notes directly. You can then monitor the audio through your computer’s built-in headphone jack or your existing studio monitoring setup.
However, if you want to record the high-quality internal audio sounds of your drum module, or if you want to achieve the lowest possible monitoring latency, a dedicated audio interface is highly recommended. An interface equipped with professional ASIO (Windows) or Core Audio (macOS) drivers ensures that the time delay between striking a pad and hearing the sound in your headphones is kept below the critical 10-millisecond threshold. Furthermore, some high-end drum modules feature a built-in multi-channel USB audio interface, allowing them to send both MIDI and multiple channels of digital audio directly to your computer over a single USB cable without requiring an external interface.
Community discussion
Share your experience or ask a question. Comments are reviewed before publication.