
Choosing your first pedalboard is a major milestone in building your guitar rig, but navigating the options in Singapore can feel overwhelming. The Ghost Fire pedalboard has gained popularity as an accessible, lightweight entry point for guitarists looking to organize their effects. However, deciding whether a Ghost Fire board or a competing entry-level brand is right for you requires looking beyond the price tag. You must evaluate how each option handles structural stability, power supply integration, and daily transport.
In Singapore’s bustling music scene, where musicians frequently commute to jam rooms and gig venues via public transport, portability and durability are paramount. A pedalboard is not just a metal frame; it is the foundation of your signal chain. By comparing the core design elements, physical dimensions, and accessory quality of these budget-friendly brands, you can avoid the common pitfall of outgrowing your board too quickly. This guide outlines the essential factors to verify before making your purchase.
Understanding the Ghost Fire Pedalboard's Core Design
To make an informed comparison, you must first understand the design blueprint that Ghost Fire and similar entry-level brands utilize. Most Ghost Fire boards are constructed from aircraft-grade aluminum alloy. This material is favored because it keeps the overall weight low while maintaining enough structural integrity to withstand repeated stomping. For musicians who rely on buses or the MRT to get to rehearsals, every gram saved makes a noticeable difference during a long commute.
Products mentioned in this guide
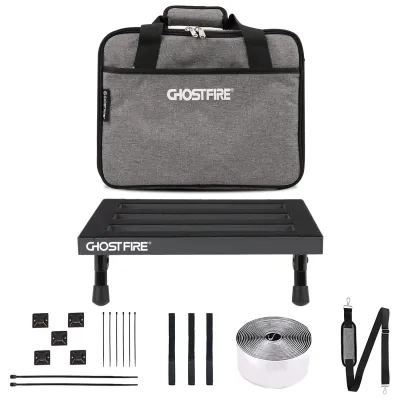
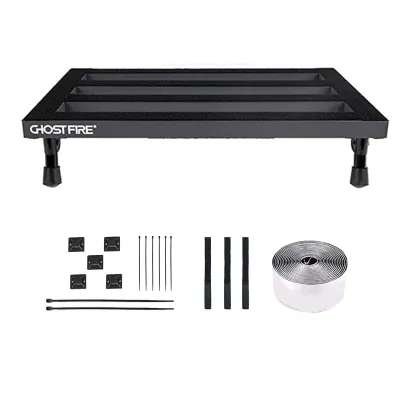
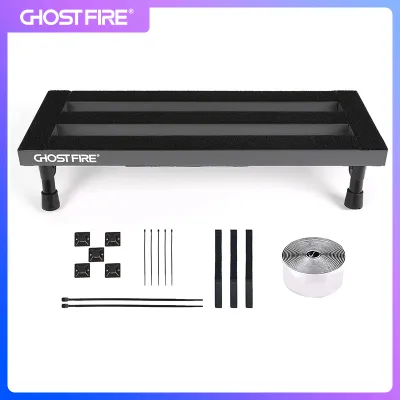
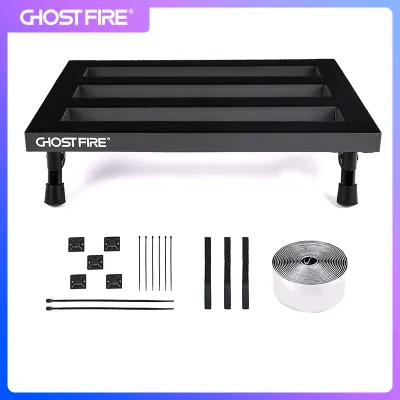
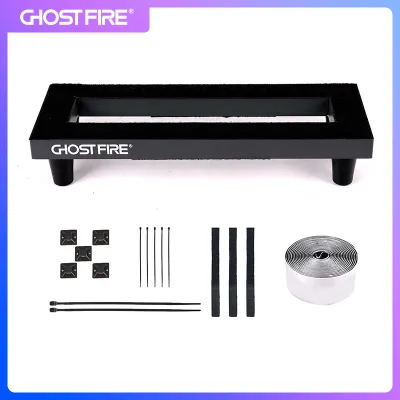
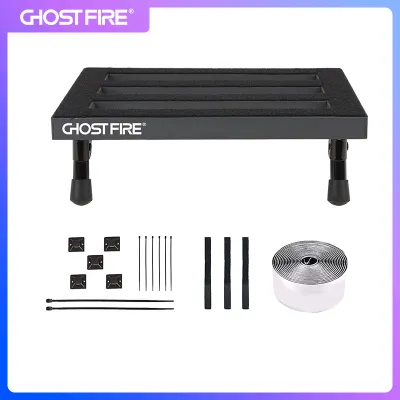
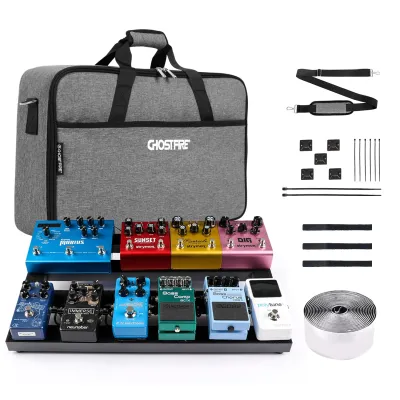
Prices are valid at publication and may change. Please refer to the product page for the latest price.
The surface layout of these boards typically features a sloped or angled design. This elevation serves two practical purposes: it makes reaching the back row of pedals much easier during a performance, and it creates a hollow chamber underneath the board. This under-board clearance is where you will route your patch cables and mount your power supply, keeping the top surface clean and organized.
However, the exact clearance height can vary significantly between different models and sizes. Some compact, flat-style boards offer almost no under-board space, forcing you to mount your power supply on top alongside your pedals. If you plan to use a dedicated isolated power brick, you must verify that the board’s under-side clearance matches the physical height of your power unit. Additionally, look closely at the cable routing slots; wider slots allow for easier passage of bulky power cables and patch cable jacks, preventing tight bends that can damage your wiring over time.
Key Dimensions to Compare for Beginner Pedalboards
When comparing Ghost Fire to other entry-level brands, physical capacity is the most critical metric. Do not rely solely on the manufacturer’s estimate of how many pedals a board can hold, as pedal sizes vary wildly. A standard compact pedal has a different footprint than a vintage fuzz or a multi-effects unit. To find the right size, lay your current pedals out on a flat surface, leaving at least two centimeters of space between them to account for patch cables and power connectors. Measure the total width and depth of this layout, and use those dimensions as your baseline.

Another key point of comparison is the balance between portability and stability. While lightweight aluminum boards are excellent for travel, they can sometimes slide around on smooth stage floors if they lack high-quality rubber feet. Some competing brands offer heavier steel or wooden frames. While these heavier boards provide a highly stable platform that stays firmly in place, they can become incredibly burdensome to carry around Singapore’s humid climate. Look for aluminum boards that feature wide, textured rubber feet to ensure you get the benefits of a lightweight frame without sacrificing grip.
Power supply compatibility is another area where entry-level boards differ. Some brands include dedicated mounting brackets or elastic bands designed to hold a power supply underneath the frame. Others leave this entirely up to the user, requiring you to purchase separate mounting tape or brackets. Before choosing a board, check the specifications to see if it includes a mounting solution that is compatible with your specific power supply model. If you use a larger, high-output power brick, a board with adjustable feet or a steeper incline may be necessary to prevent the power supply from scraping against the floor.
Matching the Board to Your Current and Future Rig
A common mistake among beginners is buying a pedalboard that only fits their current setup, leaving no room for future expansion. While a compact board is highly portable, adding even one more pedal down the line might force you to buy an entirely new board. If your budget allows, consider choosing a board that is slightly larger than your current needs. This extra space can temporarily house a clip-on tuner, a spare set of strings, or simply give your patch cables more breathing room.
Your choice of power distribution also plays a major role in selecting a board. If you are running a simple setup with three or four low-draw analog pedals, a basic daisy-chain cable connected to a standard wall adapter may suffice. In this scenario, under-board clearance is less critical. However, if you plan to introduce digital delay, reverb, or modulation pedals, you will likely need an isolated power supply to prevent unwanted hum and digital noise. These isolated units are bulkier and heavier, making under-board mounting space a top priority.
Finally, evaluate your transport habits. Most entry-level pedalboards are sold as a bundle with a carrying bag. The quality of these bags varies dramatically across brands. A cheap, unpadded gig bag offers very little protection against accidental drops or the bumps of public transport. Look for bundles that include a bag with thick internal padding, heavy-duty zippers, and comfortable shoulder straps. If you frequently travel to studios or gigs, investing in a board with a robust bag is just as important as the metal frame itself.
Where to Verify Specs and Buy in Singapore
Because specifications, included accessories, and build quality can change between production batches, it is highly recommended to verify details before making a purchase. Visiting local physical music shops in Singapore is one of the best ways to assess a pedalboard firsthand. Many stores located in central shopping districts allow you to handle the boards, check the weight, and inspect the welding quality of the frame.
If you prefer to shop online via local ecommerce platforms or specialized music retailers, pay close attention to user reviews. Look specifically for feedback regarding the durability of the carrying bag’s zippers and the adhesive strength of the included hook-and-loop tape. These accessories are often where budget brands cut corners, and replacing a broken bag or buying premium mounting tape can quickly add to your overall cost.
Additionally, compare the shipping costs, return windows, and warranty terms offered by different sellers. Buying from a reputable local dealer often ensures faster shipping and a much simpler return process if you receive a board with a manufacturing defect. Be sure to check if the seller offers a clear return policy in case the board’s physical dimensions do not match your power supply or pedal layout once you set it up at home.
Frequently Asked Questions (FAQ)
Do I need a power supply bracket for a beginner pedalboard?
While not strictly mandatory, a power supply bracket is highly recommended for keeping your pedalboard organized and safe. Mounting your power supply underneath the board frees up valuable surface area for more pedals and protects the power unit from accidental stomps or spilled liquids. If your chosen board does not include a compatible bracket, you can often secure the power supply using heavy-duty dual-lock tape or cable ties, provided there is enough vertical clearance beneath the frame.
How do I secure my pedals without damaging them?
The most common method is using high-quality hook-and-loop tape or dual-lock adhesive. To prevent damage to your pedals, clean the bottom surface of the pedal with a small amount of isopropyl alcohol to remove dirt and oil before applying the adhesive. If you want to protect the pedal’s original paint or label, you can apply a layer of painter’s tape or masking tape to the bottom of the pedal first, then stick the adhesive tape onto the painter’s tape. This allows you to remove the adhesive easily in the future without leaving sticky residue or tearing off the serial number label.
Community discussion
Share your experience or ask a question. Comments are reviewed before publication.