
To treat a small room or HDB music studio effectively, you generally need to cover 20% to 40% of your total wall and ceiling surface area with acoustic panels. For a typical Singapore bedroom measuring around 10 to 12 square metres, this translates to roughly 8 to 16 standard panels measuring 60 cm by 120 cm. The exact number depends on your room’s existing furniture, your primary instrument, and whether you are recording, mixing, or practicing.
Getting the quantity and placement right ensures your room sounds balanced without feeling claustrophobic or completely dead. Rather than covering every wall in cheap foam, a strategic approach focusing on key reflection points will yield the best acoustic results for your space.
Understanding Acoustic Treatment for Compact Rooms
Many musicians confuse acoustic treatment with soundproofing. Acoustic panels do not stop sound from escaping your room or prevent your neighbors from hearing your late-night practice sessions. Soundproofing requires dense construction materials, decoupling, and sealing air gaps to block sound transmission. Acoustic panels, on the other hand, control the sound inside the room by absorbing reflections, reducing echo, and improving clarity.
Products mentioned in this guide

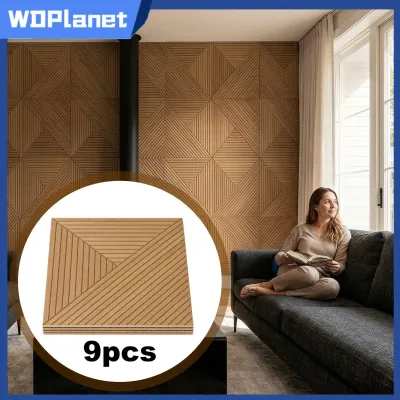
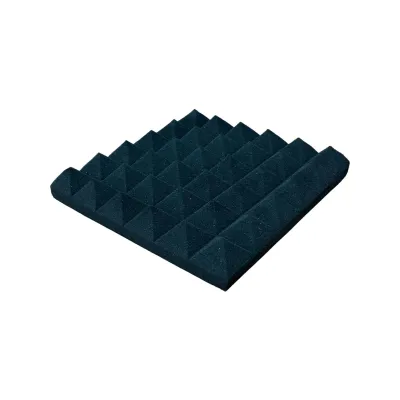
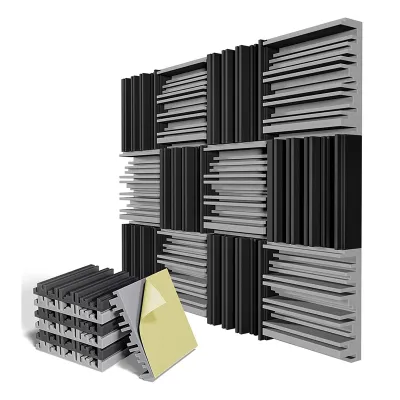
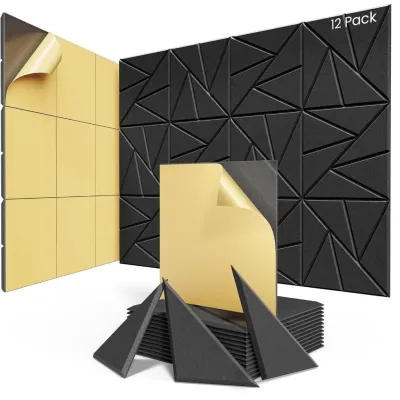
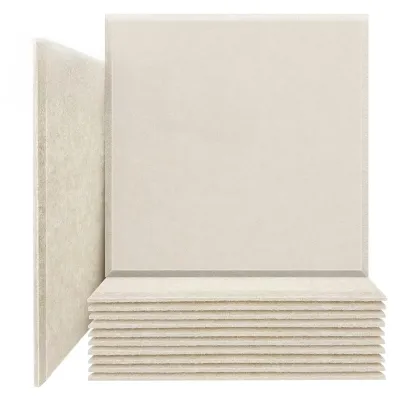
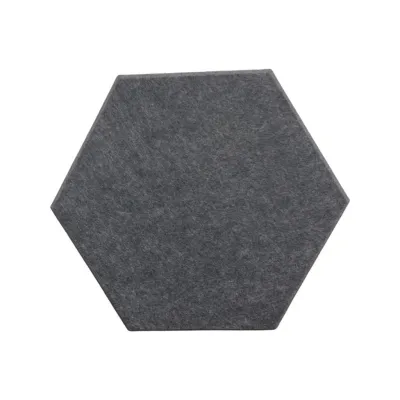
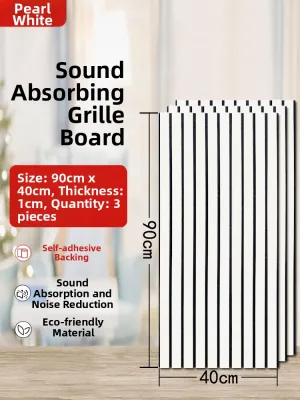
Prices are valid at publication and may change. Please refer to the product page for the latest price.
In compact bedrooms and HDB flats, parallel concrete walls are highly reflective. When sound waves bounce rapidly between these hard surfaces, they create flutter echoes—a harsh, ringing metallic sound. Additionally, low frequencies tend to pool in the corners, causing a muddy bass buildup that masks the mid and high frequencies of your instrument or monitors.
Setting realistic acoustic goals is essential for small spaces. You cannot turn a standard bedroom into a world-class commercial recording environment, but you can significantly improve the room’s response. Proper treatment allows you to hear the true tone of your instrument, make accurate mixing decisions, and reduce ear fatigue during long practice sessions.
Calculating the Right Number of Acoustic Panels
To find your starting point, calculate the total surface area of your walls. Multiply the length of each wall by its height, add these figures together, and then calculate the percentage of coverage you need. For example, if your total wall surface area is 35 square metres, a 20% coverage target requires about 7 square metres of treatment.

Standard coverage percentages vary based on the specific type of music practice and room usage:
- Light Treatment (20% to 25% coverage): Ideal for casual music practice, acoustic guitar playing, or general listening.
- Moderate Treatment (30% to 35% coverage): Recommended for home studios used for mixing, monitoring, or recording vocals and acoustic instruments.
- Heavy Treatment (40% or more coverage): Necessary for very lively rooms with zero soft furnishings, or spaces dedicated to loud instruments like drums or brass.
Do not treat an empty room the same way you treat a fully furnished bedroom. If your room already has a thick carpet, heavy blackout curtains, or a large upholstered bed, these elements are already absorbing high frequencies. You can reduce the number of thin acoustic panels you buy, focusing instead on thicker panels or bass traps to handle the mid and low frequencies that furniture cannot absorb.
If budget or physical space limits full treatment, prioritize key reflection zones. Treating even 15% of the room strategically will yield far better results than scattering cheap, thin foam randomly across 40% of the walls.
Strategic Placement for Music Practice
The most effective way to find your primary reflection points is the mirror method. Sit at your listening or playing position while a friend slides a small mirror along the side walls at head height. Wherever you can see your studio monitors or the soundboard of your instrument in the mirror, that is a primary reflection point. Place a panel directly over this spot on both the left and right walls to prevent early reflections from muddying your stereo image.
Place panels on the wall directly behind your monitors or behind where you stand to play. This absorbs the rear energy from your speakers or instrument, preventing it from bouncing off the front wall and causing phase cancellation at your listening position.
Low ceilings, typical in HDB flats, are major culprits for early comb filtering—an acoustic anomaly that makes certain frequencies sound hollow. Hanging a ceiling cloud (one or two horizontal panels suspended above your desk or practice chair) can dramatically open up the soundstage and make the room feel acoustically taller.
Small, square rooms are highly susceptible to low-frequency issues. Standard flat panels are too thin to absorb long bass waves. Installing dedicated bass traps in the vertical corners of the room—where low-frequency pressure is highest—is essential if you play bass guitar, cello, or use studio monitors with drivers larger than five inches.
Navigating HDB Installation and Space Constraints
In rental units or HDB flats where you want to avoid drilling holes, permanent mounting is not an option. Heavy fiberglass or rockwool panels can be hung using heavy-duty picture hanging strips, or by applying masking tape to the wall first, then gluing the panel to the tape. Alternatively, you can mount panels on lightweight wooden frames or microphone stands, allowing you to move them around as needed.
Compact rooms require careful spatial planning. Ensure your panel placement does not block the airflow of your air conditioning unit or get too close to a ceiling fan, which can create dangerous air turbulence or physical hazards. Leave enough clearance around built-in wardrobes so doors can open fully without scraping against the fabric of your panels.
In narrow walkways or behind doors, thick panels (which can be 5 cm to 10 cm deep) can restrict movement. Use thinner panels (around 2.5 cm) in high-traffic areas, or place thicker panels higher up on the wall where they will not obstruct your path.
If your studio has partition walls or drywall additions, verify their load-bearing capacity before hanging heavy, high-density wood-framed panels. For lightweight partition walls, stick to lightweight polyester or foam panels, or distribute the weight of heavier panels across multiple studs.
Common Mistakes to Avoid in Small Studios
It is a common misconception that a completely quiet, dead room is ideal for music. Over-treating a room by covering every surface in thin foam will absorb all the high frequencies while leaving the muddy low-mid frequencies untouched. This creates an unbalanced, claustrophobic environment that makes your ears feel stuffed and leads to rapid listening fatigue.
Do not place panels in a perfect checkerboard pattern just because it looks good on camera. Acoustic treatment must target the physical points where sound waves actually collide and reflect. An asymmetrical room layout requires asymmetrical panel placement to balance the acoustic response.
Thin, cheap foam panels (often 1 to 2 cm thick) only absorb very high frequencies. If you rely solely on these, your room will still suffer from boomy bass and muddy lower-mids. Always balance your high-frequency panels with thicker broadband absorbers (at least 5 cm thick) or corner bass traps.
Avoid ultra-lightweight packaging foam or cheap decorative foam tiles sold on online marketplaces. These materials lack the density and open-cell structure required to absorb sound waves effectively. Invest in high-density polyester, rockwool, or fiberglass panels for genuine acoustic control.
Frequently Asked Questions (FAQ)
Will acoustic panels stop my neighbors from hearing my music?
No. Acoustic panels are designed for sound absorption, not sound isolation. They stop sound from reflecting within your room, which improves internal sound quality. To prevent sound from traveling through walls to your neighbors, you need high-mass construction materials, double-glazed windows, and decoupled walls, which are structural soundproofing measures.
Should I cover the window with an acoustic panel?
Glass is highly reflective, but permanently blocking a window cuts off natural light and ventilation, which can lead to humidity issues in Singapore’s tropical climate. Instead of solid panels, use heavy acoustic blackout curtains over your windows. Alternatively, you can build a lightweight, removable panel that you slide into the window frame only during practice sessions.
Do I need acoustic panels if I only use headphones?
If you mix and monitor exclusively on headphones, you do not need panels to treat speaker reflections. However, if you record vocals, acoustic guitars, or any live instruments in that same room, you still need acoustic panels. Without them, your microphone will capture the boxy, reflective sound of your untreated room, which cannot be easily removed during mixing.
Community discussion
Share your experience or ask a question. Comments are reviewed before publication.