
Choosing the right acoustic panels requires balancing your room’s physical dimensions with the specific frequencies of your music setup. Rather than covering every surface, a successful acoustic treatment plan targets reflection points and matches panel thickness to your instruments. By assessing your space and verifying manufacturer specifications, you can create a balanced listening or recording environment that preserves natural sound dynamics.
Assess Your Room Dimensions and Acoustic Needs
To begin, measure the length, width, and height of your room to calculate its total volume and surface area. Larger rooms naturally have longer reverberation times because sound waves must travel further before striking a reflective surface. Conversely, small rooms often suffer from intense modal resonances, where specific low frequencies pile up and create boomy, uneven bass. Understanding these spatial baselines helps you determine whether you need broad, general absorption or targeted low-frequency control.
Next, identify the primary sound sources and your main listening or recording positions. In a home studio, this is typically the triangle formed by your studio monitors and your ears. In a practice room, it might be the space around a drum kit or a guitar amplifier. Mapping these paths allows you to pinpoint where direct sound travels and where it will first bounce off the walls, ceiling, and floor.
Products mentioned in this guide
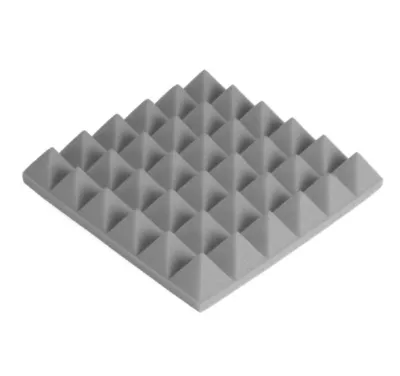
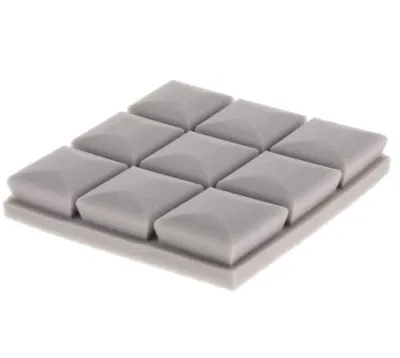

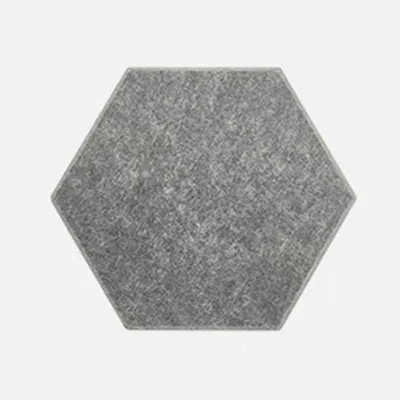
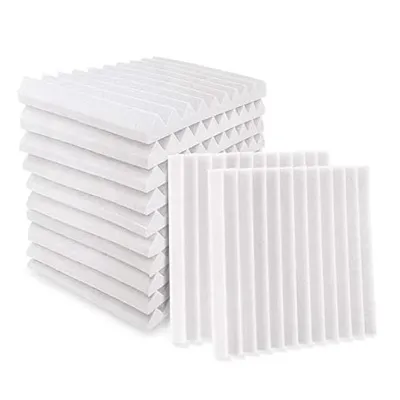
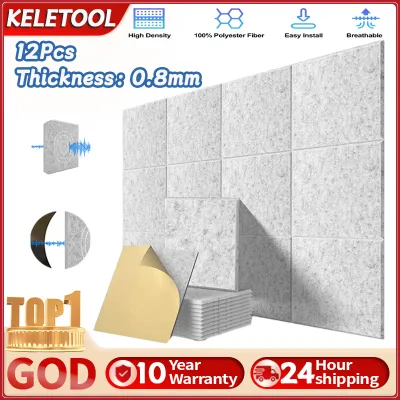
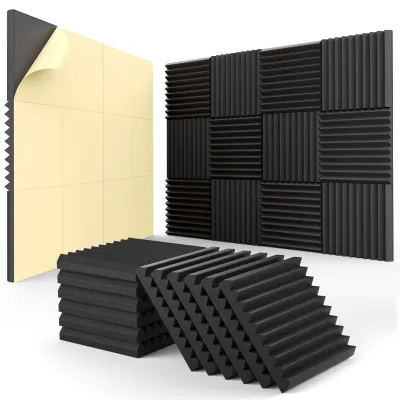
Prices are valid at publication and may change. Please refer to the product page for the latest price.
Finally, evaluate the existing furnishings in your room. Heavy fabric sofas, thick rugs, carpeted floors, and bookshelves filled with books of varying depths all act as natural sound absorbers and diffusers. If your room already contains a significant amount of soft, plush furniture, you may need fewer acoustic panels than you would in a sparse room with bare concrete walls and hardwood floors. Building your treatment plan around these existing elements prevents you from over-treating the space and wasting resources.
Match Panel Thickness and Density to Your Music Setup
The thickness and density of an acoustic panel directly dictate which frequencies it can absorb. Thin panels, typically around one inch thick, are highly effective at absorbing high-frequency sounds such as flutter echo, vocal sibilance, and the bright attack of acoustic instruments. However, they are virtually invisible to lower frequencies. Two-inch panels serve as a versatile standard for mid-to-high range frequencies, making them suitable for general vocal recording, acoustic guitars, and mid-range keyboard setups.

To verify how a panel will perform, always check the manufacturer’s product labels for density and the Noise Reduction Coefficient (NRC). The NRC is an average rating ranging from 0.0 (total reflection) to 1.0 (total absorption). While a high NRC is desirable, it is more important for music setups to look at the detailed absorption coefficients across specific frequency bands, particularly at 125Hz, 250Hz, and 500Hz. Denser materials, such as rigid fiberglass or rockwool, offer much higher absorption at lower frequencies compared to lightweight open-cell polyurethane foam of the same thickness.
Align your panel specifications directly with the primary instruments in your setup. If you are recording vocals, acoustic guitars, or violins, a combination of one-inch and two-inch panels will successfully clean up your tracks. If your setup includes a bass guitar, a kick drum, or large studio monitors that produce deep low-end frequencies, you must incorporate thicker panels of four inches or more. These thicker panels, often designed as corner traps, are essential for capturing the long, powerful sound waves of low-end instruments.
Calculate Coverage Area and Placement Strategy
Estimating the required treatment area depends on your room’s volume and your specific acoustic goals. For a standard home studio or music practice room, treating 20% to 30% of the total wall surface area is generally sufficient to control reflections without making the room feel unnaturally dead. If you are setting up a dedicated mixing suite or a voiceover booth where absolute precision is required, you may need to increase coverage to 35% or 40%.
To place your panels effectively, locate the primary reflection points using the classic mirror method. Sit in your main listening position while an assistant slides a small mirror along the side walls at eye level. Wherever you can see the reflection of your studio monitors or instrument amplifiers in the mirror, mark that spot. These are your primary reflection points, and they are the most critical areas to cover with panels to prevent early reflections from muddying your stereo image.
You must also decide between building a full acoustic panel wall or applying strategic spot treatments. A full acoustic panel wall involves covering an entire surface, which is highly effective for isolating specific reflection zones or treating severe flutter echo between parallel walls. However, for most home setups, strategic spot treatment is more practical and cost-effective. Placing individual panels at reflection points, hanging a panel cloud on the ceiling above your listening position, and installing bass traps in the corners will yield a balanced, natural-sounding room.
Installation Space and Mounting Considerations
Before purchasing panels, verify that your walls can safely support their weight. High-density panels made of rigid fiberglass or rockwool, especially those with wooden frames, are significantly heavier than lightweight foam. Ensure you use appropriate wall anchors, heavy-duty mounting brackets, or specialized impaling clips rather than simple adhesive strips. This ensures the panels remain securely attached to the wall over time without damaging the drywall.
Consider incorporating an air gap behind your panels during installation. Mounting a panel with an air gap equal to its thickness—for example, leaving a two-inch space between a two-inch panel and the wall—significantly improves its low-frequency absorption performance. The air gap allows sound waves that pass through the panel to reflect off the wall and pass through the panel a second time, effectively doubling the panel’s efficiency at lower frequencies without requiring thicker, more expensive materials.
Finally, review the physical clearances in your room. Ensure your planned panel layout does not block ventilation grilles, light fixtures, electrical outlets, or window frames. Leave enough clearance around doors so they can swing open and close freely without striking the panels. If you are installing panels near heating elements or lighting fixtures, verify the manufacturer’s fire safety ratings and clearance recommendations to ensure a safe installation.
Common Sizing and Placement Mistakes to Avoid
One of the most common mistakes is treating only a single wall in the room. If you place all your acoustic panels on one wall and leave the opposite wall completely bare, sound waves will continue to bounce back and forth between the untreated parallel surfaces. This creates an uneven frequency response and persistent flutter echoes. Always distribute your panels evenly across opposing walls to achieve a balanced acoustic environment.
Another frequent error is over-treating small rooms with thin panels. Covering every square inch of a small room with thin foam will absorb all the high frequencies, making the room sound dull, flat, and lifeless. Meanwhile, the low frequencies will remain completely untreated, resulting in a boomy, muddy low-end. Keep some reflective surfaces intact to maintain natural room energy, and focus your budget on thicker, denser panels that can address the low-end buildup.
Lastly, recognize the physical limitations of thin panels when attempting to control bass. Many users try to solve low-end boominess by placing thin foam panels in the corners of their rooms. Because low-frequency sound waves are physically long and carry a massive amount of energy, they pass straight through thin materials without losing momentum. True bass control requires thick, high-density corner traps designed specifically to handle low-frequency energy.
Frequently Asked Questions (FAQ)
Do I need to cover the entire wall with acoustic panels?
No, you do not need to cover the entire wall. For most music setups, covering 20% to 30% of the wall surface area at key reflection points is far more effective than full coverage. Over-treating a wall can make the room sound unnaturally dead and flat, while strategic placement preserves natural room dynamics and saves on material costs.
How do I know if my acoustic panels are thick enough for my bass guitar?
To determine if your panels can handle bass frequencies, check the manufacturer’s specifications for absorption coefficients at 125Hz and below. Thin panels of one or two inches are generally ineffective for bass. For a bass guitar setup, you will need high-density panels that are at least four inches thick, ideally placed in the corners of the room where low-frequency energy naturally accumulates.
Community discussion
Share your experience or ask a question. Comments are reviewed before publication.