
Finding the right capo guitar accessory is one of the most empowering steps a beginner guitarist can take. A capo acts as a movable nut, clamping down across the fretboard to shorten the playable length of the strings. This instantly raises the pitch of your instrument, allowing you to play songs in different keys using the basic open chord shapes you already know. Instead of struggling with complex barre chords early in your learning journey, a reliable capo lets you adapt any song to your vocal range or match the original recording with ease.
However, choosing the ideal capo is not a one-size-fits-all decision. The best option for your setup depends heavily on your guitar’s specific neck profile, fretboard curvature, and how quickly you need to transition between keys during practice. By understanding the core mechanical designs, material considerations, and compatibility factors, you can select a tool that keeps your instrument in tune and protects its finish. This guide outlines the essential features to evaluate so you can make an informed choice at your local music shop or online retailer.
Key Features to Look for in a Beginner Capo
When you are first learning to play, your primary focus should be on building finger strength, mastering chord transitions, and developing rhythm. The last thing you want is a piece of hardware that adds frustration to your practice sessions. A beginner-friendly capo must be intuitive to operate, reliable in its performance, and gentle on your instrument.
Products mentioned in this guide
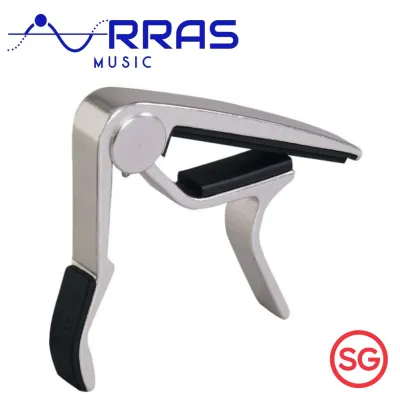
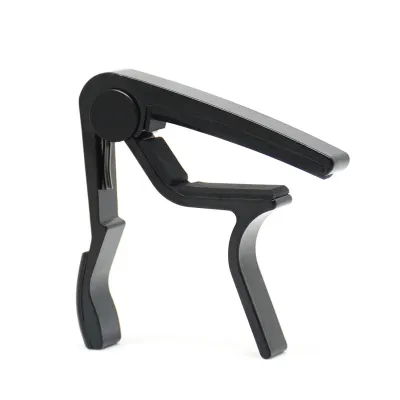
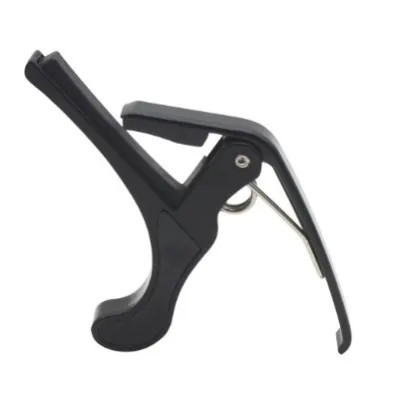
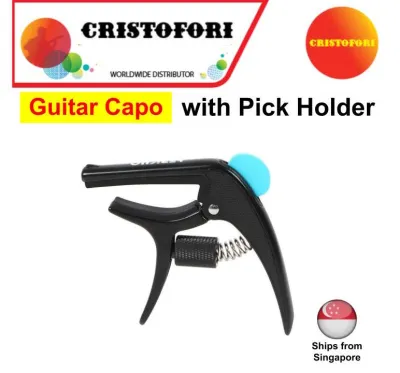
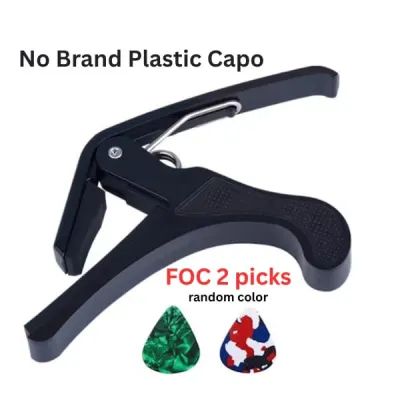

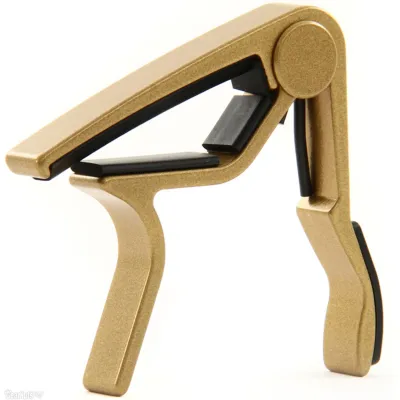
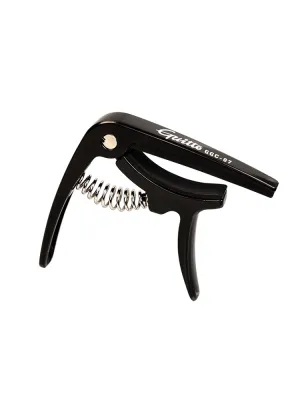
Prices are valid at publication and may change. Please refer to the product page for the latest price.
One-handed operation is a highly desirable feature for new players. During a practice session or a lesson, you will frequently need to move the capo to different frets or remove it entirely. A design that allows you to squeeze and reposition the clamp with a single hand keeps your practice momentum going, preventing unnecessary interruptions that can break your focus.
Even pressure distribution is equally critical. If a capo applies too much pressure on one side of the fretboard and too little on the other, some strings will buzz while others are pulled sharp. Look for models with a well-engineered clamping force that distributes tension uniformly across all six strings, ensuring a clean, clear tone without requiring constant retuning.
The materials used in the capo’s construction directly impact both its durability and the safety of your guitar. High-quality metal alloys, such as aluminum or zinc, offer long-lasting structural integrity without adding excessive weight. More importantly, pay close attention to the protective padding. The areas of the capo that contact your guitar’s neck and fretboard must be lined with thick, high-density silicone or rubber to prevent scratches, dents, or chemical reactions with the wood’s finish.
Finally, consider the physical weight and bulkiness of the accessory. A heavy, oversized capo can alter the balance of your guitar, making the neck feel head-heavy. Additionally, bulky clamps can physically interfere with your fretting hand, especially when you are playing chords close to the capo itself. Choosing a streamlined, low-profile design ensures your hand has ample room to move naturally.
Common Capo Mechanisms and Their Ease of Use
Guitar capos utilize several distinct mechanical designs to clamp down on the strings. Understanding these mechanisms is key to finding a model that matches your personal workflow and budget. The three primary categories you will encounter are spring-loaded trigger designs, screw-adjustable clamps, and elastic strap systems.

Each of these designs represents a different balance of speed, precision, and cost. While some players prioritize the rapid, one-handed transitions of a spring mechanism, others prefer the exact tension control offered by a screw-adjustable model, or the ultra-lightweight simplicity of a basic strap.
Trigger and Spring-Loaded Capos
Trigger-style capos are the most common sight in music classrooms and on live stages. These devices utilize a heavy-duty internal spring to hold the clamping arm against the strings. To use one, you simply squeeze the handles to open the jaws, position the capo behind the desired fret, and release your grip.
The primary advantage of this design is sheer speed. You can easily attach, move, or remove a spring-loaded capo with one hand in a matter of seconds. When not in use, many players simply clamp the device onto their guitar’s headstock, keeping it within arm’s reach at all times. This convenience makes it an excellent choice for beginners who are actively exploring different song keys during a single practice session.
However, this convenience comes with a notable trade-off. Because the spring tension is fixed, you cannot adjust the clamping force. If the spring is exceptionally stiff, it may apply more pressure than your strings require, pulling them slightly out of tune by stretching them downward toward the fretboard. To mitigate this, you must practice precise placement, ensuring the capo is aligned perfectly parallel to the fret wire and applied gently to avoid pulling the strings sideways.
Toggle and Screw-Adjustable Capos
Screw-adjustable capos, often referred to as screw-clamp or toggle designs, take a more deliberate approach to tension. Instead of relying on a fixed spring, these models feature a threaded knob or a mechanical toggle that allows you to manually dial in the exact amount of pressure applied to the strings.
This precise adjustment capability is highly beneficial for maintaining perfect intonation. You can tighten the screw just enough to eliminate string buzz without applying excess force that stretches the strings sharp. This makes screw-adjustable models incredibly useful for guitars with sensitive setups, lighter string gauges, or slightly uneven frets where a standard spring-loaded capo might cause tuning issues.
The trade-off for this precision is speed and ease of handling. Repositioning a screw-adjustable capo is a two-handed process that requires turning the knob to loosen the clamp, moving it to the new fret, and tightening it back down. For beginners who prefer a seamless, fast-paced practice flow, this extra step can feel tedious, though the reward is a highly stable and buzz-free sound.
Strap and Elastic Capos
Strap and elastic capos represent the traditional, minimalist end of the spectrum. These designs typically consist of a small metal or plastic bar lined with rubber, held in place by a heavy-duty elastic band or a fabric strap with adjustable notches.
The standout benefit of an elastic capo is its lightweight, low-profile nature. Because there are no bulky metal handles or protruding knobs, these capos stay completely out of the way of your fretting hand, allowing you to play complex chord shapes near the capo without obstruction. They are also highly affordable and compact, making them easy to slip into a pocket or a small accessory compartment in your gig bag.
Despite their portability, elastic capos have clear practical limitations. Adjusting the tension on the fly is difficult, as you must manually pull the strap to a tighter notch or rely on the inherent elasticity of the band. Over time, the elastic material will inevitably stretch out, lose its tension, or fray, requiring eventual replacement. Consequently, while they are excellent as lightweight travel companions or emergency backups, they are rarely chosen as a beginner’s primary, everyday capo.
Matching the Capo to Your Guitar's Neck Profile
Before purchasing a capo guitar accessory, you must verify that its physical shape matches the specific geometry of your instrument’s neck. Guitars are built with different fretboard curvatures, widths, and thicknesses, and using an incompatible capo will result in persistent string buzzing or tuning frustration.
The most critical factor to check is the fretboard radius, which refers to the slight curvature of the wood surface where your fingers press the strings. Classical guitars almost universally feature a completely flat fretboard. If you try to use a standard acoustic capo—which has a curved rubber pad—on a classical guitar, the capo will press down hard on the outer strings but fail to make solid contact with the middle strings, causing severe buzzing. Conversely, using a flat classical capo on a curved acoustic or electric fretboard will pinch the middle strings too tightly while leaving the outer strings loose.
Neck width is another essential dimension to measure. Classical guitars have significantly wider necks than steel-string acoustics or electric guitars to accommodate fingerstyle playing. You must ensure the capo’s clamping bar is long enough to span all six strings comfortably without slipping off the edges.
Finally, take note of the neck thickness and overall profile shape, such as a modern C-shape, a vintage V-shape, or a thick U-profile. Some capos have limited jaw openings that may struggle to clamp securely onto exceptionally thick vintage necks, while others might not close tightly enough on ultra-thin modern electric necks. Always review the manufacturer’s specifications regarding maximum neck thickness and width limits, or bring your guitar along to verify the fit in person before making a purchase.
Checking Local Availability in Singapore
When you are ready to buy a capo, exploring local options in Singapore allows you to make a highly informed decision. Visiting established physical music stores in central areas like Bras Basah Complex, Peninsula Shopping Centre, or various suburban malls gives you the unique opportunity to handle different models in person.
Testing a capo on a display guitar in-store is the most reliable way to evaluate its ergonomics. You can feel the resistance of a spring-loaded trigger to ensure it is not too stiff for your grip, check the thickness of the protective silicone padding, and observe how easily the mechanism clamps onto a neck profile similar to your own. This hands-on trial eliminates the guesswork often associated with online shopping.
If you prefer the convenience of online shopping, you can compare baseline prices across local e-commerce platforms and specialty music shop websites. In Singapore, high-quality beginner capos generally range from S$15 to S$40, depending on the mechanism and build quality. Be cautious of extremely cheap, unbranded options priced under S$5, as these often feature weak springs, thin padding that can wear through quickly, or sharp metal edges that pose a risk to your guitar’s finish.
Whether purchasing in-store or online, always verify the retailer’s return policies and warranty terms. Authorized local dealers can provide peace of mind, ensuring that if a spring fails prematurely or the padding degrades, you can easily secure a replacement. Checking these details beforehand ensures a smooth purchasing experience and a reliable tool for your musical journey.
Frequently Asked Questions (FAQ)
Does a capo damage the guitar neck?
A properly designed and well-maintained capo will not damage your guitar’s neck. However, damage can occur if you use a capo with worn-out, torn, or missing protective padding, which allows bare metal or hard plastic to press directly against the wood or finish. To prevent cosmetic scratches or dents, regularly inspect the silicone or rubber pads on your capo to ensure they are clean, soft, and intact. Additionally, it is best practice to remove the capo from the neck whenever you are finished playing. Leaving a high-tension capo clamped onto your guitar for extended periods, especially in Singapore’s humid climate, can put unnecessary stress on the neck relief and potentially react with delicate nitrocellulose finishes.
Why does my guitar sound out of tune with a capo?
If your guitar sounds out of tune after applying a capo, the issue is usually related to placement or excessive clamping force. For the best intonation, place the capo directly behind the fret wire—about two to three millimeters away—rather than dead-center in the middle of the fret space. Placing it too far back requires more pressure to clear the buzz, which stretches the strings and pulls them sharp. You should also ensure that you apply the capo straight down; if you clamp it at an angle or drag it across the fretboard, you will pull the strings sideways, throwing off their tuning. If you are using a spring-loaded model with high tension, a quick manual retuning after clamping is a common and normal adjustment.
Can I use an acoustic capo on an electric guitar?
In many cases, you can use an acoustic capo on an electric guitar, but it depends heavily on the specific neck radius and string gauge of your instruments. Acoustic guitars typically have a flatter fretboard radius and heavier string gauges, requiring a capo with a matching curve and robust clamping force. Electric guitars often feature a more pronounced curve and much lighter, highly sensitive strings. If you use a high-tension acoustic capo on an electric guitar, the excessive pressure can easily squeeze the light strings too far down, causing them to go sharp. While a high-quality universal capo with moderate tension can work adequately on both, a specialized electric capo or an adjustable-tension model is highly recommended for a perfectly buzz-free, in-tune electric setup.

Community discussion
Share your experience or ask a question. Comments are reviewed before publication.