
Selecting a replacement bridge for your bass guitar is a critical upgrade that directly impacts playability, tuning stability, and overall tone. Choosing the right Guyker bass bridge model requires matching your instrument’s physical specifications—such as string count, mounting screw patterns, and string spacing—with the manufacturer’s published dimensions. Because bridges are not universally interchangeable, verifying these measurements before purchasing prevents irreversible modifications to your bass guitar’s body. By evaluating your current setup’s string-loading method and selecting compatible materials like brass or steel, you can achieve a secure fit and reliable performance.
Identify Your Bass Guitar's Bridge Specifications
Before browsing the Guyker catalog, you must establish a clear profile of your current instrument’s structural requirements. The most fundamental starting point is your bass guitar’s string count. A bridge designed for a four-string bass cannot accommodate a five-string or six-string setup due to the physical limitations of the baseplate width and saddle spacing. Additionally, take note of your instrument’s scale length, as this dictates the overall tension and positioning of the saddles required to achieve proper intonation.
Next, examine how the strings are currently anchored to your instrument. Bass guitars generally utilize one of two primary string-loading methods: top-load or string-through-body. In a top-load configuration, the ball ends of the strings hook directly into the rear of the bridge plate. In a string-through-body setup, the strings pass through metal ferrules on the back of the guitar body, travel through routed holes, and emerge over the bridge saddles. Identifying which system your bass uses is essential, as some replacement bridges only support one method, while others feature a dual-loading design that accommodates both.
Products mentioned in this guide
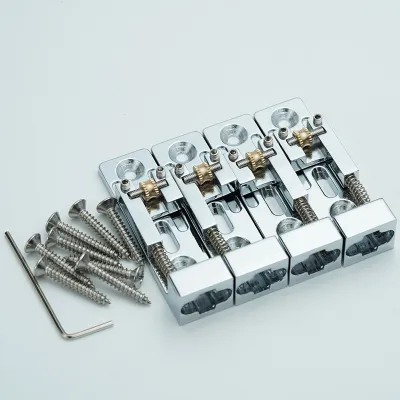
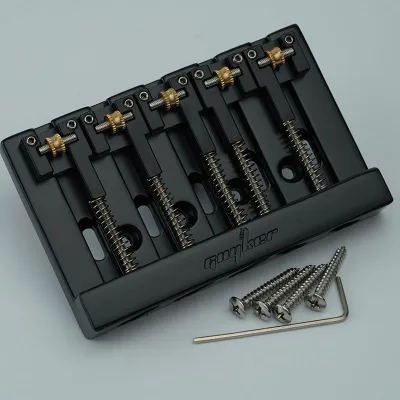
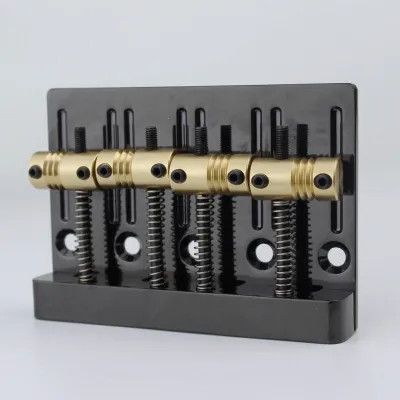
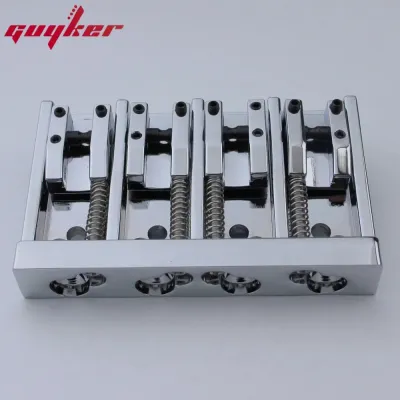
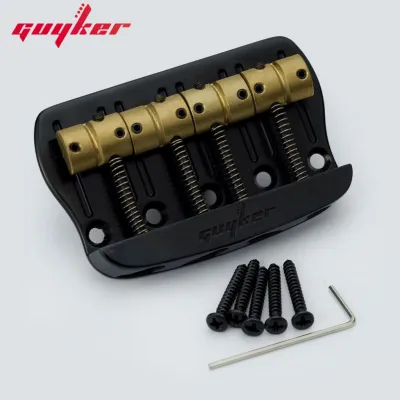
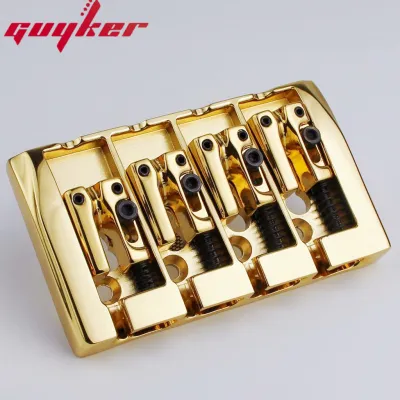
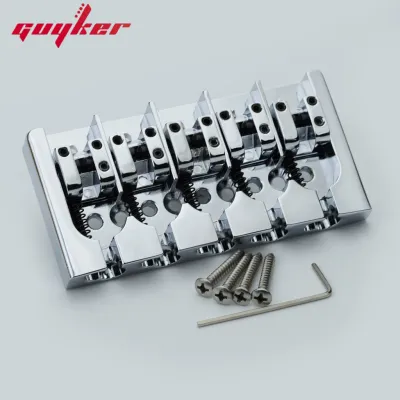
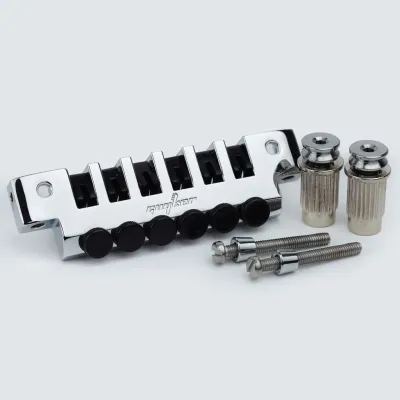
Prices are valid at publication and may change. Please refer to the product page for the latest price.
Finally, inspect the existing screw hole pattern and body routing on your bass. Remove your current bridge if possible to see if the wood underneath is flat or if there is a recessed route. Many vintage-style basses feature a simple flat-mount design, whereas some modern or high-performance instruments have recessed cavities that require a bridge with matching baseplate dimensions. Documenting the number of mounting screws—typically ranging from three to seven—and their relative positions establishes the baseline compatibility profile you need to match with a new Guyker model.
Compare Guyker Mounting and String-Loading Styles
Once you understand your instrument’s specifications, you can evaluate the mounting and loading configurations offered by Guyker. Top-loading bridges are highly popular for standard setups because they simplify string changes and reduce the risk of scratching the instrument’s finish. If your bass is currently configured for top-loading, selecting a Guyker model with a matching rear-entry design ensures a straightforward installation process without the need to drill new holes through the body of your guitar.

For players seeking specific tonal characteristics or those with existing body routes, string-through-body designs are a compelling option. Passing the strings through the body of the instrument is often favored by musicians who prefer a highly anchored feel and consistent downward pressure over the saddles. If your bass already has string-through holes, you must select a Guyker bridge that features matching vertical string holes in the baseplate. Attempting to use a strictly top-loading bridge on a string-through body will render the existing body holes useless and alter the instrument’s original design.
Beyond loading styles, you must check the manufacturer’s specifications for string spacing to ensure proper alignment with your bass neck and pickups. String spacing is measured from the center of one saddle to the center of the adjacent saddle. If the replacement bridge has spacing that is too wide, the outer strings may sit too close to the edges of the fretboard, making them prone to slipping off the frets during play. Conversely, spacing that is too narrow can misalign the strings with the pickup pole pieces, potentially leading to uneven volume levels across different strings.
Assess Material and Design Specifications for Tonal Preferences
The material composition of a bass bridge plays a significant role in its durability, weight, and potential influence on your instrument’s voice. When browsing Guyker models, check the product labels and official specifications for the materials used in both the baseplate and the individual saddles. Common options include brass, steel, and zinc alloy. Brass is widely appreciated for its density and is often associated with a warm, resonant tone and enhanced sustain. Steel components tend to offer a brighter, more defined attack, while zinc alloy provides a cost-effective, lightweight alternative that delivers reliable everyday performance.
Saddle design and overall bridge mass also warrant careful consideration. High-mass bridges feature thicker baseplates and larger saddles, which increase the overall weight of the hardware. Many players select high-mass designs to improve the transfer of string vibration to the body wood, which can enhance sustain and low-end clarity. If you prefer a traditional, vintage aesthetic and a lighter instrument, a standard-mass plate with barrel-style saddles may be more appropriate. Always verify these design details against the manufacturer’s technical specifications to ensure they align with your personal preferences.
Additionally, review the intonation adjustment range and spring tension mechanisms listed in the product details. A high-quality bridge must provide sufficient saddle travel to allow for precise intonation adjustments, especially if you use heavy-gauge strings or alternative tunings. Look for models that feature robust adjustment screws and high-tension springs that keep the saddles firmly in place under string tension. This ensures that once your bass is set up, it will maintain its tuning and intonation through rigorous playing sessions.
How to Measure and Verify Fit Before Purchasing
To guarantee a seamless installation and avoid the frustration of returning incompatible hardware, you must perform precise measurements of your current bridge setup. Avoid relying on visual estimates or general model names, as manufacturers often make subtle design changes across different production years. Gather the necessary measuring tools before you begin, such as a highly accurate steel ruler or a set of digital calipers, which are ideal for capturing small millimeter-level differences.
Start by measuring the exact distance between the existing mounting screws. This measurement must be taken center-to-center—from the center of the far-left screw hole to the center of the far-right screw hole—as well as between individual adjacent holes. For example, a common five-hole vintage mount has a specific overall screw spread that must match the mounting pattern of the Guyker bridge plate. If the measurements do not align perfectly, installing the new bridge will require filling the old holes and drilling new ones, which can compromise the structural integrity of the wood if not done correctly.
Next, measure the current string spacing at the bridge saddles. Measure the distance from the center of the lowest string saddle to the center of the highest string saddle, then divide by the number of string intervals to find the individual string spacing (typically expressed in millimeters, such as 19mm or 18mm). Compare these figures directly against the technical drawings provided on the Guyker product page. Ensuring that both the mounting screw pattern and the string spacing match your instrument’s dimensions is the most effective way to guarantee a drop-in fit.
Installation Boundaries and When to Seek Professional Help
Installing a new bass bridge can be a rewarding do-it-yourself project if the replacement model is a direct drop-in match. During installation, perform basic alignment checks to ensure the bridge plate sits perfectly square with the neck and pickups. When securing the mounting screws, tighten them gradually in an alternating pattern to distribute pressure evenly. Be careful not to over-tighten the screws, as this can strip the wood threads in the bass body or warp the bridge plate itself.
However, you must recognize your limits and identify clear stop conditions that require professional intervention. If you find that the mounting holes on the new Guyker bridge do not align with the existing holes in your bass, do not attempt to force the screws in at an angle. Similarly, if you encounter stripped wood fibers inside the screw holes, the screws will not hold the high tension exerted by bass strings. In tropical climates like Singapore, high humidity can cause wood to swell, making precise screw hole alignment and secure mounting even more critical to prevent structural damage over time.
If your chosen bridge requires filling old mounting holes, drilling new pilot holes, or routing the body cavity, it is highly recommended to consult a professional luthier. A qualified technician has the specialized tools and experience necessary to perform these modifications safely, ensuring the bridge is perfectly aligned with the scale length and neck centerline. A professional setup or bridge installation by a local luthier may cost anywhere from S$80 to S$150 depending on the complexity of the modifications, but it ensures your instrument plays and sounds its absolute best.
Frequently Asked Questions (FAQ)
Can I install a 5-string Guyker bridge on a 4-string bass?
No, you should not attempt to install a five-string bridge on a four-string bass guitar. A five-string bridge is physically wider than a four-string model, which will cause the baseplate to overhang the edges of a standard four-string body, creating aesthetic and structural issues. Furthermore, the string spacing on a five-string bridge is designed for a wider neck profile; installing it on a narrower four-string neck will cause the outer strings to sit completely off the fretboard, rendering the instrument unplayable. Always select a bridge that matches your instrument’s native string count and neck width.
Do I need to re-intonate my bass after changing the bridge?
Yes, re-intonating your bass guitar is an essential step after installing any new bridge. Replacing the bridge alters the precise contact points where the strings rest on the saddles, which changes the active scale length of each string. To restore proper intonation, you must adjust the saddle positions forward or backward using a high-quality tuner until the fretted note at the twelfth fret matches the harmonic at the same fret perfectly. Additionally, you will need to adjust the saddle heights to set your preferred action and check the neck relief to ensure optimal playability across the entire fretboard.
Community discussion
Share your experience or ask a question. Comments are reviewed before publication.