
When buying your first guitar instrument cable, focus on three primary factors: the correct length for your playing environment, durable build quality with proper shielding, and the right connector shapes for your guitar’s jack socket. While it is tempting to grab the cheapest option available on an online marketplace, a poor-quality cable introduces frustrating hum, robs your tone of high-end clarity, and fails quickly under normal use. Investing in a reliable cable ensures that the signal from your guitar reaches your amplifier or audio interface exactly as intended, without unwanted noise or sudden dropouts.
Determining the Right Cable Length for Your Setup
Determining the right cable length is a balance between physical freedom and signal preservation. For home practice in a typical bedroom or living space, a 10-foot (approximately 3-meter) cable is generally the ideal choice. This length provides enough slack to move comfortably from a chair or desk to your amplifier without creating a cluttered pile of excess wire on the floor. If you are practicing in a larger jam studio or preparing for live performances, a 15-foot to 20-foot (4.5 to 6-meter) cable offers the necessary room to move around the stage or pedalboard without pulling on your equipment.
Guitar pickups generate a high-impedance, low-voltage signal that is highly sensitive to the electrical properties of the cable. As this signal travels down the copper conductor, the cable acts as a capacitor, storing a small amount of electrical charge between the inner wire and the outer shield. The longer the cable, the higher its total capacitance. High capacitance acts as a low-pass filter, gradually rolling off the high-frequency treble frequencies of your guitar tone, resulting in a muddy, dull sound.
Products mentioned in this guide
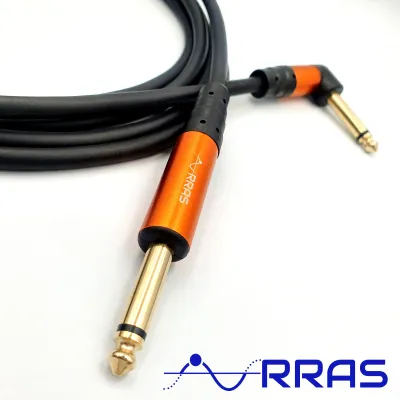
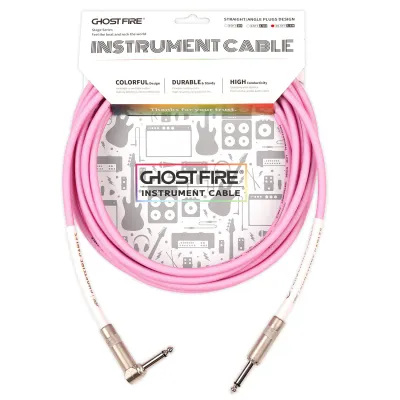
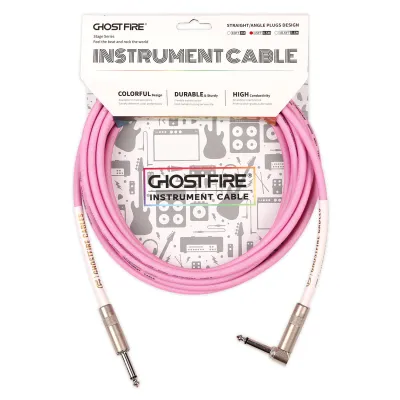
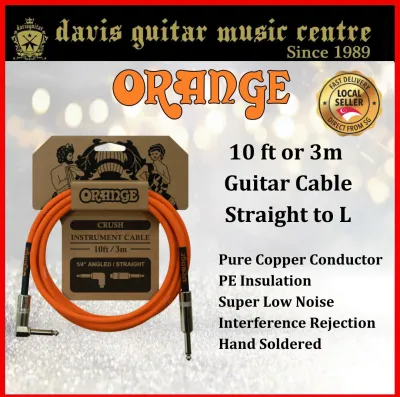
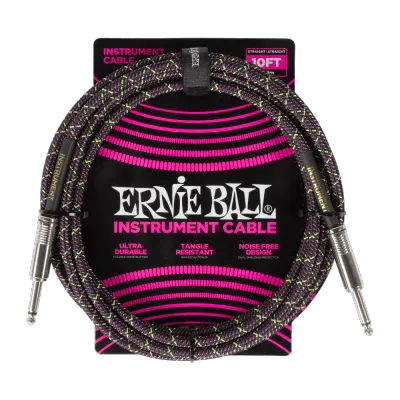
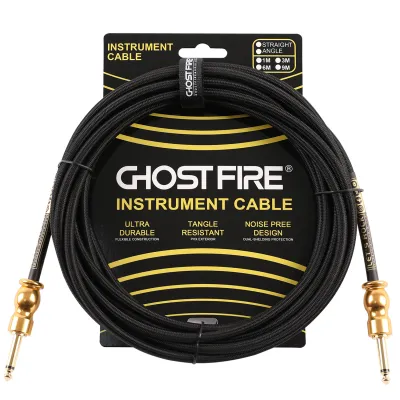
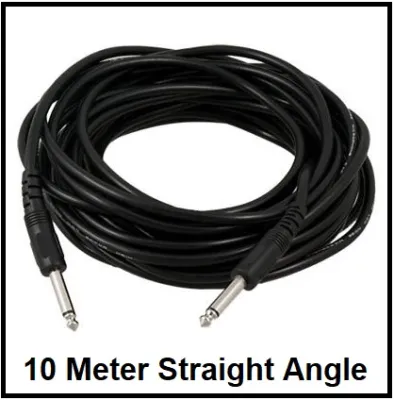
Prices are valid at publication and may change. Please refer to the product page for the latest price.
To preserve your guitar’s natural brightness, it is best to keep passive instrument cables under 20 feet (6 meters). If your setup requires a longer run, you will eventually need to introduce an active buffer pedal or active pickups to lower the impedance and prevent signal degradation. Additionally, managing cable slack is crucial for safety. A cable that is too short will be pulled taut, putting physical stress on your guitar’s input jack and potentially tipping over a lightweight practice amplifier. Conversely, a cable that is too long will coil up on the floor, creating a tripping hazard.
Evaluating Build Quality and Noise Shielding
Evaluating build quality requires looking closely at the materials used for both the outer jacket and the internal shielding. The outer jacket protects the delicate copper wires inside from physical damage, moisture, and wear. Polyvinyl chloride (PVC) is the most common jacket material because it is highly flexible, durable, and easy to wipe clean. Woven cloth or tweed jackets offer a classic aesthetic and resist tangling, but they can accumulate dust and are more difficult to clean if they get dirty. In humid environments, a high-quality PVC jacket or a tightly woven synthetic sleeve is excellent for preventing moisture from seeping into the internal components.

Underneath the outer jacket lies the shielding, which is essential for blocking electromagnetic interference (EMI) and radio frequency interference (RFI) from everyday sources like mobile phones, computer monitors, and household appliances. Without proper shielding, your amplifier will emit a loud, constant buzz or hum. There are two primary types of shielding used in instrument cables:
- Spiral Shielding: Consisting of flat copper strands wrapped in a single direction, this design is highly flexible and cost-effective. However, sharp bends can separate the strands, creating gaps that let in noise.
- Braided Shielding: Using interwoven copper strands to form a mesh, this design offers superior coverage (up to 95%) and structural strength. Though stiffer and more expensive, it provides excellent protection against noise.
Finally, inspect the construction at the connector ends. The strain relief boot—the flexible rubber or plastic sleeve where the cable meets the metal plug—is a critical point of failure. It distributes the bending force when the cable is flexed, preventing the internal wires from snapping at the solder joints. High-quality cables often feature serviceable metal barrels that screw off, allowing you to inspect, clean, or resolder the connections if they ever break. In contrast, molded plastic connector ends are sealed permanently; if an internal wire breaks, the entire cable must be discarded.
Selecting the Correct Connector Types and Angles
Selecting the correct connector configuration depends entirely on your guitar’s physical design and your gear layout. Instrument cables come with either straight plugs or right-angle plugs on the ends, and choosing the right combination prevents unnecessary strain on your guitar’s input jack.
- Straight Plugs: These are universal and essential for guitars with recessed input jacks, such as on a Fender Stratocaster, where a right-angle plug cannot physically plug in deeply enough.
- Right-Angle Plugs: Bending at a 90-degree angle, these allow the cable to lie flat against the guitar body. They are ideal for side-mounted jacks (like on a Gibson Les Paul) or top-mounted face jacks (like on a Gibson SG), reducing the cable's profile and allowing you to loop it securely through your strap.
When shopping, verify that the plug is a standard 1/4-inch (6.35mm) TS (Tip-Sleeve) mono plug. Avoid TRS (Tip-Ring-Sleeve) stereo plugs for standard guitar-to-amplifier connections, as they can cause compatibility issues or fail to complete the circuit in guitars with active preamps. Look for reputable connector designs that feature precise manufacturing tolerances. The plug should slide smoothly into your guitar and amplifier jacks, clicking firmly into place without requiring excessive force, and it should not wobble once inserted.
How to Inspect and Test a Cable Before Use
Before use, perform a visual and tactile inspection. Run your hand along the entire length, feeling for lumps, flat spots, or sudden changes in stiffness, which indicate internal damage. Ensure the metal connector barrels are screwed on tightly.
Next, perform a microphonics test. Plug the cable into your guitar and amplifier, set the volume to a moderate level, and gently tap the cable against the floor. A high-quality cable should remain silent. If you hear a distinct thump or crackle, the cable is microphonic, meaning physical movement is translating into electrical noise due to poor internal insulation.
Finally, test for intermittent dropouts. Play a chord and gently wiggle the cable near the strain relief boots at both ends. If you hear crackling or if the sound cuts out, the solder joints inside are loose or the copper core is fractured.
Proper Coiling and Storage for Cable Longevity
Proper coiling directly determines a cable’s lifespan. Avoid wrapping the cable tightly around your hand and elbow, which twists the internal copper conductors and shielding wires, leading to permanent kinks and eventual breakage.
Instead, use the professional “over-under” coiling method. Alternate the direction of each loop—one loop over, the next under. This neutralizes torsional stress, allowing the cable to lie completely flat when uncoiled without twisting.
Never wrap your cable tightly around your guitar, amplifier handle, or pedalboard, as this stresses the strain relief boots. Coil the cable loosely and secure it with a hook-and-loop tie. Store it in a dry, cool environment. In humid climates, exposed metal plugs can oxidize quickly, forming a green residue that degrades conductivity. Keep cables in a gig bag or drawer away from heavy objects.
Frequently Asked Questions (FAQ)
Does a more expensive guitar cable improve tone?
No, a more expensive guitar cable does not actively improve or add tone to your guitar signal. Because cables are passive components, they cannot boost frequencies or increase your volume. However, a high-quality cable is much better at preserving your original tone. Premium cables achieve this by using high-grade copper conductors and advanced insulation materials that lower the cable’s capacitance per foot, preventing the loss of high-frequency treble detail over longer runs.
When you pay more for a cable, you are primarily investing in durability, shielding efficiency, and mechanical reliability. Premium cables feature robust strain relief, heavy-duty metal connectors, and superior shielding that blocks external electromagnetic noise. Many of these higher-end options also come with lifetime warranties, meaning the manufacturer will replace the cable if it ever fails under normal use. For a beginner, a mid-range cable costing between S$20 and S$40 offers the perfect balance of tone preservation and physical durability without unnecessary expense.
Can I use a speaker cable instead of an instrument cable?
No, you must never use a speaker cable in place of an instrument cable, nor should you use an instrument cable as a speaker cable. Although they look identical from the outside and both use standard 1/4-inch (6.35mm) plugs, their internal construction and purposes are completely different.
Instrument cables are designed to carry low-voltage, high-impedance signals from your guitar’s pickups. They require heavy shielding to protect this weak signal from external electromagnetic interference. If you use an unshielded speaker cable as an instrument cable, it will act as a giant antenna, capturing massive amounts of hum, buzz, and radio interference, making your amplifier unusable.
Conversely, speaker cables are designed to carry high-voltage, high-current signals from an amplifier’s power section to a speaker cabinet. They use thick, unshielded copper wires to handle this heavy electrical load. If you attempt to use a shielded instrument cable as a speaker cable, the thin shielding wire will quickly overheat under the high current. This can cause the cable to melt, short-circuit, and potentially destroy your amplifier’s expensive output transformer. Always check the label on the cable jacket to ensure you are using the correct type for your setup.

Community discussion
Share your experience or ask a question. Comments are reviewed before publication.