
Transitioning from a few loose guitar pedals scattered across your floor to a dedicated pedal board is a major milestone for any guitarist. A well-chosen board does more than just keep your gear organized; it protects your patch cables, simplifies your setup process, and makes your entire rig portable. For beginners, the key is finding a balance between current needs and future expansion without overcomplicating your setup or buying an oversized, heavy frame that is difficult to transport.
When starting out, it is easy to get overwhelmed by professional-grade options, complex power routing, and massive frames. By focusing on fundamental features like size efficiency, durable materials, smart cable management, and reliable transport options, you can select a board that fits your space, budget, and playing style perfectly.
Assess Your Pedal Count and Space Requirements
Before looking at different board models, you need to evaluate the physical footprint of your current pedal collection. Standard compact pedals typically measure about 12 cm by 6 cm, but mini pedals are much smaller, while dual-switch modulation or multi-effects units can easily take up the space of three standard pedals. Laying your pedals out side-by-side on the floor is the best way to visualize the actual space you need.
Products mentioned in this guide
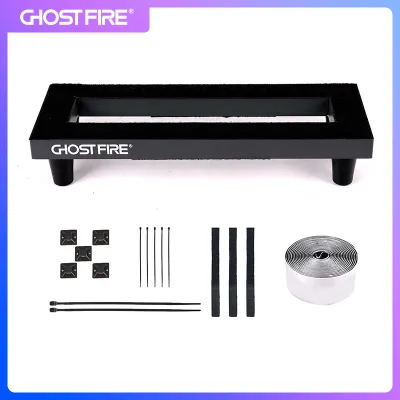
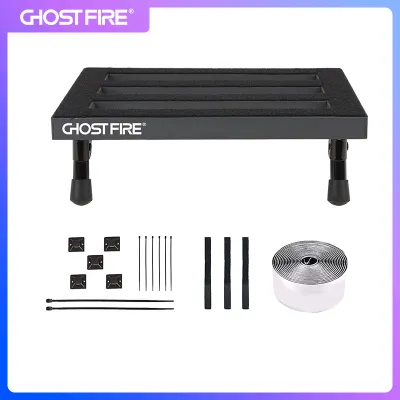
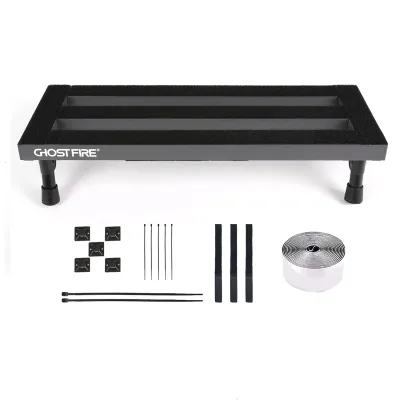
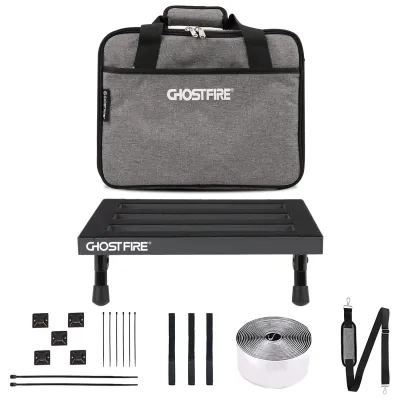
Prices are valid at publication and may change. Please refer to the product page for the latest price.
When planning your board’s dimensions, do not just account for the pedals themselves; you must also factor in the physical connectors. Patch cables require lateral space, and even low-profile right-angle jacks need about 1 to 1.5 cm of clearance on each side of a pedal. If your pedals have top-mounted jacks, you will save horizontal space but may need more vertical clearance between rows on a multi-tier board.
Avoid the common beginner trap of purchasing an oversized professional board to “grow into.” A massive board is heavy, expensive, and takes up significant floor space in a typical bedroom or compact living area. Furthermore, an empty board often tempts players into making unnecessary purchases just to fill the gaps. A compact board that comfortably fits four to six standard pedals is usually the ideal starting point for most beginners.
Compare Board Materials and Surface Designs
The material of your pedal board dictates its durability, weight, and how well it handles environmental factors. Aluminum is the industry standard for a reason; it is incredibly lightweight, structurally rigid, and completely immune to warping. This is a crucial consideration in humid climates where moisture can easily affect organic materials like wood.

While wood boards offer a classic, boutique aesthetic, they tend to be significantly heavier and can expand or contract with humidity changes if the wood is not perfectly sealed. Molded plastic boards are highly affordable and lightweight, making them attractive for absolute beginners, but they can flex under heavy stomping and may crack over time under intense use.
Beyond the material, pay close attention to the surface design of the board. Slotted or railed designs are highly recommended because they allow you to run cables underneath the board, keeping the top surface clean and organized. Flat, solid-top boards require you to run all cables on top, which can quickly become messy and leave your connections vulnerable to accidental kicks during practice.
Plan for Power Supply Mounting and Cable Routing
A clean power supply setup is essential for minimizing signal noise and keeping your board organized. When evaluating a pedal board, check how it accommodates power units. Many modern boards feature dedicated mounting brackets or open space underneath the frame, which keeps the top surface entirely dedicated to your pedals.
If you plan to use an isolated power supply—which is highly recommended to prevent unwanted hum and buzz—verify the vertical clearance underneath the board. Low-profile boards may not have enough height to clear a standard power brick, forcing you to mount it on top or search for a specialized, ultra-slim power supply. Checking these specifications beforehand prevents compatibility issues later.
Additionally, look for built-in cable routing channels or anchor points. Being able to secure your power cables with zip ties or cable clips underneath the board prevents them from hanging loose. Loose cables are prone to snagging during transport, which can damage the power jacks on your pedals or cause intermittent power failures during a performance.
Choose the Right Carrying Case and Portability Features
Portability is a major factor if you plan to take your guitar rig to rehearsals, music lessons, or local jam studios. The choice between a soft gig bag and a hard flight case depends entirely on your transport habits and how much physical protection your gear requires.
For most beginners, a high-quality soft gig bag is the most practical and budget-friendly choice. It is lightweight and usually features padded backpack straps or shoulder straps, making it much easier to carry while commuting on public transport or walking. Hard cases offer maximum physical protection against heavy impacts, but they are heavy, bulky, and difficult to carry over long distances on foot.
When choosing a soft bag, look for thick internal padding, heavy-duty zippers, and reinforced carrying handles. The bag should fit your fully loaded board snugly so that the pedals do not rub against the interior walls or shift during transit. This prevents delicate knobs and switches from being bent or broken while you are on the move.
Follow a Step-by-Step Selection Checklist
To finalize your pedal board purchase without feeling overwhelmed, follow this practical, sequential workflow:
- Step 1: Measure your current footprint. Lay out your current pedals on the floor in your preferred signal chain order. Measure the total width and depth of this layout, leaving a 2 cm gap between each pedal to simulate patch cable connections.
- Step 2: Match to board dimensions. Compare your measurements against the usable surface dimensions of the pedal boards you are considering. Ensure there is enough margin for any future pedals you plan to acquire in the near future.
- Step 3: Verify power supply clearance. Check the physical dimensions of your power supply and compare them to the clearance underneath the board. If the board does not have built-in brackets, verify if third-party mounting tape or brackets are compatible.
- Step 4: Evaluate your transportation needs. If you primarily practice at home, a simple dust cover or a basic gig bag is sufficient. If you travel frequently to jam sessions, prioritize a bag with comfortable shoulder straps and extra storage pockets for cables and accessories.
Frequently Asked Questions (FAQ)
Do Beginners Need a Powered Pedal Board?
Powered pedal boards come with built-in power distribution, which can seem convenient because it eliminates the need to buy a separate power supply. However, standard, non-powered boards are generally a better long-term investment. Non-powered boards give you the freedom to choose and upgrade your power supply as your pedal collection grows. Built-in power systems on budget boards often lack fully isolated outputs, which can introduce unwanted electrical noise, especially when mixing analog drive pedals with high-current digital delay or reverb pedals.
How to Secure Pedals Without Damaging Them?
The most common way to secure pedals is using adhesive hook-and-loop tape. To prevent the strong adhesive from damaging the pedal’s paint, serial number stickers, or rubber feet, you can apply a layer of painter’s masking tape to the bottom of the pedal first, then stick the hook-and-loop tape onto the masking tape. Alternatively, you can use specialized mounting brackets that screw into the pedal’s existing chassis holes, or heavy-duty zip ties looped through the slots of a railed pedal board, which avoids adhesives entirely.

Community discussion
Share your experience or ask a question. Comments are reviewed before publication.