
Proper care of a violin, guitar, cello, or ukulele is essential for preserving its acoustic properties, structural integrity, and aesthetic value. Using the correct string instrument accessories is the foundation of this process, as improper tools can easily cause permanent scratches, finish degradation, or wood damage. Regular maintenance not only keeps your instrument sounding its best but also prevents costly visits to a professional repair shop. By understanding the specific material needs of your instrument and establishing a consistent upkeep routine, you can ensure its longevity and performance for years to come.
Selecting Essential String Instrument Accessories for Regular Upkeep
Keeping your instrument in peak condition requires a dedicated set of tools designed specifically for delicate musical equipment. High-quality maintenance kits typically range in price from S$15 to S$45, making them a highly cost-effective investment compared to professional repair fees.
Basic Cleaning Tools
Standard household rags or old t-shirts often contain synthetic fibers, rough seams, or residual laundry detergents that can scratch delicate lacquers. High-quality, lint-free microfiber cloths are specifically designed to lift away dust, sweat, and rosin particles without scratching. It is highly recommended to keep separate cloths for different tasks: one for wiping down the body, one for removing sticky rosin from the strings, and one for applying conditioners or polishes.
Products mentioned in this guide

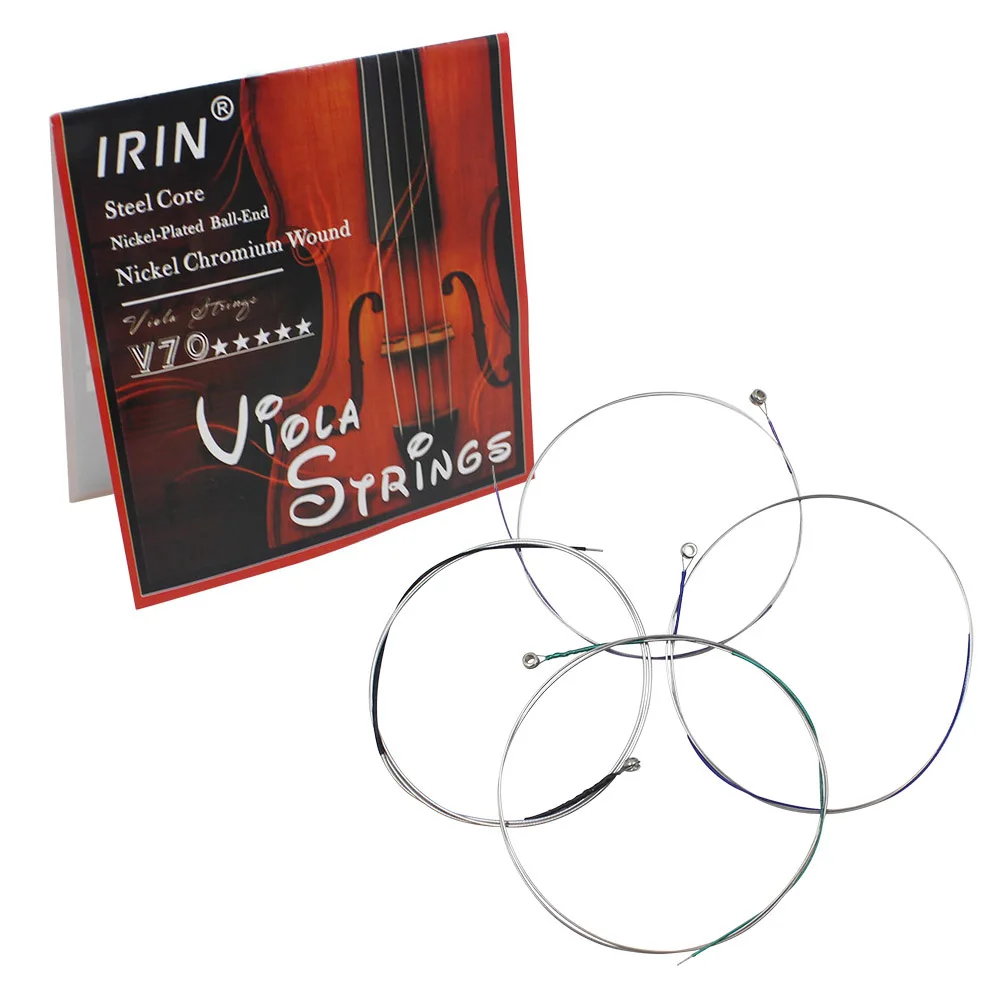

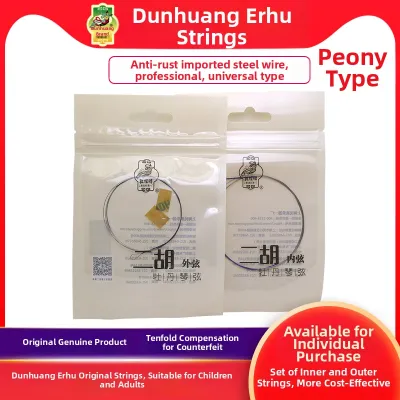


Prices are valid at publication and may change. Please refer to the product page for the latest price.
Dust, lint, and rosin tend to accumulate in hard-to-reach crevices, such as around the bridge, underneath the fingerboard, and inside the pegbox or tuning gear assemblies. A soft-bristle brush, such as a clean natural-hair makeup brush or a small, specialized instrument dusting brush, allows you to gently sweep away debris without applying pressure.
Avoid paper towels, tissues, or kitchen napkins at all costs. These wood-pulp products are surprisingly abrasive and will leave micro-scratches on soft varnishes and high-gloss finishes. Similarly, avoid any old clothing that features metal zippers, plastic buttons, or rough seams that could make contact with the instrument’s body during cleaning.
Specialized Care Products
Never use generic household furniture polishes on musical instruments. These often contain silicones, which can penetrate the wood grain, making future finish repairs or structural gluing almost impossible. Instead, choose a polish specifically formulated for your instrument’s finish. You must verify whether your instrument has a nitrocellulose lacquer, a modern polyurethane or polyester finish, or a traditional French polish (shellac). Nitrocellulose is highly sensitive to chemical solvents, while French polish can be dissolved by even a tiny amount of alcohol or moisture.
Over time, sweat and skin oils oxidize metal strings, leading to rust, a dull tone, and increased finger friction. Specialized string cleaners and lubricants help dissolve these deposits and leave a micro-thin protective barrier. This barrier reduces finger squeak, improves playability, and extends the life of your strings.
Unfinished wood fingerboards, such as those made of rosewood, ebony, or pau ferro, lack a protective lacquer coat and can dry out over time. Fretboard conditioners, typically formulated from light mineral oils or highly refined lemon oils, help restore moisture. However, you must verify your fretboard wood type and finish before application. Finished fretboards, such as lacquered maple, should never be treated with oils, as the oil cannot penetrate the finish and will only leave a sticky, dirt-attracting residue.
Step-by-Step Guide to Cleaning the Body and Hardware
Maintaining the exterior of your instrument requires a systematic approach to prevent accidental damage. Before beginning, ensure your workspace is clean, flat, and padded with a soft towel or an instrument work mat.

Preparation: Begin by slightly loosening the strings to reduce tension on the neck and bridge, or remove them entirely if you are planning a complete string change. If your instrument has a floating bridge or an internal soundpost (such as a violin, viola, or archtop guitar), do not remove all strings at once. Doing so can cause the bridge to fall out of alignment or the internal soundpost to collapse. Instead, clean the body in sections or change strings one or two at a time to maintain structural tension.
Dry Dusting: Always perform a dry dust-down before introducing any moisture or liquid cleaners. Use your soft-bristle brush to sweep away loose dust, pet hair, and rosin powder from the bridge, tailpiece, and pegbox. Follow this by gently wiping the flat surfaces of the body with a dry microfiber cloth. Skipping this step can cause abrasive dust particles to grind into the finish when you wipe it down with a damp cloth.
Damp Wiping: For stubborn smudges, grease, or fingerprints that dry dusting cannot remove, use a clean microfiber cloth that has been barely dampened with distilled water. Ensure the cloth is not wet or dripping; excess water can seep into seams, purfling, or open wood pores, causing the wood to swell and the glue joints to fail. Immediately follow the damp wipe with a dry microfiber cloth to buff the surface and remove any lingering moisture.
Hardware Cleaning: Metal hardware, including tuning pegs, gear plates, tailpieces, and metal bridges, requires careful attention. Wipe these components down with a dry microfiber cloth to remove sweat and oils, which can cause corrosion and tarnish. If the hardware is heavily tarnished, you can use a specialized metal polishing cloth, but you must ensure that the chemical agents on the cloth do not touch the surrounding wood or finish, as they can cause permanent discoloration.
Stop Condition and Warnings: Under no circumstances should you use household glass cleaners, rubbing alcohol, dish soap, or aerosol furniture sprays on your instrument. These products contain harsh solvents, ammonia, or silicones that can permanently strip, cloud, or melt delicate varnishes and lacquers. Always check the manufacturer’s care instructions for your specific instrument model before applying any commercial cleaning solution.
Fretboard Conditioning and String Maintenance
The fretboard and strings are the primary points of contact between your fingers and the instrument, making them highly susceptible to dirt accumulation and wear. Proper care here directly impacts both playability and tone.
Fretboard Wood Identification: Before applying any liquid or oil, you must identify the type of wood on your fretboard. Unfinished, open-pore hardwoods like ebony, rosewood, and dark synthetic composites benefit from occasional conditioning to prevent drying and cracking. In contrast, finished wood fretboards, commonly made of maple on electric guitars and basses, are sealed with a clear lacquer or polyurethane coat. Finished fretboards should only be wiped down with a dry or slightly damp cloth; applying oils to a finished fretboard will only create a slick, greasy layer that attracts dirt.
Conditioning Application: When conditioning an unfinished fretboard, moderation is key. Apply a very small amount of specialized fretboard conditioner—just a drop or two per fret—directly to a clean microfiber cloth, never directly onto the wood. Gently work the oil into the wood grain using circular motions. Allow the conditioner to sit for no more than one to two minutes to absorb. Afterward, use a clean, dry section of the cloth to vigorously wipe off all excess oil. Failing to remove the excess can cause the oil to seep into the fret slots, softening the wood and eventually causing the metal frets to loosen or lift.
String Care: Sweat, skin oils, and environmental moisture are highly corrosive to metal strings. To maximize their lifespan and maintain a bright tone, make it a habit to wipe down your strings after every single playing session. Take a dry, lint-free microfiber cloth, fold it over a string, and slide it up and down the length of the fretboard. This removes the acidic oils left by your fingers before they can cause oxidation and rust.
Replacement Indicators: Rather than relying on an arbitrary calendar schedule, inspect your strings regularly for physical and auditory signs of wear. Replace your strings if you observe noticeable discoloration or dark rust spots, if the tone becomes dull and loses its natural brightness and sustain, if the instrument struggles to stay in tune, or if you feel physical flat spots, dents, or fraying along the length of the strings.
Protecting Your Instrument from Environmental Damage
Wooden instruments are highly organic and sensitive to the surrounding atmosphere. In tropical climates like Singapore, managing environmental factors is one of the most critical aspects of instrument ownership.
Case Selection: When your instrument is not in use, store it inside a high-quality hard case or a heavily padded gig bag. While displaying an instrument on a wall hanger or stand is visually appealing, it exposes the wood to constant dust, accidental impacts, and rapid environmental fluctuations. A sealed hard case acts as a physical shield and a thermal buffer, slowing down the rate of temperature and humidity changes.
Humidity Control: Singapore’s relative humidity often exceeds 80% outdoors, while indoor air conditioning can drop humidity levels significantly. Extreme humidity causes wood to absorb moisture and swell, leading to warping, high action, glue joint failure, and mold growth. Conversely, constant exposure to dry air conditioning can dry out the wood, causing it to shrink, warp, or crack. To combat this, use specialized two-way humidity control packets or silica gel desiccant packs inside your instrument case. These accessories help maintain a stable relative humidity level, ideally between 45% and 55%, which is the optimal range for preserving wooden musical instruments.
Placement Rules: Where you store your instrument case matters. Keep it away from direct sunlight, which can rapidly heat the wood and melt delicate varnishes. Avoid placing the case directly in the path of air conditioning vents, which blow cold, dry air. Never leave your instrument in the trunk of a car, where temperatures can climb to dangerous levels within minutes, melting adhesives and causing irreversible structural warping.
Recognizing When to Seek Professional Luthier Services
While routine cleaning and basic conditioning are safe DIY tasks, certain issues require the expertise of a professional luthier. Attempting complex repairs without the proper training and specialized tools can easily devalue or permanently ruin your instrument.
Recognize the clear visual and auditory warning signs that indicate it is time to seek professional help:
- Visible structural cracks in the wood body, neck, or headstock.
- A lifting or separating bridge, which is under immense string tension.
- Severe neck bowing or warping that cannot be resolved with minor adjustments.
- Deep wear grooves or divots in the metal frets, causing persistent buzzing.
- A loose or buzzing internal brace or soundpost.
Truss rod adjustments are a common area where DIYers make critical errors. While minor adjustments are standard maintenance for guitarists, you must stop immediately if you feel high resistance when turning the truss rod nut. Forcing a stuck truss rod can snap the rod or strip the thread, resulting in an extremely expensive neck replacement. If a minor adjustment does not resolve the neck relief issue, consult an authorized repair center or a professional luthier to perform a comprehensive setup.
Frequently Asked Questions (FAQ)
Can I use household glass cleaners or rubbing alcohol on my instrument?
No, you should never use household glass cleaners, rubbing alcohol, or general-purpose chemical solvents on your instrument. These substances are highly destructive to musical instrument finishes. Alcohol will instantly dissolve traditional French polish (shellac) and can dry out or cloud nitrocellulose lacquers. Glass cleaners often contain ammonia, which can strip away protective finishes and dry out bare wood. Always use cleaning products that are explicitly labeled as safe for your specific instrument’s finish type.
How often should I condition my fretboard?
Fretboard conditioning should be done sparingly to avoid damaging the wood. For most instruments with unfinished wood fretboards, conditioning once or twice a year is more than sufficient. Over-conditioning can saturate the wood fibers, causing the wood to swell, soften, and loosen the metal frets. In Singapore’s naturally humid climate, the wood is less prone to extreme drying, meaning you may only need to condition the fretboard when it looks visibly dry, grey, or ashy. Always wipe away all excess oil immediately after application.
Community discussion
Share your experience or ask a question. Comments are reviewed before publication.