
Integrating an electronic drum kit into a digital music workflow bridges the gap between physical performance and digital flexibility. For producers and DJs looking to expand their setup, the DTX452K offers a responsive platform that can function both as a dynamic MIDI controller and a versatile audio source. By establishing the correct physical connections and configuring your software settings, you can trigger virtual instruments in a digital audio workstation (DAW) or layer live percussion over a DJ set. This integration enhances the expressiveness of your studio recordings and adds an engaging, visual element to your live performances.
Preparing Your DTX452K and Workspace
Before making any cable connections, it is essential to prepare your physical workspace to ensure a stable and ergonomic setup. Begin by fully assembling the drum rack, pads, and pedals according to the manufacturer’s instructions, making sure all clamps and key bolts are securely tightened. A loose pad or a sliding kick pedal can disrupt your playing rhythm and put unnecessary strain on the connecting cables. Position the drum kit on a non-slip drum mat to prevent the rack from shifting during energetic performances, especially if you are working in a compact home studio or a temporary DJ booth.
Next, identify the available ports on the DTX452K drum module, which serves as the central hub for your connections. On the back or side of the module, you will find the USB TO HOST port, the output/phones jack, and the auxiliary input. Take note of the ports on your destination hardware as well, whether you are connecting to a computer, an external audio interface, or a multi-channel DJ mixer. Ensure you have the correct cables on hand, such as a high-quality USB Type-B to Type-A (or Type-C) cable for digital data, and appropriate audio cables for analog routing. Keeping your cables organized with velcro ties will prevent tangles and reduce the risk of accidental disconnections during a session.
Products mentioned in this guide
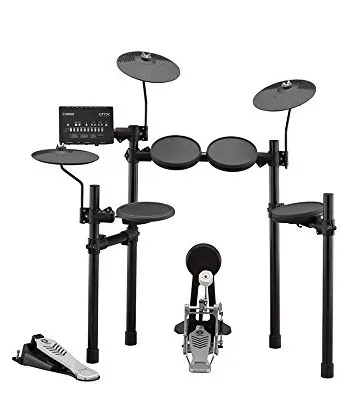
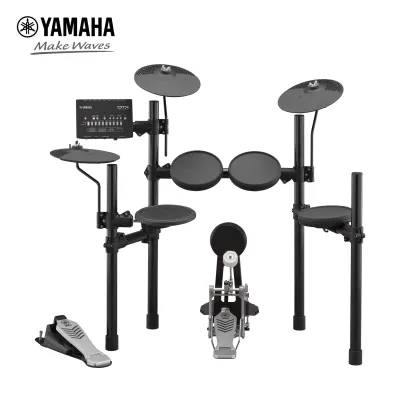
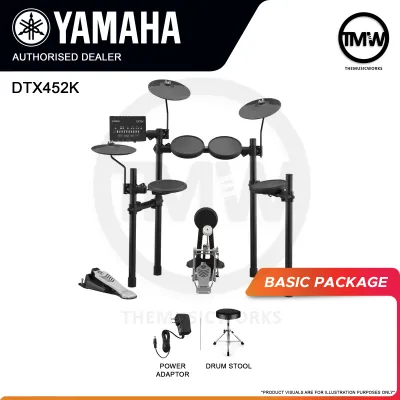
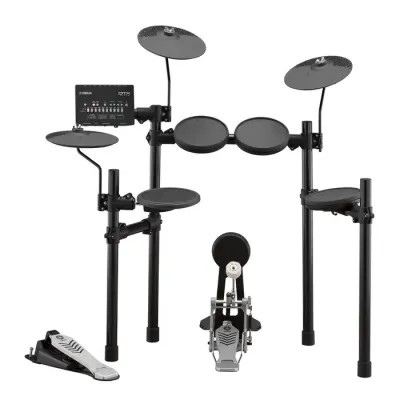
Prices are valid at publication and may change. Please refer to the product page for the latest price.
Connecting the DTX452K to Your Computer or DJ Gear
Establishing a reliable physical link between your electronic drum kit and your production or performance gear is the foundation of a successful setup. To transmit digital performance data, connect a standard USB cable from the USB TO HOST port on the DTX452K module directly to an available USB port on your computer. This single cable carries MIDI data, allowing your computer to recognize every pad strike as a digital note with specific velocity and timing information. If your computer only has USB-C ports, use a high-quality adapter or a dedicated USB-B to USB-C cable to ensure a stable connection without data loss.

If your goal is to use the internal drum sounds generated by the DTX452K module, you will need to establish an analog audio connection. Since the module features a combined output and phones jack, you should use a stereo splitter cable, typically a 1/4-inch TRS connector on one end that splits into dual 1/4-inch TS mono connectors on the other. Route these mono connectors into two line-level inputs on your audio interface or an open stereo channel on your DJ mixer. Always ensure that the volume levels on both the drum module and your receiving equipment are turned down before plugging in the cables to prevent sudden audio spikes that could damage your speakers or hearing. Refer to the official user manual to verify port locations, supported cable types, and power requirements before powering on the system.
Configuring MIDI and Audio Settings in Your Software
Once the physical connections are secure, you must configure your software to recognize and process the incoming signals from the drum kit. Open your preferred DAW or DJ software and navigate to the preferences or settings menu. Locate the MIDI configuration tab, where you should see the drum module listed as an available input device. Enable the device and ensure that track and sync options are active so the software can receive the MIDI notes generated by your pad strikes.
For audio routing, if you are sending the module’s internal sounds through an audio interface, select that interface as your active audio input device in the software’s audio settings. Create a new audio track in your project, set its input to match the physical channels where the drum kit is connected, and enable input monitoring to hear the sounds in real time. If you are using Windows, installing a dedicated low-latency audio driver like ASIO is highly recommended to minimize processing delay, while macOS users can rely on the built-in Core Audio system. Consult your specific software’s documentation for detailed instructions on MIDI mapping, channel assignments, and driver installation to ensure a seamless software-hardware integration.
Using the DTX452K for Electronic Music Production
In a studio environment, utilizing an electronic drum kit to record MIDI data offers unparalleled flexibility compared to drawing notes with a mouse or playing on a keyboard. By triggering virtual drum machines, samplers, or synthesizer plugins within your DAW, you can capture the natural feel and timing of a live drummer. This approach allows you to easily swap drum kits, adjust individual drum sounds, or edit specific notes long after the recording session is complete. You can map the pads to trigger classic drum machine samples for house and techno, or organic percussion sounds for ambient and downtempo tracks.
To ensure your performance is captured accurately, take the time to adjust the velocity curves and pad sensitivity settings directly on the drum module. These settings determine how the module translates the physical force of your strikes into digital MIDI velocity values. If the sensitivity is too low, your ghost notes may not register; if it is too high, every strike will sound at maximum volume, stripping the performance of its natural dynamics. Once recorded, you can use your DAW’s quantization tools to align your notes to the project grid for a tight, electronic feel, or apply subtle humanization to maintain a loose, organic groove that keeps the track feeling alive.
Integrating the DTX452K into a Live DJ Performance
Bringing an electronic drum kit into a live DJ set adds an exciting, interactive element that sets your performance apart from standard track mixing. You can map the pads of the DTX452K to trigger specific samples, loops, or sound effects within your DJ software, allowing you to perform live build-ups, transitions, or finger-drumming solos over the playing tracks. This hybrid setup transforms the drum kit into an expressive performance controller, giving you real-time creative control over the energy of the dancefloor.
To blend the drum kit’s sound with your music, route the audio output of the module or your audio interface into an open channel on your DJ mixer. This setup allows you to use the mixer’s physical EQ knobs, filters, and volume faders to blend the live drums seamlessly with the playing tracks. For example, you can roll off the low frequencies of the drum kit during a busy track section to avoid muddying the bassline, and then bring the bass back in for a dramatic drum solo. Before performing live, thoroughly test your system’s latency and monitoring setup; even a slight delay between hitting a pad and hearing the sound can disrupt your timing, making a dedicated monitor speaker or in-ear monitoring system essential for a tight performance.
Troubleshooting Common Connection and Playback Issues
Technical hurdles can occasionally arise during setup or performance, but most issues can be resolved with systematic troubleshooting. If your computer or software fails to recognize the drum kit, start by checking the physical USB connection. Ensure the cable is plugged securely into both the module and the computer, try using a different USB port, and avoid connecting through unpowered USB hubs which may not supply sufficient power. Additionally, verify that the module is powered on and that the correct MIDI input port is enabled in your software’s preferences.
If you are experiencing audio routing issues, such as hearing no sound from the module or your software, double-check all physical cable connections and volume levels. Ensure the volume knob on the drum module is turned up, and verify that the correct input channels are selected on your mixer, audio interface, or DAW tracks. If you encounter a noticeable delay between hitting a pad and hearing the sound, this is likely a latency issue. You can manage this by lowering the audio buffer size in your software’s audio settings; however, be mindful of your computer’s processing limits, as setting the buffer size too low can cause audio crackling, pops, or dropouts.
Frequently Asked Questions (FAQ)
Can I use the DTX452K to control non-drum virtual instruments?
Yes, the DTX452K transmits standard MIDI data over its USB connection, meaning it is not limited to triggering drum sounds. Each pad on the kit is assigned a specific MIDI note number, which can be mapped to trigger any virtual instrument within your DAW or performance software. This allows you to play synthesizer leads, trigger melodic loops, or control sound effects using the drum pads, provided your software supports custom MIDI mapping and note reassignment.
Do I need a dedicated audio interface for live DJ sets?
While you can connect the drum module’s audio output directly to a spare channel on a hardware DJ mixer, using a dedicated audio interface is highly recommended for professional live sets. An audio interface offers superior digital-to-analog conversion, resulting in cleaner sound quality and lower latency. It also provides multi-channel routing options, allowing you to set up independent monitoring mixes so you can hear your drums clearly in your headphones before sending the signal to the main venue speakers.
Community discussion
Share your experience or ask a question. Comments are reviewed before publication.