
Integrating an electronic drum pad into a DJ setup elevates a standard transition-based set into a dynamic live performance. By blending tactile percussion, custom vocal chops, and physical drum rolls with playing tracks, you can break away from the limitations of pre-recorded loops and introduce real-time improvisation. Whether you are performing in a packed venue in Singapore or streaming from a home studio, adding a physical playing surface lets you express micro-rhythms and energetic fills that are otherwise difficult to execute using only a standard DJ controller or mixer.
Successfully merging these two worlds requires a clear understanding of how hardware signals, digital control data, and audio routing interact. This guide walks you through the entire integration process, from selecting compatible gear and establishing physical connections to mapping MIDI commands and managing live performance latency. By configuring your setup systematically, you can trigger complex samples and loops seamlessly, ensuring every strike lands perfectly on the beat.
Preparation and Compatibility Checks
Before purchasing gear or attempting to connect your equipment, you must verify the compatibility of your hardware and software components. The core setup typically consists of an electronic drum pad, a DJ controller or mixer, a laptop running DJ software, and the appropriate connection cables. Because different manufacturers utilize varying communication standards, verifying the exact specifications of each device is essential to prevent setup failures or unexpected performance issues during a live set.
Products mentioned in this guide
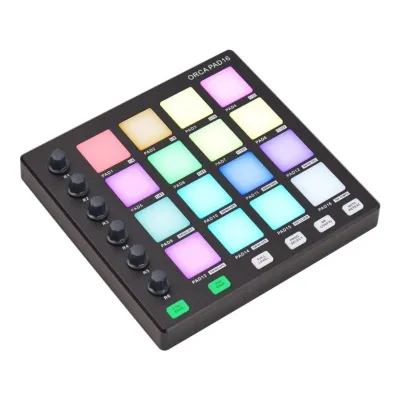
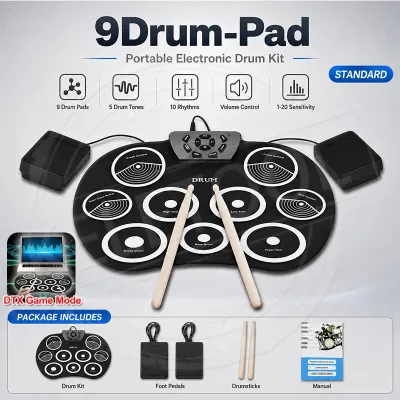
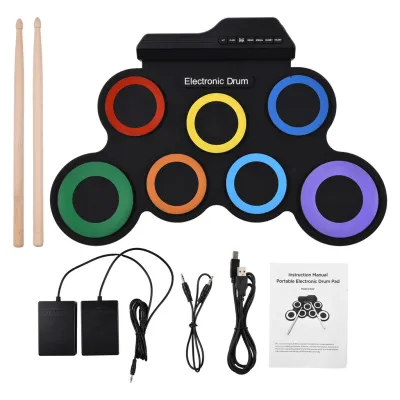
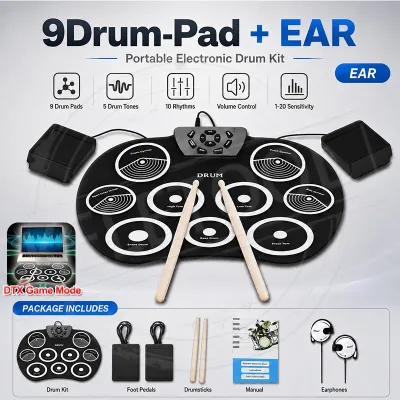
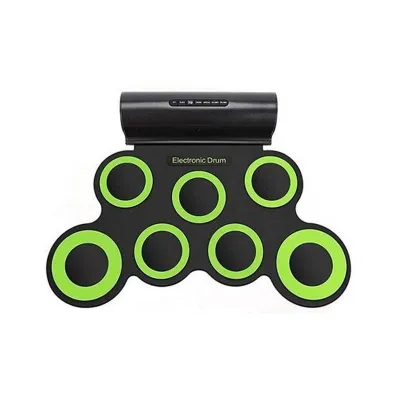
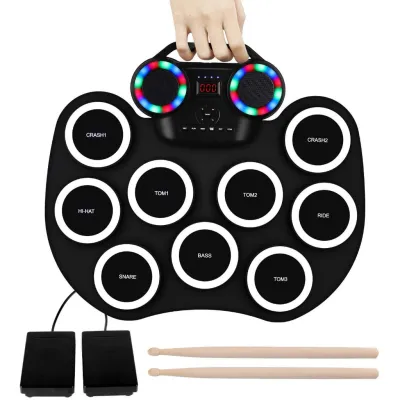
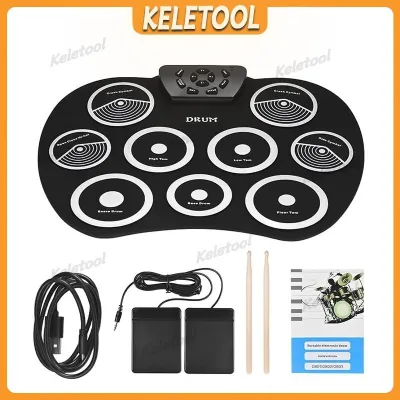
Prices are valid at publication and may change. Please refer to the product page for the latest price.
First, check the hardware specifications of your electronic drum pad to determine how it communicates with external devices. Most modern pads support MIDI over USB, which allows them to connect directly to a laptop and transmit control data without requiring a separate MIDI interface. However, some older or highly specialized performance pads rely on traditional 5-pin MIDI DIN outputs. If your pad only features 5-pin connections, you will need a dedicated MIDI-to-USB interface or a DJ controller that includes physical MIDI input ports to bridge the gap to your computer.
It is equally important to distinguish between a dedicated MIDI controller pad and an electronic drum pad equipped with an internal sound engine. A MIDI-only controller pad does not generate any sound on its own; it merely sends digital trigger data (such as note numbers and velocity values) to your laptop, where your DJ software or a secondary software sampler generates the actual audio. Conversely, a drum pad with an internal sound module can produce audio independently. While these standalone pads can still function as MIDI controllers if they possess USB or MIDI outputs, they also require physical audio routing to send their internal sounds to your DJ mixer.
Finally, log onto the official website of your preferred DJ software (such as Serato DJ Pro, Pioneer DJ Rekordbox, or Native Instruments Traktor Pro) and inspect their official hardware compatibility lists. While almost all modern DJ software supports generic MIDI mapping, certain advanced features—such as automatic deck synchronization or native plug-and-play mapping—may be restricted to officially certified accessories. Verifying these details beforehand ensures you will not run into software limitations that prevent you from utilizing the full potential of your drum pad.
Step 1: Hardware Connection and Audio Routing
Establishing a secure physical connection is the foundation of a stable live performance rig. The exact routing method you choose depends entirely on whether your electronic drum pad is a MIDI-only controller or a standalone instrument with its own internal sounds. Incorrect routing can lead to issues ranging from complete silence to ground loop hums that ruin the audio quality of your performance.

For a MIDI-only electronic drum pad, the setup is straightforward. Connect the pad’s USB output directly to an available USB port on your laptop using a high-quality, shielded USB cable. If your laptop only has USB-C ports and your pad uses USB-A, use a reliable, multi-port adapter or a dedicated USB-C to USB-B cable. Avoid using cheap, unpowered USB hubs, as they often fail to supply stable voltage to the pad, leading to sudden disconnections mid-performance. Because MIDI-only pads do not produce sound themselves, you do not need to connect any audio cables directly to the pad; all audio is generated by your laptop and output through your main DJ controller or audio interface.
If you are using an electronic drum pad that features an internal sound engine, you must route both MIDI data and physical audio. To use the internal sounds, connect the left and right audio outputs (typically 1/4-inch mono jacks) of the drum pad to an available line-in or auxiliary channel on your DJ mixer or controller. Use balanced TRS cables if the hardware supports them to minimize electromagnetic interference. This physical audio routing allows you to control the volume, equalization, and channel faders of the drum pad directly from your DJ mixer, blending the live percussion smoothly with the tracks playing on your decks.
Power management is another critical factor to address before taking your setup to a live gig. While some smaller MIDI drum pads are bus-powered—meaning they draw all necessary operating electricity directly from the laptop’s USB port—larger pads and those with internal sound engines require an external power supply unit (PSU). Always use the original manufacturer-approved power adapter to prevent damage to the internal circuitry. Even if your pad supports USB bus power, using a dedicated power adapter is highly recommended for live performances, as it reduces the power draw on your laptop and ensures the pad remains fully operational even if the computer experiences a temporary power fluctuation.
Step 2: MIDI Mapping in DJ Software
Once your hardware is physically connected, you must configure your DJ software to recognize and interpret the incoming signals from your electronic drum pad. This process, known as MIDI mapping, assigns specific physical pads to corresponding virtual buttons, sampler slots, or effect toggles within your software. Properly mapped pads allow you to trigger sounds intuitively without needing to touch your laptop keyboard or mouse during a set.
To begin, launch your DJ software and navigate to the preferences or settings menu. Locate the MIDI or controller configuration tab and verify that your electronic drum pad is listed as an active MIDI input device. If the software does not detect the pad, ensure the device is powered on, check the physical cable connections, and verify whether you need to install specific hardware drivers from the manufacturer’s website. Once the software recognizes the device, enable the MIDI input option to allow the software to receive incoming control data.
Most professional DJ software suites feature a “MIDI Learn” or “MIDI Mapping” mode that simplifies the assignment process. When you activate this mode, the software’s user interface will change color or highlight mappable parameters. Click on the specific software function you wish to control—such as the first slot of your software sampler—and then firmly strike the physical pad on your drum pad that you want to assign to that function. The software will automatically detect the incoming MIDI note number and bind it to that control. Repeat this process for each pad, mapping them to sampler slots, hot cues, or play/pause functions as desired. Remember to save your custom mapping profile so you can easily reload it before future performances.
After establishing the basic mappings, you should fine-tune the pad responsiveness to match your physical playing style. Electronic drum pads allow you to adjust velocity curves, sensitivity, and threshold settings. Velocity sensitivity determines how the volume of the triggered sample responds to the force of your strike; a hard strike produces a loud sound, while a soft tap produces a quiet one. If you prefer a consistent volume regardless of how hard you hit the pad, you can set the velocity curve to a fixed value. Adjusting the threshold is also crucial to prevent “crosstalk,” which occurs when striking one pad accidentally triggers an adjacent pad due to physical vibrations traveling through the mounting stand.
Finally, consider mapping a dedicated pad or button on your setup to control the “sync” or “quantize” state of your sampler. In software like Serato or Rekordbox, enabling quantization ensures that when you strike a pad to trigger a sample, the software automatically aligns the start of that sample with the nearest beat grid marker of the currently playing track. This prevents minor timing errors from sounding off-beat, allowing you to focus on the performance without worrying about micro-adjustments to your physical striking timing.
Step 3: Loading and Organizing Samples and Loops
Having a perfectly mapped drum pad is only useful if you have high-quality, well-organized audio content ready to be triggered. Preparing your sample library beforehand saves valuable time during a live set and prevents you from accidentally triggering the wrong sound in the heat of a performance.
Begin by curating a dedicated folder of performance samples on your computer. Your library should include a mix of one-shot samples—such as punchy kick drums, crisp snares, vocal shouts, and ambient FX—as well as short rhythmic loops, such as percussion shuffles or synth sequences. Import these audio files directly into your DJ software’s sampler banks. To maintain a clean and reliable setup, ensure all imported files are in high-resolution, uncompressed formats like WAV or AIFF, and verify that they are free from digital clipping or unwanted silence at the beginning of the audio file.
Organization is key to navigating your library quickly during a live mix. Most software samplers offer multiple banks (often labeled Bank A, B, C, and D), which you can organize to mirror the physical layout of your electronic drum pad. For example, you can dedicate Bank A entirely to drum hits (kick, snare, hi-hat, clap) to facilitate live finger drumming. Bank B can be reserved for melodic elements and vocal chops, while Bank C holds longer transitional effects and sweeps. Labeling these banks clearly in your software ensures you always know which sounds are active on your physical pads.
Once your samples are loaded, you must configure their individual playback behaviors within the software’s sampler settings. One-shot samples should typically be set to “trigger” or “play once” mode, where striking the pad plays the sample from start to finish. For longer vocal phrases or instrumental loops, configure the playback to “toggle” (striking once starts the loop, and striking again stops it) or “hold” (the sample only plays while your hand is physically pressing the pad). For any loops or rhythmic elements, ensure you enable the “sync to track BPM” option and pre-analyze the files within your software so that their internal beat grids match the master tempo of your active decks.
Step 4: Live Performance Techniques and Latency Management
Performing with an electronic drum pad in a live environment requires a blend of physical coordination, rhythmic timing, and technical optimization. Unlike traditional DJing, where you primarily manage pre-recorded tracks, adding live percussion introduces a real-time performance element that demands tight synchronization and low system latency.
The most critical technical challenge you will face when triggering live samples is audio latency—the delay between the physical moment you strike the pad and the moment you hear the sound come out of the speakers. High latency makes accurate finger drumming nearly impossible, as your ears hear the sound slightly after your hands perform the action. To resolve this, open your DJ software’s audio preferences and locate the buffer size setting. Lowering the buffer size (measured in samples, such as 128 or 64 samples) reduces latency, resulting in a highly responsive feel. However, a lower buffer size increases the processing load on your laptop’s CPU. If you set the buffer too low, you may experience audio dropouts, pops, or crackles. You must find a stable balance where the latency is imperceptible (ideally under 10 milliseconds) but your CPU runs smoothly without overloading.
To ensure your live hits blend seamlessly with the playing music, leverage your software’s quantization features. When quantization is active, the software acts as an invisible rhythmic guide, snapping your triggered samples to the nearest beat of the master track. This is particularly helpful when triggering loops or complex vocal acapellas during transitions. However, if you want to perform expressive, unquantized drum rolls or introduce a human “swing” feel to your percussion, you can easily toggle quantization off. Practice switching between quantized and unquantized modes to understand how each setting alters the groove of your performance.
When integrating live percussion into a mix, moderation and arrangement are vital. Avoid the temptation to play over the entire track constantly, which can quickly clutter the sound and fatigue the audience. Instead, use the drum pad strategically to build energy during specific parts of your set. For instance, you can layer physical shaker or tambourine hits over a minimalist house track to drive the groove forward. During build-ups, use the pad to execute manual snare rolls that accelerate in speed, creating a unique build-up that standard DJ controllers cannot replicate. During transitions, trigger vocal acapellas or custom sound effects to bridge the gap between two songs of different genres. Always monitor your master output levels carefully to ensure your triggered samples are balanced with the main tracks and do not cause the audio to redline.
Troubleshooting Common Integration Issues
Even with meticulous preparation, technical issues can occasionally arise during setup or soundcheck. Knowing how to quickly diagnose and resolve these common problems ensures your performance remains uninterrupted.
If you strike a pad and experience missed triggers or no sound at all, start with the physical connections. Verify that the USB or MIDI cables are plugged in securely at both ends. If the hardware connections are solid, check the MIDI channel settings on both your drum pad and your DJ software. If the pad is transmitting on MIDI Channel 10 but your software is listening only on Channel 1, the control data will be ignored. Consult your drum pad’s user manual to verify how to change its global MIDI channel or reset it to factory defaults if the mapping behaves erratically.
Another frequent issue is “double-triggering,” where a single physical strike on a pad produces two rapid, unwanted sound triggers. This is usually caused by physical vibrations or improper pad sensitivity settings. To fix this, open your drum pad’s dedicated utility software on your computer and locate the trigger settings. Adjust the “retrigger cancel” or “mask time” parameter, which tells the hardware to ignore subsequent hits that occur within a few milliseconds of the initial strike. You can also slightly increase the threshold or decrease the pad sensitivity to ensure only deliberate, firm strikes trigger a sound.
If your drum pad suddenly disconnects or causes your DJ software to freeze, you may be experiencing a MIDI dropout. This often happens when a laptop’s USB port enters a power-saving mode or when background applications consume excessive CPU resources. To prevent this, disable USB power-saving features in your computer’s operating system settings and close all unnecessary background programs before starting your performance. Always check the manufacturer’s website for the latest firmware updates for both your drum pad and your DJ controller, as outdated firmware is a common cause of driver instability and communication errors.
Frequently Asked Questions (FAQ)
Can I use an acoustic drum kit with a DJ setup?
Yes, but integrating an acoustic drum kit is significantly more complex than using an electronic drum pad. To send digital signals to your DJ software, you must attach physical acoustic drum triggers to your acoustic drums and connect them to a trigger-to-MIDI converter. Alternatively, you can place microphones on the acoustic kit and route the audio signals into a multi-channel mixer, but this setup is highly susceptible to crosstalk (where the sound of one drum bleeds into another microphone) and feedback in loud club environments. An electronic drum pad remains the most reliable and compact solution for live electronic music setups.
Do I need a separate audio interface for the drum pad?
No, a separate audio interface is generally not required. If your electronic drum pad is a MIDI-only controller, it transmits data over USB, and your laptop uses your existing DJ controller’s audio interface to output the sounds. If your drum pad has an internal sound engine and outputs physical audio, you can connect its audio outputs directly into an auxiliary or line-in channel on your DJ mixer. An external audio interface is only necessary if your DJ mixer lacks available input channels or if you want to route multiple individual drum outputs to separate channels on a large-scale front-of-house mixing console.
Community discussion
Share your experience or ask a question. Comments are reviewed before publication.