
Creating a dedicated space to practice musical instruments at home requires a strategic approach to sound isolation. True soundproofing involves preventing sound waves from entering or leaving a room, which is distinct from simply improving the sound quality inside. By understanding the principles of mass, decoupling, damping, and sealing, you can design a practice space that allows you to play freely without disturbing your family or neighbors. Whether you are practicing brass instruments, acoustic guitar, or a full drum kit, a systematic setup will help you achieve the isolation you need.
Assess Your Space and Noise Reduction Goals
Before purchasing any materials, you must analyze the acoustic profile of your instrument. Low-frequency instruments, such as bass guitars, drums, and upright pianos, produce heavy structural vibrations that travel easily through floors, walls, and joists. High-frequency instruments, such as violins, flutes, or vocals, produce airborne sounds that escape primarily through air gaps, doors, and windows. Understanding these differences dictates whether you need to focus on heavy structural decoupling or simple airborne sealing.
Next, examine the physical construction of your chosen room. In high-density residential areas, walls are often made of either solid concrete masonry or lightweight drywall partitions. Concrete walls provide excellent natural mass against airborne sound but can still transmit structural vibrations if an instrument is coupled directly to the floor. Drywall partitions, on the other hand, offer very little resistance to sound transmission and will require significant reinforcement to become viable practice spaces.
Products mentioned in this guide
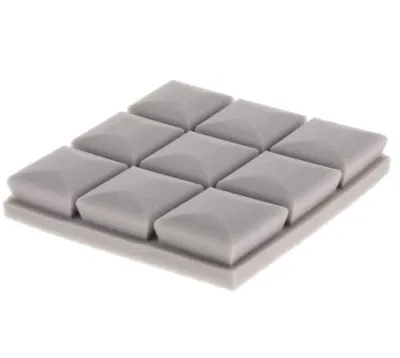
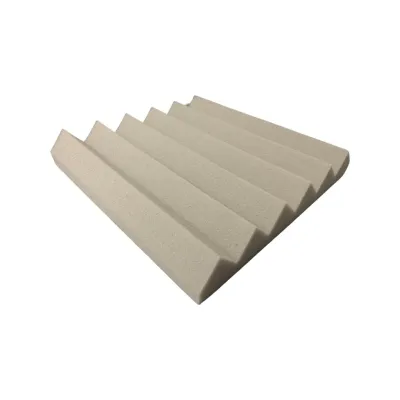
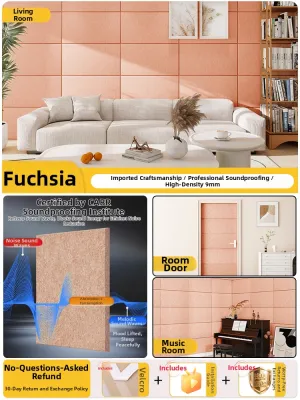
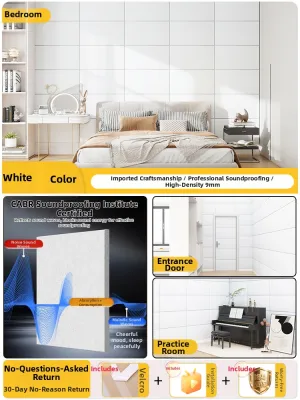
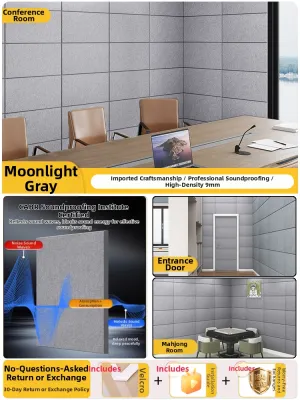
Prices are valid at publication and may change. Please refer to the product page for the latest price.
Finally, establish realistic expectations for your DIY project. Achieving absolute silence—often referred to as a “room-within-a-room” studio—is incredibly difficult and expensive in a standard residential home. Your goal should be to reduce sound transmission to a level where your playing blends into the ambient background noise of the surrounding environment, making it non-disruptive to neighbors and family members.
Select Soundproofing Materials and Tools
To block sound effectively, you must understand the difference between sound blocking and sound absorbing materials. Sound blocking requires dense, heavy materials that physically stop sound waves from passing through a barrier. Mass Loaded Vinyl (MLV) is a dense, flexible material designed specifically to add mass to walls and ceilings without adding excessive bulk. Standard drywall can also be doubled up to increase mass. In contrast, sound-absorbing materials like acoustic foam or fiberglass batts do not block sound; they merely absorb reflections within the room to prevent echoes.

Decoupling materials are essential for preventing sound vibrations from traveling through the structural framing of your home. Resilient channels and sound isolation clips decouple drywall from wooden or metal studs, breaking the direct path of vibration. Acoustic sealants, which are non-hardening caulks, are also critical for sealing joints, seams, and gaps where sound can easily leak.
Doors and windows are typically the weakest links in any residential room. Standard hollow-core interior doors offer almost no sound resistance, so upgrading to a solid-core wood or metal door is a crucial step. You will also need high-density perimeter seals and an automatic door bottom sweep that drops down to seal the gap at the floor when the door is closed. For windows, acoustic window inserts or secondary glazing can add a protective air barrier.
Before starting your installation, gather the necessary tools and safety equipment. You will need a heavy-duty utility knife for cutting MLV, a caulking gun for acoustic sealant, a drill, and basic measuring tools. Because you will be handling heavy drywall sheets and potentially fibrous insulation materials, always wear safety glasses, a high-quality dust mask, and work gloves to protect yourself during the process.
Step-by-Step Soundproofing Installation
Begin your installation by sealing every visible and invisible air leak in the room. Sound behaves like water; if air can pass through a gap, sound will too. Apply acoustic caulk along the seams where the floor meets the wall, around window frames, and behind electrical outlet boxes. For electrical outlets, install specialized putty pads on the backs of the boxes inside the wall cavity to block sound from escaping through these common structural penetrations.
Address the doorway next, as it is the primary path for airborne sound. Replace your hollow-core door with a solid-core alternative. Install high-density neoprene or silicone weatherstripping along the door frame so that the door presses tightly against the seal when latched. Attach an automatic door bottom sweep to the base of the door to seal the gap between the door and the threshold without dragging on your flooring when opened.
To reinforce the walls, install a layer of Mass Loaded Vinyl directly over the existing drywall studs or over the current wall surface. Secure it tightly, overlapping seams and sealing them with acoustic tape. Next, apply a viscoelastic damping compound between the existing wall and a new layer of 5/8-inch drywall. This compound acts as a shock absorber, converting sound energy into trace amounts of heat as it tries to pass through the dual layers.
Treating the floor and ceiling requires careful planning to manage both airborne and impact noise. For floors, lay down a dense acoustic underlayment beneath a thick carpet or interlocking rubber tiles to dampen foot traffic and instrument vibrations. Decoupling a ceiling is structurally challenging and carries safety risks. If you choose to install resilient channels or a suspended ceiling, ensure your ceiling joists can handle the additional weight of extra drywall layers before proceeding.
Apply Acoustic Treatment for Playability
Once the room is physically sealed, you must manage the sound inside. Soundproofing prevents sound from escaping, but it can make the interior of the room sound harsh, boomy, or overly reflective. Acoustic treatment solves this by controlling reverberation and standing waves, ensuring you hear your instrument accurately without ear fatigue.
Install bass traps in the vertical corners of the room. Low-frequency energy naturally accumulates in corners, leading to a muddy or boomy sound. Placing dense fiberglass or rockwool bass traps in these areas helps absorb these long wavelengths. Next, mount acoustic absorption panels at the primary reflection points—the spots on the walls and ceiling where sound waves bounce directly from your instrument to your ears.
Tailor the treatment density to your specific instrument. If you practice acoustic guitar or violin, you want to preserve some natural brightness; over-dampening the room can make it feel dead and lifeless. Leave some wall space bare or use wooden diffusers to scatter sound waves. For loud, high-energy instruments like drum kits, you will need a higher density of absorption panels to control the intense volume and prevent harsh high-frequency reflections.
Verify Sound Isolation and Safety Checks
After completing the installation, test the effectiveness of your setup. Play your instrument at your normal practice volume while an assistant measures the sound level outside the room using a decibel meter or a calibrated smartphone app. Compare these readings to your baseline measurements to determine how many decibels of isolation you have achieved.
Check for remaining weak points using a simple light test. Turn off the lights inside the practice room during the day and have someone shine a bright flashlight around the door frame and window seals from the outside. Any light leaking through indicates an air gap that still needs to be sealed with weatherstripping or acoustic caulk.
A highly sealed, soundproof room can quickly become a safety hazard without proper ventilation. Because air cannot easily enter or escape, carbon dioxide levels and humidity will rise rapidly during intense practice sessions. If your budget allows, install a baffled ventilation system (a “muffler” box) that allows fresh air to circulate without letting sound escape. At a minimum, take regular breaks, open the door to ventilate the space, and monitor the room’s temperature.
Know your limits when undertaking structural modifications. If you plan to remove drywall, cut into framing, or reroute electrical wiring, consult a licensed contractor or structural engineer. Overloading ceiling joists with heavy drywall or cutting into load-bearing walls can compromise the structural integrity of your home. Always prioritize safety over sound isolation.
Frequently Asked Questions (FAQ)
Can I soundproof a room without major renovations?
Yes, renters or those on a budget can implement non-destructive measures. Hang heavy acoustic blankets or multi-layered blackout curtains over windows and doors to dampen high-frequency sounds. Use heavy draft stoppers at the base of doors and place thick rugs with dense felt underlays on the floor. While these temporary solutions will not block low-frequency bass or drum vibrations, they can noticeably reduce mid-to-high frequency transmission and improve internal acoustics.
Do acoustic foam panels block sound from leaving the room?
No, this is one of the most common misconceptions in home audio. Lightweight acoustic foam panels are designed solely for sound absorption, meaning they reduce echo and flutter within the room to improve sound quality. Because they lack density and mass, sound waves pass right through them and through your walls. To block sound from leaving the room, you must use heavy, dense materials like Mass Loaded Vinyl, solid wood, or extra layers of drywall.
Community discussion
Share your experience or ask a question. Comments are reviewed before publication.