
Starting your music production journey with an electronic drum pad is one of the most tactile and intuitive ways to learn beatmaking. By translating physical strikes into digital signals, these devices allow you to play rhythms naturally, bypassing the tedious process of clicking notes into a grid with a computer mouse. To begin making electronic beats, you need to understand how your hardware interacts with music software, configure your digital workspace, and practice foundational rhythm patterns.
With a systematic approach to setting up your equipment and organizing your sounds, you can quickly transition from tapping random rhythms to arranging complete, dynamic drum tracks. This guide walks you through the essential steps to configure your gear, program your first beats, customize your sound kits, and troubleshoot common performance issues.
Understanding Your Electronic Drum Pad and Setup Requirements
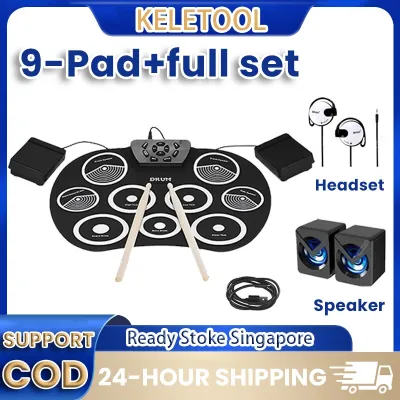
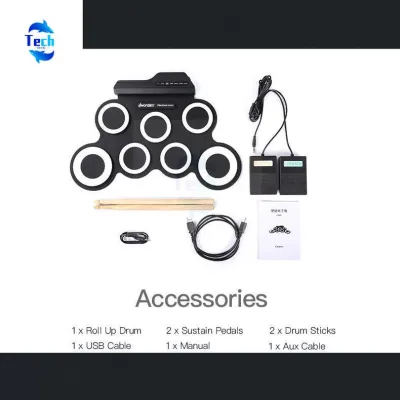
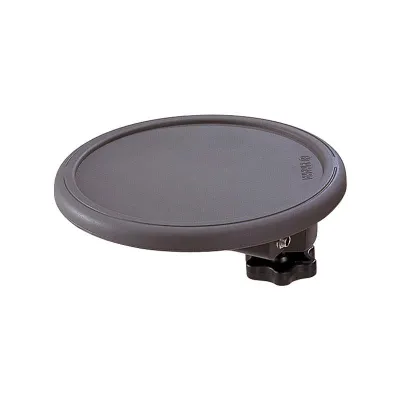
Before plugging in any cables, it is essential to identify the specific type of electronic drum pad you are using, as this dictates your entire workflow. Standalone drum pads feature built-in sound engines, internal libraries, and audio outputs, allowing you to play sounds directly through headphones or speakers without a computer. In contrast, MIDI drum pad controllers do not produce any sound on their own; they function strictly as input devices that send control data to external software or hardware synthesizers.
Products mentioned in this guide
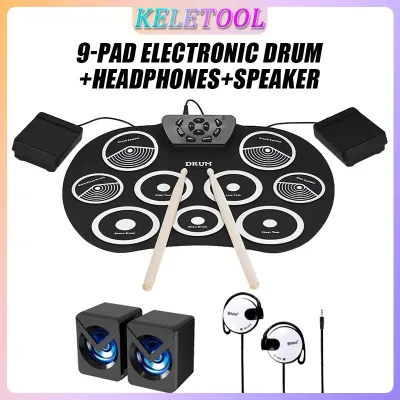
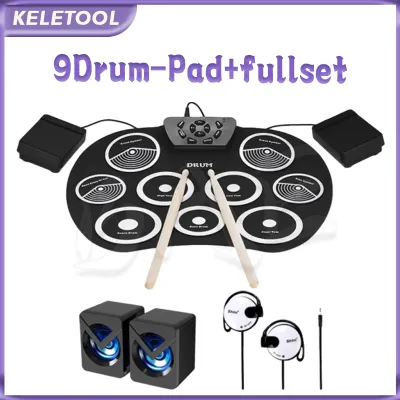
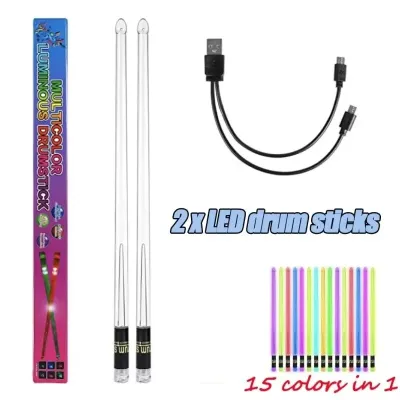
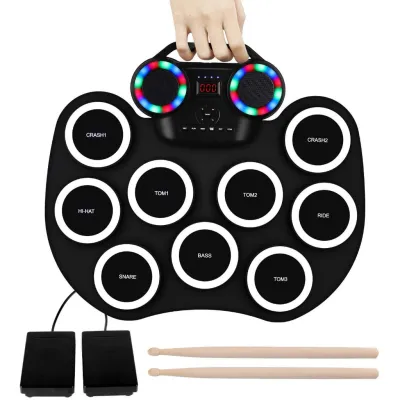
Prices are valid at publication and may change. Please refer to the product page for the latest price.
If you are using a MIDI controller, check the manufacturer’s specifications to determine its power requirements. Many compact controllers run on USB bus power, drawing all necessary electrical current directly from your computer’s USB port, making them ideal for space-conscious home setups. However, larger pads with extensive backlighting or built-in screens may require an external power supply to operate stably, so verify these details to avoid unexpected power dropouts during a session.
Additionally, review the system requirements of your computer and the availability of physical ports. Modern music production software demands stable processing power and sufficient RAM to run virtual instruments smoothly. Ensure your computer has compatible ports—such as USB-A or USB-C—and consider using a high-quality, powered USB hub if your machine has limited connectivity, as passive hubs can sometimes cause connection instability or power shortages.
Step-by-Step Connection and Software Configuration
To begin the physical setup, connect your electronic drum pad directly to your computer using the appropriate USB cable. While many modern MIDI controllers are class-compliant and function immediately upon connection, some models require specific manufacturer drivers or control software to enable advanced features. Visit the manufacturer’s official website to download and install any necessary drivers or firmware updates before launching your music software.

Once the hardware is connected, open your Digital Audio Workstation (DAW) and navigate to the audio and MIDI preferences menu. Locate the MIDI input settings and ensure your specific drum pad is recognized and checked as an active controller. This step is crucial, as it authorizes the DAW to receive incoming MIDI data, such as note values and velocity information, from your physical pad strikes.
With the MIDI connection established, create a new MIDI track in your DAW and load a virtual instrument, such as a drum rack or sampler plugin. Strike the pads to verify that the software is receiving the signals, which is typically indicated by flashing MIDI activity lights on the track. Test the velocity response of your pads by striking them with varying levels of force; a properly configured pad should produce quieter sounds when tapped gently and louder, more aggressive sounds when struck firmly.
Creating Your First Electronic Beat: Core Techniques
Building your first electronic beat begins with establishing a solid rhythmic foundation and choosing a comfortable tempo. Set your DAW’s project tempo to a standard electronic music speed, such as 120 beats per minute (BPM) for house music or 140 BPM for trap and dubstep. Start by programming a simple kick and snare pattern, which serves as the backbone of almost every electronic genre. A classic starting point is the “four-on-the-floor” pattern, where the kick drum strikes on every beat (1, 2, 3, and 4) and the snare or clap lands on beats 2 and 4.
Once you can play the basic kick and snare pattern consistently, begin incorporating hi-hats and percussion elements to add energy and movement. Use your controller’s velocity sensitivity to create dynamic variation; instead of striking every hi-hat pad with the exact same force, alternate between soft and hard hits. This subtle variation mimics the natural touch of a live drummer, preventing your electronic beats from sounding flat, repetitive, or sterile.
If you find that your live finger drumming timing is slightly inconsistent, you can use your DAW’s quantization feature to correct minor errors. Quantization automatically aligns your recorded MIDI notes to the nearest grid division, such as eighth or sixteenth notes. To keep your beats from sounding overly mechanical, apply partial quantization—such as 70% strength—or introduce a “swing” setting, which tightens major timing mistakes while preserving the natural human feel and groove of your performance.
Expanding Your Sound: Sampling and Custom Kits
To move beyond the default factory presets and develop your own musical style, you can import custom audio samples to build personalized drum kits. This process involves gathering high-quality WAV or AIFF audio files, which can include drum hits, vocal chops, or synthesized sound effects. Open your DAW’s sampler or drum rack utility and drag your chosen audio files directly onto individual slots or pads within the software interface.
When mapping these custom samples, organize them in a logical layout across your physical drum pad to facilitate comfortable finger drumming. A widely accepted layout places the primary kick drum on the bottom-left pad, the snare or clap on an adjacent pad, and the closed and open hi-hats on the pads directly above them. This structured arrangement allows your fingers to move fluidly and execute common rhythmic patterns without awkward hand positioning.
After mapping your samples, use the sampler’s envelope controls to shape the character of each sound. Adjusting the attack parameter determines how quickly the sound reaches its maximum volume, allowing you to soften the initial click of a sample. Modifying the decay and release parameters controls how long the sound lingers after a pad is struck, which is highly effective for shortening a boomy kick drum or letting a crash cymbal decay naturally.
Troubleshooting Common Setup and Performance Issues
One of the most frustrating obstacles for beginners is audio latency, which is the audible delay between striking a physical pad and hearing the sound from your speakers. To resolve this issue, access your DAW’s audio setup menu and reduce the buffer size, aiming for a setting of 128 or 256 samples. Additionally, ensure you are using high-performance audio drivers, such as ASIO drivers on Windows or Core Audio on macOS, which are optimized for low-latency audio processing.
If you encounter pads that do not respond to light taps or trigger multiple notes from a single strike, you may need to adjust the hardware sensitivity. Most manufacturers provide a dedicated software editor for their controllers, allowing you to recalibrate the pad threshold and velocity curves. Increasing the threshold prevents accidental double-triggering caused by vibrations, while adjusting the sensitivity ensures the pad responds accurately to your specific playing style.
When experiencing persistent MIDI mapping conflicts—such as a pad triggering the wrong sound or failing to register entirely—consult the manufacturer’s user manual to verify the default MIDI note assignments. If the hardware still behaves unpredictably, test the controller with a different USB cable or connect it to another port on your computer to rule out physical connection faults before seeking technical support.
Frequently Asked Questions (FAQ)
Do I need an audio interface to use an electronic drum pad?
A direct USB connection from your electronic drum pad to your computer is fully sufficient for transmitting MIDI data to control virtual instruments. However, an external audio interface becomes highly beneficial if you experience significant audio latency that your computer’s built-in sound card cannot resolve. An interface is also necessary if you plan to connect professional studio monitors, record external instruments, or monitor your mixes through high-impedance headphones.
Can I use an electronic drum pad with a tablet or smartphone?
Yes, many modern electronic drum pads can be connected to mobile devices, provided you use the appropriate adapter, such as a camera connection kit for iOS devices or a USB-OTG adapter for Android devices. Keep in mind that mobile music applications often have limitations compared to desktop DAWs, including reduced processing power, fewer options for third-party plugins, and simplified MIDI mapping configurations.
Community discussion
Share your experience or ask a question. Comments are reviewed before publication.