
To keep your cello stable on different floor types, you must select a compatible cello stopper, prepare the floor surface to maximize friction, and position the accessory at an angle that aligns with your playing posture. When a cellist bows, they exert both downward and forward force on the instrument. Without a reliable anchor, the endpin will slide forward, causing the cello to drop, which can damage the varnish, wood, or bridge. In Singapore, where homes and performance spaces feature diverse flooring materials—ranging from highly polished marble to smooth ceramic tiles and varnished parquet—understanding how to secure your instrument is essential for focused practice and performance.
Understanding Cello Stoppers and Floor Surfaces
Selecting the right cello stopper requires understanding how different accessory designs interact with specific floor materials. The most common types of stoppers include rubber discs, strap-style anchors, and wooden T-frames. Each design offers distinct advantages depending on your practice environment and the level of portability you require.
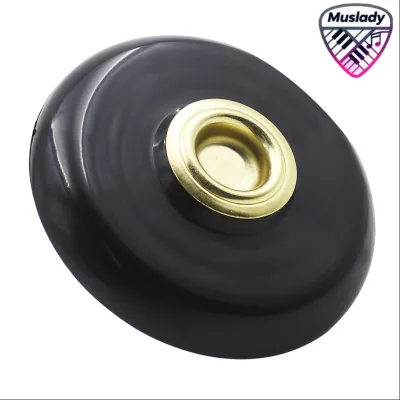
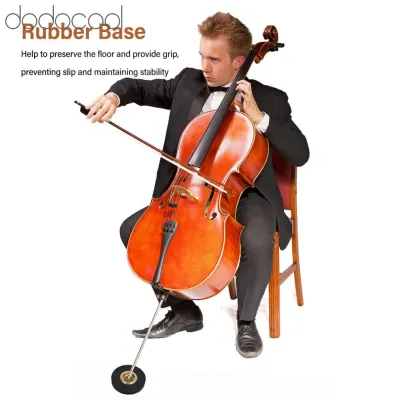
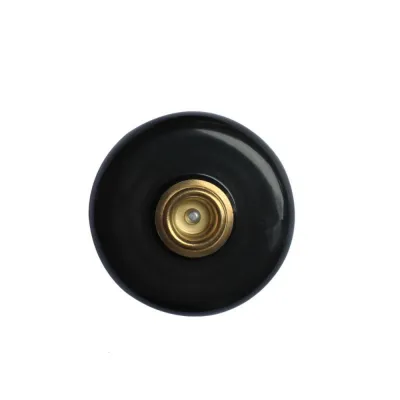
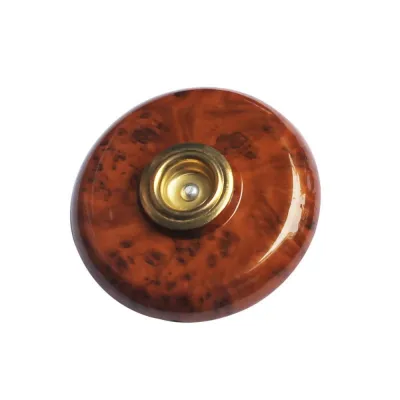
Rubber discs, often called pucks, are compact, circular pads made of high-friction rubber or silicone. They feature a metal cup in the center to hold the endpin tip. These stoppers rely on suction and surface contact to stay in place, making them highly portable but dependent on floor cleanliness.
Products mentioned in this guide

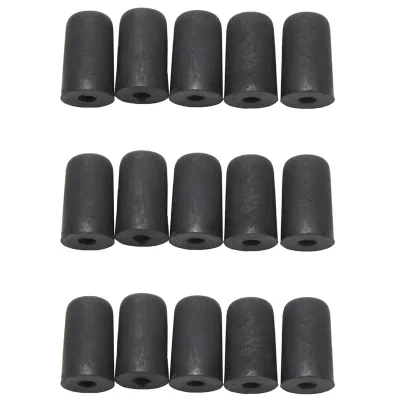
Prices are valid at publication and may change. Please refer to the product page for the latest price.
Strap-style anchors consist of a cup attached to an adjustable nylon or leather strap, which ends in a loop or a T-bar. The loop goes around the leg of your chair, creating a closed physical loop. This design is exceptionally secure because the player’s own body weight on the chair prevents the stopper from sliding forward, regardless of how slick the floor is.
Wooden T-frames function similarly to strap anchors but use a rigid wooden frame with multiple pre-drilled holes for different endpin lengths. While highly stable, they are bulkier to transport than flexible straps or rubber discs.
Flooring materials in Singapore homes and studios present unique friction challenges. Homogeneous and ceramic tiles, common in many local flats, are durable but can collect a fine layer of dust or condensation in humid weather, reducing rubber grip. Polished marble floors are extremely smooth and easily scratched by bare metal endpins, requiring a soft, high-grip rubber backing. Parquet and teak wood floors are susceptible to deep gouges and are often treated with wax or polyurethane coatings that make them deceptively slick.
Before purchasing a cello stopper, check the manufacturer’s label or product specifications for floor compatibility. Some rubber formulations are optimized for hard stone, while others are designed to be non-marking to prevent leaving dark, permanent rings on light-colored polyurethane wood finishes.
Step-by-Step Guide to Positioning Your Cello Stopper
Executing a consistent setup sequence ensures your cello remains stable throughout your practice session or performance. Proper positioning not only prevents slipping but also supports healthy playing posture.

First, prepare the floor area where you plan to practice. Dust, lint, and moisture act as lubricants between the stopper and the floor, significantly reducing friction. Wipe the specific spot with a dry microfiber cloth to remove any surface debris. In Singapore’s humid climate, ensure no condensation or cleaning residue remains on the surface, as even a microscopic layer of moisture can cause a rubber stopper to hydroplane.
Next, position your chair on a level surface and sit with your back straight and feet flat on the floor. Extend your cello’s endpin to your preferred length. When the cello rests against your chest, the scroll should be near your left ear, and the lower tuning pegs should not press against your neck.
Place the cello stopper on the floor in front of you. If you are using a strap-style anchor, loop the strap securely around one or two front legs of your chair. Adjust the strap length so that the cup sits at the exact distance where your endpin naturally lands when the instrument is in the correct playing position.
Align the angle of the endpin. The endpin should meet the stopper cup at an angle of approximately 45 to 60 degrees relative to the floor, rather than standing completely vertical. This angled alignment ensures that the forward pushing force generated while playing is directed downward into the floor, utilizing the stopper’s grip to its full potential.
Finally, apply initial downward pressure to seat the stopper. Place the sharp tip of the endpin directly into the center of the stopper’s metal cup or rubber indentation. Before you begin bowing, press down firmly on the shoulders of the cello with both hands to “lock” the stopper into place. Verify that the setup does not budge when you mimic playing movements.
Adjusting Techniques for Specific Floor Materials
Different flooring materials require specific adjustments to maintain optimal grip and protect the underlying surface from damage.
On smooth ceramic tiles and polished marble, maximizing surface contact is essential. Use a clean, flexible rubber disc stopper. If the rubber feels cold or stiff, warm it slightly between your hands to restore its pliability. Ensure the bottom of the stopper is completely flat against the tile, and avoid placing it directly over grout lines, as the uneven surface breaks the suction seal and causes the stopper to slide.
Wooden floors, such as parquet or teak, require careful handling to prevent scratches and slipping. Because wood polish and wax reduce surface friction, a strap-style anchor is often the safest choice, as it does not rely solely on friction against the wood. If you prefer a rubber puck, verify that the rubber is non-marking and soft enough to grip the wood grain without sliding. Never use a bare metal endpin directly on wooden floors, as it will cause permanent structural damage.
Carpeted areas offer natural texture but present their own stability challenges. Soft carpets can bunch up, causing the stopper to tilt. For carpeted floors, use a heavy-duty rubber stopper with a textured, spiked, or deeply grooved underside designed to bite into the carpet fibers. Ensure the endpin is seated deeply in the stopper cup so it does not slip sideways through the soft carpet pile.
Troubleshooting Slipping and Stability Issues
If your cello stopper begins to slip during practice, a systematic inspection can help you diagnose and resolve the issue quickly.
Start by inspecting the bottom of the stopper. Over time, rubber stoppers accumulate dust, pet hair, and floor wax, which smooths out their gripping surface. If the rubber appears shiny, dry, or cracked, it has likely oxidized and lost its natural tackiness. Hardened rubber cannot conform to the micro-textures of the floor, resulting in a loss of friction.
Next, evaluate the condition of your cello’s endpin tip and its interaction with the stopper cup. The sharp tip of the endpin must sit securely inside the stopper’s metal insert. If the endpin tip has become blunt or bent, or if the stopper’s metal cup is worn thin, cracked, or filled with debris, the endpin can jump out during energetic playing. Keep the endpin tip clean and sharp, and clear any dirt from the stopper cup.
If cleaning the rubber base does not restore its grip, or if the straps on your anchor are frayed and the adjustment buckles slip under tension, stop using the accessory. A sudden slip during practice can cause the cello neck to strike nearby furniture or drop to the floor, leading to costly repairs. Consult a local music store or a professional luthier to select a high-quality replacement.
Maintenance and Storage of Your Cello Stopper
Proper maintenance and storage preserve the structural integrity and gripping power of your cello stopper, ensuring long-term reliability.
Establish a routine cleaning method for your stopper. Wash rubber stoppers regularly with mild dish soap and lukewarm water to remove oils, dust, and floor polish residue. Avoid using harsh chemical solvents, alcohol, or abrasive pads, which can dry out and crack natural or synthetic rubber. Allow the stopper to air dry completely before placing it back in your instrument case.
Store the stopper in a dedicated pocket of your cello bag or hard case to protect it from environmental damage. Keep straps neatly rolled or folded to prevent tangling and hardware damage. Avoid leaving rubber accessories in direct sunlight or inside a hot vehicle, as extreme heat accelerates rubber breakdown and causes the material to become sticky or brittle.
Before every practice session, perform a quick three-point inspection. Verify that the rubber base is clean and tacky, ensure the metal cup is free of debris, and check that strap adjustments hold firmly under tension. Taking a few seconds to inspect your gear prevents unexpected slips and protects your instrument.
Frequently Asked Questions (FAQ)
Can I use a cello stopper on uneven or textured outdoor surfaces?
Standard rubber disc stoppers are designed for flat, smooth indoor floors and perform poorly on uneven, dusty, or textured outdoor surfaces like concrete, gravel, or grass. Dust and dirt instantly coat the rubber, eliminating friction. For outdoor performances, a strap-style anchor attached to your chair is highly recommended, as it relies on mechanical tension rather than surface friction. Always check the manufacturer’s guidelines regarding outdoor use and material limits.
Do I need a different stopper for a full-size cello versus a fractional size?
You do not need a completely different stopper, but you must adjust your setup. Fractional cellos (such as 1/2 or 3/4 sizes) have shorter endpins and are played by younger, smaller musicians, which alters the angle of the instrument and the downward force applied. If using a strap-style stopper, you must shorten the strap significantly so the cup sits closer to the chair, maintaining the correct playing angle. Ensure the endpin tip fits snugly into the stopper’s cup regardless of the cello’s size.
Community discussion
Share your experience or ask a question. Comments are reviewed before publication.