
Tuning an instrument with a tuning fork is a time-tested, highly accurate method that relies on your ears rather than digital screens. To tune your instrument, you strike the fork to produce a pure reference pitch, amplify its sound by placing its stem against a resonant surface or your jawbone, and adjust your instrument’s tuning mechanism until the pulsing “beats” between the two sounds completely disappear. This process trains your musical ear, helping you develop a deeper connection to pitch and resonance. Unlike digital tuners that analyze complex waveforms visually, a tuning fork provides a physical, acoustic standard that remains completely unaffected by battery drain or software glitches. By mastering this fundamental skill, you gain a reliable, portable reference that works in any environment, from a quiet home studio to a backstage dressing room.
Understanding How a Tuning Fork Works
At the heart of this traditional tool is a simple but elegant physical design. A tuning fork is a two-pronged metal bar, typically made of steel or aluminum, designed to vibrate at a highly specific frequency when struck. The most common standard is the A440 fork, which vibrates 440 times per second to produce the note A4, the universal concert pitch used worldwide. When you strike the fork, the two tines move back and forth in opposite directions, canceling out each other’s high-frequency overtones and leaving behind a remarkably pure sine wave.
Most musical instruments produce complex tones filled with rich harmonics and overtones, which can sometimes confuse digital sensors or untrained ears. Because the tuning fork emits only the fundamental frequency, it provides an uncluttered, stable baseline. Whether you are tuning a classical acoustic guitar, a piano, or a violin, matching your instrument’s string to this clean reference ensures that your fundamental pitch is perfectly aligned with standard concert tuning.
Products mentioned in this guide
![[SG 🚚] 440Hz A Tone Stainless Steel Tuning Fork Tuner Tunning Musical Instrument](https://img.lazcdn.com/g/p/a03711a9b3e292a16df90d0f5809be99.jpg_400x400q80.jpg_.webp)
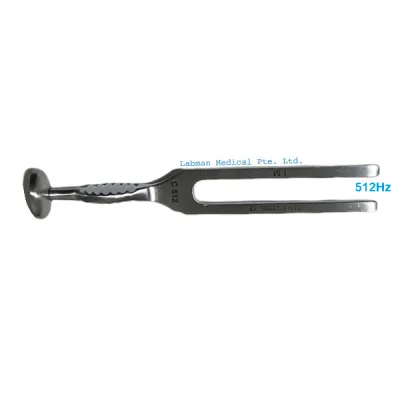
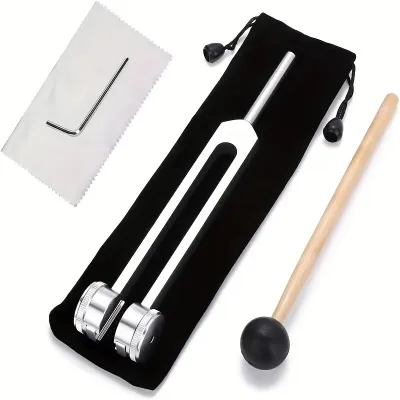
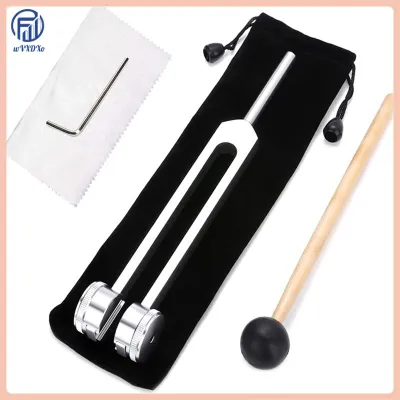
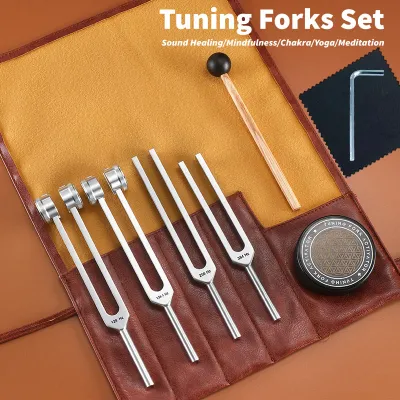
Prices are valid at publication and may change. Please refer to the product page for the latest price.
Preparing Your Instrument and Environment
Before you strike your tuning fork, you must establish the right conditions for accurate listening. Because a tuning fork produces a relatively quiet, pure tone, background noise can easily drown out the subtle acoustic interactions you need to hear. If you are practicing in a typical Singapore apartment, close the windows to shut out street traffic or corridor noise. Turning off loud fans or air conditioning units temporarily also helps keep the delicate vibrations of the fork fully audible.

Next, inspect the physical state of your instrument to ensure it is ready to hold its pitch. For stringed instruments like guitars or violins, verify that the strings are properly seated in the bridge slots and wrapped neatly around the tuning pegs. If your tuning pegs or machine heads are stiff, slipping, or grinding, make sure to address these mechanical issues first, as a slipping peg will make precise tuning impossible. Finally, confirm the exact reference note you need; while an A440 fork is standard, some instruments may require a C or E fork depending on their specific tuning layout.
Step-by-Step Guide to Striking and Listening
Using a tuning fork effectively requires physical coordination and focused listening. The process involves holding the fork correctly, striking it with the right force, and positioning it to amplify the sound. Always hold the tuning fork by its base or stem, never by the tines, as holding the tines instantly damps the vibrations and silences the fork.
Striking the Tuning Fork Correctly
To activate the tuning fork, strike it against a firm but resilient surface. Your knee, a rubber mallet, the heel of your hand, or a piece of soft wood are excellent options. Never strike a tuning fork against hard surfaces like metal music stands or stone countertops, as this can nick the metal or alter its calibration.
Aim to strike the fork on the outer side of one of the tines, approximately two-thirds of the way up from the base of the U-shape. This specific zone yields the cleanest vibration with the fewest unwanted overtones. Avoid hitting the very tips of the tines, which can cause them to bend out of alignment. When struck correctly, the fork should not make a loud clacking sound; instead, it will hum quietly and steadily, producing a clear, pure pitch that you can feel vibrating through the stem.
Amplifying the Sound
Because an unamplified tuning fork is quiet, use physical conduction to make the sound audible. For bone conduction, gently press the flat bottom of the fork’s stem against your jawbone, cheekbone, or behind your ear. The vibrations travel directly through your bone to your inner ear, presenting a clear representation of the reference pitch.
Alternatively, you can use resonance transfer to amplify the fork through your instrument’s body. Press the base of the vibrating stem firmly against a wooden, resonant part of your instrument, such as the soundboard of an acoustic guitar, the bridge of a violin, or the wooden casing of a piano. The wood will act as a natural amplifier, projecting the pure tone outward so that both the fork and the instrument string can be heard vibrating in the same physical space. This method is particularly useful when you want to keep both hands free to adjust tuning pegs while listening to the combined sound.
Matching Your Instrument to the Pitch
Once the tuning fork is vibrating and amplified, the core task of matching your instrument’s pitch begins. This step requires you to listen to two sounds simultaneously: the steady reference tone of the fork and the tone produced by your instrument. By comparing these two sounds, you will identify whether your instrument is flat (too low in pitch), sharp (too high in pitch), or perfectly in tune. This process relies on a specific acoustic phenomenon that occurs when two pitches are close but not identical.
Tuning by Ear: Recognizing Beats
When you play your instrument’s string alongside the vibrating tuning fork, you will likely hear a distinct wavering or pulsing sound. In acoustics, these pulses are known as beats. They occur because the sound waves are slightly out of phase, and the speed of these beats tells you how far your instrument is from the target pitch.
If the two pitches are far apart, the beats will pulse very rapidly, creating a rough, buzzing sensation in your ears. As you adjust your instrument’s tuning peg and bring the string closer to the fork’s pitch, you will notice the speed of the beats slowing down. The pulses will transition from a rapid flutter to a slow, gentle wave. Your ultimate goal is to eliminate these beats entirely; when the pulsing stops and the two sounds merge into a single, smooth, unified tone, your instrument is perfectly in tune.
Adjusting Your Instrument
To eliminate the beats, adjust your instrument’s tuning mechanism while the reference pitch sounds. If your instrument is flat, tighten the string or tuning pin to raise the pitch; if it is sharp, loosen it. For guitars, always tune up to the pitch from a slightly flat position to ensure the string tension is evenly distributed.
Make very small, incremental adjustments—often referred to as micro-adjustments—to avoid overshooting the target pitch. Strike the tuning fork, place it against the instrument’s soundboard, pluck the string, and make a slight turn of the peg. If the beats speed up, you are moving in the wrong direction; if they slow down, continue turning gently in that direction. If you find that your tuning pegs are slipping back instantly, or if a piano tuning pin feels completely loose, stop adjusting and seek professional help from a luthier or technician, as forcing a damaged mechanism can cause costly structural damage.
Common Beginner Mistakes and How to Avoid Them
Learning to use a tuning fork takes practice, and beginners often run into a few common hurdles. One frequent mistake is striking the fork with excessive force against a hard table or music stand, believing it makes the sound last longer. In reality, this introduces harsh overtones that mask the fundamental pitch and risks damaging the fork’s calibration. A gentle tap on a soft surface is all that is required.
Another common error is attempting to tune while the instrument is still ringing out from a previous, aggressive pluck. If you pluck a guitar string too hard, the initial attack actually sharpens the pitch momentarily before it settles. Always pluck the string gently and let the initial transient fade slightly before comparing it to the tuning fork. Additionally, avoid trying to tune in a room with competing noises, such as a television or loud conversation. Finally, do not rely on watching the physical vibration of the fork’s tines to judge pitch; the visual movement is far too fast for the human eye to measure, and active, focused listening is the only way to achieve accuracy.
Maintaining and Caring for Your Tuning Fork
A high-quality tuning fork is a precision instrument designed to maintain its pitch indefinitely, but its accuracy depends heavily on how you care for it. To prevent the tines from getting scratched, nicked, or bent, always store your tuning fork in a protective pouch or case when it is not in use. Avoid tossing it loosely into an accessory pocket in your instrument gig bag where it can clank against capos, picks, or cables.
Cleaning your tuning fork regularly is also important to prevent corrosion, especially in humid climates like Singapore’s. After each use, wipe the fork down with a clean, dry microfiber cloth to remove finger oils, sweat, and moisture. Avoid using harsh chemical cleaners, abrasive polishes, or water, which can degrade the metal surface over time. If your tuning fork is ever dropped heavily onto a concrete floor, shows visible bends in the tines, or exhibits a persistent pitch drift when checked against a known calibrated source, it is time to replace it, as even microscopic structural changes can permanently alter its frequency.
Frequently Asked Questions (FAQ)
Can I use a tuning fork for instruments other than guitars or pianos?
Yes, tuning forks are highly versatile and can be used to tune almost any acoustic instrument, including woodwinds, brass, and orchestral strings. Vocalists also frequently use tuning forks to find their starting pitch before performing a cappella. When using a fork for wind or brass instruments, players typically use the bone conduction method to hear the reference pitch clearly while blowing into their instrument. It is important to select a tuning fork that matches the standard reference note or transposition of your specific instrument, such as a C fork for recorders or an A fork for violins.
Why does my tuning fork sound different from my digital tuner?
A tuning fork and a digital tuner analyze pitch in fundamentally different ways, which can lead to perceived discrepancies. A tuning fork produces a pure sine wave with no overtones, whereas your instrument produces a complex wave rich in harmonics. Digital tuners use software algorithms to analyze these complex waves, which can sometimes fluctuate or display slight variations depending on room acoustics or microphone quality. Additionally, physical factors like extreme temperature changes or improper handling can temporarily affect the acoustic perception of a pitch, whereas a digital tuner relies on a pre-calibrated electronic sensor.
Community discussion
Share your experience or ask a question. Comments are reviewed before publication.