
There is no single “best” capo for every acoustic guitar player; the ideal mechanism depends entirely on your need for speed, precise tension control, and physical clearance. While spring-loaded capos excel in live performance speed, screw capos offer the micro-adjustments needed for studio intonation, and elastic capos provide a minimalist profile for complex fingering. This guide compares these three mechanisms to help you match the right design to your playing style and verify fitment before you buy.
Understanding how these mechanisms interact with your fretboard is the first step toward making an informed purchase. By evaluating how each type applies pressure, you can avoid common pitfalls like string buzzing, tuning instability, and physical interference with your fretting hand.
Understanding the Three Main Capo Mechanisms
To make an informed choice, you must first understand how these three common mechanisms apply physical force to your guitar strings. Each design uses a distinct mechanical principle to press the strings firmly against the frets, mimicking the action of your guitar’s nut.
Products mentioned in this guide
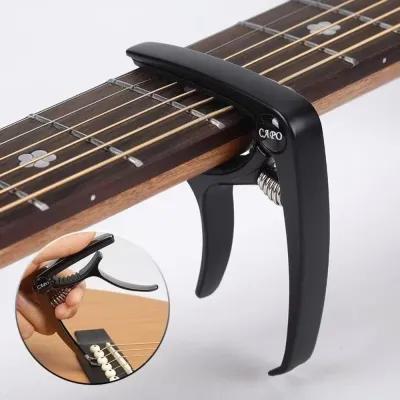

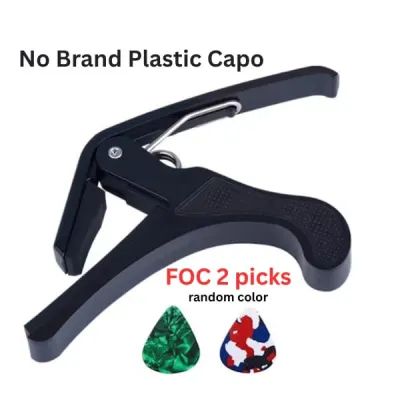
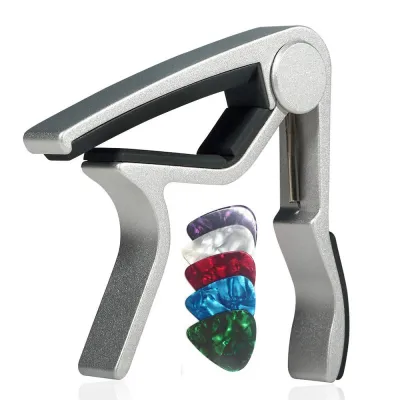
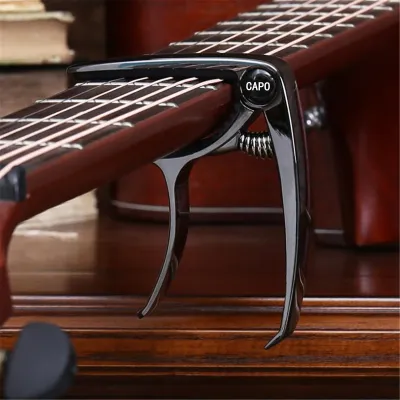
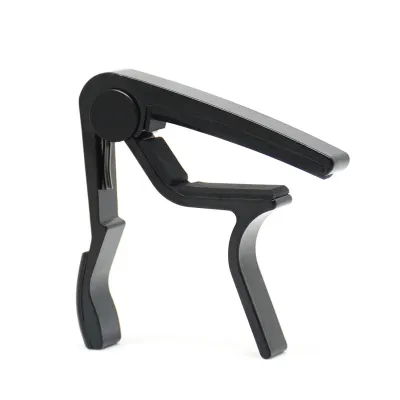


Prices are valid at publication and may change. Please refer to the product page for the latest price.
Spring-Loaded Capos
Spring-loaded capos operate on a simple squeeze-and-release mechanism. They feature a heavy-duty internal coil or torsion spring housed within a metal or composite frame. To apply the capo, you squeeze the handles to open the jaws, position the padded bar over the desired fret, and release your grip.
The internal spring provides all the clamping force, holding the strings down with a pre-set, non-adjustable level of tension. This design typically results in a bulkier physical profile on the neck, but it allows for rapid, one-handed operation.
Screw (Adjustable) Capos
Screw-adjustable capos rely on a threaded knob or screw to control the clamping pressure. You place the capo over the neck and manually turn the screw to tighten the padded bar against the strings.
This mechanism allows you to fine-tune the exact amount of torque applied, stopping the moment the strings make clean contact with the fret. Because they do not require large handles or heavy springs, screw capos generally feature a much more compact, low-profile design that sits tightly against the guitar neck.
Elastic (Toggle) Capos
Elastic capos represent a minimalist, lightweight approach to string clamping. This design consists of a rigid, padded bar that sits across the fretboard, secured by a flexible, heavy-duty elastic strap or band that wraps around the back of the neck.
The strap is pulled taut and fastened using a series of eyelets, a metal toggle, or a small roller system. Lacking any rigid metal arms, hinges, or heavy adjustment knobs on top of the fretboard, elastic capos offer an incredibly low-profile footprint.
Key Factors to Compare When Choosing a Capo
When evaluating these three mechanisms for your acoustic guitar, several practical performance factors come into play. Acoustic guitars typically feature thicker string gauges and higher action than electric guitars, meaning the capo must exert sufficient, even pressure without pulling the strings out of tune.

Tension control is arguably the most critical factor for maintaining accurate intonation. If a capo clamps down too hard, it stretches the strings downward toward the fretboard wood, causing the notes to sound sharp. Conversely, insufficient tension leads to annoying string buzz. Adjustable capos allow you to find the exact sweet spot for your specific instrument, whereas fixed-tension models require you to accept whatever pressure the internal spring provides.
Speed and ease of use are equally important, especially if you perform live. A capo that requires two hands and several seconds of turning a screw can disrupt the flow of a performance. On the other hand, a capo that can be repositioned in a fraction of a second with one hand keeps your set moving smoothly.
Fretboard clearance and hand comfort can significantly impact your playing technique. Bulky capos with long handles or protruding adjustment knobs can physically interfere with your fretting hand, particularly when playing open chords or complex fingerstyle patterns close to the capo. A low-profile design keeps the area around the frets clear, allowing your hand to move without obstruction.
Finally, durability determines how long your investment will last. Springs can lose their tension over time, screw threads can wear down or strip if over-tightened, and elastic bands can stretch out, fray, or degrade when exposed to sweat and environmental humidity. In warm, humid climates, the longevity of materials like rubber and elastic is a key consideration, as high humidity can accelerate the breakdown of certain synthetic compounds.
Matching the Right Capo to Your Playing Style
Selecting the right capo is a matter of identifying your primary playing environment and musical priorities. There is no need to search for a universal winner; instead, focus on the specific trade-offs that align with your habits.
Choose Spring-Loaded If You Prioritize Speed
If you regularly play live gigs, lead worship services, or participate in fast-paced jam sessions, a spring-loaded capo is often the most practical choice. The ability to quickly squeeze the handles, move the capo to a new fret, or clamp it onto your guitar’s headstock between songs using only one hand is incredibly convenient. This speed allows you to maintain the momentum of your performance without awkward pauses.
However, the primary trade-off is the lack of tension adjustment. Because the spring tension is fixed, it may apply excessive force on guitars with lower action or thinner neck profiles, pulling your strings sharp and forcing you to retune. You must pay close attention to placement, positioning the capo directly behind the fret wire to minimize tuning drift.
Choose Screw If You Prioritize Precision and Intonation
For studio recording, solo fingerstyle arrangements, or players who are highly sensitive to minor tuning discrepancies, a screw-adjustable capo is highly recommended. By allowing you to apply only the exact amount of pressure needed to eliminate string buzz, this design preserves your guitar’s natural intonation across the entire fretboard.
The trade-off here is speed and convenience. Applying a screw capo is a deliberate, two-handed process. You must position the unit, hold it in place, and turn the knob until the tension is correct. This slower operation makes it less ideal for fast-paced live environments where quick transitions are essential, but the payoff in tuning stability is unmatched.
Choose Elastic If You Prioritize Minimal Weight and Clearance
If you are a beginner on a budget, a casual bedroom player, or someone who frequently plays complex chord shapes that require your fretting hand to press right up against the capo, an elastic model is worth considering. With budget elastic capos starting under S$10, while premium screw-adjustable models can range from S$20 to S$50 or more, they offer an accessible entry point. Its lightweight, fabric-and-rubber construction ensures it won’t add noticeable weight to your guitar’s neck, and its ultra-low profile provides maximum clearance for your fingers.
The main drawback is that elastic capos can be fiddly to attach and adjust. Getting the tension even across all six strings often requires pulling the strap tightly and securing it to the correct notch, which can take some practice. Additionally, the elastic material will inevitably stretch out and lose its elasticity over time, meaning these capos generally have a shorter lifespan than their metal counterparts.
What to Verify Before You Buy
Before purchasing any capo, you must verify that its physical specifications match your acoustic guitar’s unique geometry. Relying solely on a generic “acoustic guitar” label on the packaging can lead to a poor fit, uneven string pressure, or even damage to your instrument.
First, check your guitar’s fretboard radius. Most acoustic guitars have a curved fretboard, typically ranging from a 12-inch to a 16-inch radius. The rubber padding on your chosen capo must have a matching curvature to ensure it presses down on the inner and outer strings with equal force. If you use a flat classical guitar capo on a curved acoustic fretboard, the middle strings will buzz while the outer strings are clamped too tightly.
Next, consider your guitar’s nut width and neck profile. Acoustic guitars vary widely, from slim modern necks to thick, vintage-style V-shapes. Ensure the capo’s jaws open wide enough to accommodate your neck’s thickness at the higher frets, and that the padded bar is wide enough to cover all six strings without slipping off the edges.
Pay close attention to the quality of the padding material. The areas of the capo that contact your guitar must be covered in high-quality, non-reactive silicone or soft rubber. This padding protects your guitar’s delicate finish and neck wood from scratches and pressure marks. Avoid cheap capos with hard plastic or low-grade rubber pads that can degrade and chemically react with your guitar’s lacquer.
Always consult the manufacturer’s detailed specifications or product manuals to confirm compatibility with your specific guitar model. Taking a few minutes to verify these measurements beforehand will save you from the frustration of returns and ensure a seamless playing experience.
Frequently Asked Questions (FAQ)
Can I use an electric guitar capo on an acoustic guitar?
While it is physically possible to clamp an electric guitar capo onto an acoustic guitar, it is generally not recommended for optimal performance. Electric guitars typically have narrower nut widths and much rounder fretboard radiuses compared to the wider, flatter fretboards of acoustic guitars. Using an electric capo on an acoustic neck can result in uneven pressure, causing the outer strings to buzz or the inner strings to bend sharp. Always check the capo’s padding curvature and clamping width to ensure it is rated for acoustic instruments before use.
Why does my acoustic guitar sound out of tune when I apply a capo?
This common issue is usually caused by excessive clamping tension or improper placement. When a capo applies too much force, it pulls the strings down past the fret wire, stretching them and raising their pitch. To prevent this, place the capo as close to the fret wire as possible without sitting directly on top of it. If you are using a spring-loaded model with fixed tension, try adjusting its position slightly, or switch to a screw-adjustable capo that lets you dial in the minimum pressure required. If the problem persists, your guitar may require a professional setup to adjust the action or nut slot depth.

Community discussion
Share your experience or ask a question. Comments are reviewed before publication.