
For a beginner learning the acoustic guitar, a highly practical capo type is often a spring-loaded trigger capo due to its ease of use and quick one-handed operation. However, if your primary concern is maintaining stable tuning without having to constantly adjust your strings, a screw-adjustable capo is an excellent alternative that allows you to fine-tune the clamping pressure. Choosing between these two primary styles involves balancing the convenience of rapid key changes against the precision of adjustable tension.
Understanding how these mechanical designs interact with your guitar’s neck, fretboard, and strings is essential for a smooth learning journey. A poorly matched capo can lead to frustrating string buzz, sharp notes, or even minor cosmetic damage to your instrument. By evaluating your practice habits, your guitar’s physical specifications, and your budget, you can select an accessory that supports your progress rather than hindering it.
Why the Right Capo Matters for New Acoustic Players
A capo is far more than a simple clamp; it acts as a temporary nut that shortens the vibrating length of your strings, effectively raising the pitch of your guitar. For a beginner, this tool is invaluable because it allows you to play songs in different keys using the basic open chord shapes you already know. However, the physical relationship between the capo and your guitar strings is highly sensitive. If a capo applies too much pressure, it stretches the strings downward toward the fretboard too aggressively, pulling your notes sharp and forcing you to retune every time you move it.
Products mentioned in this guide
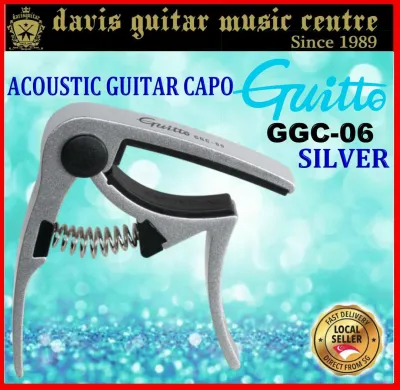
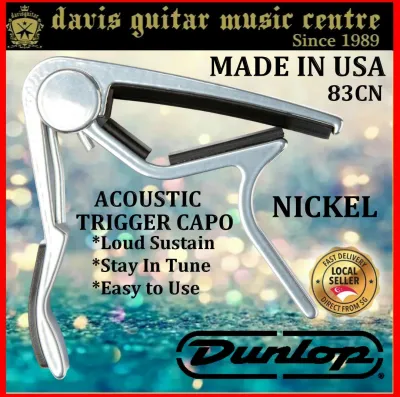
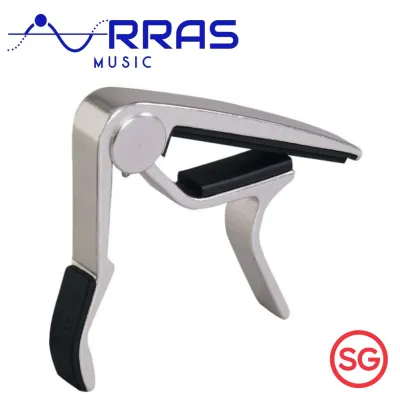
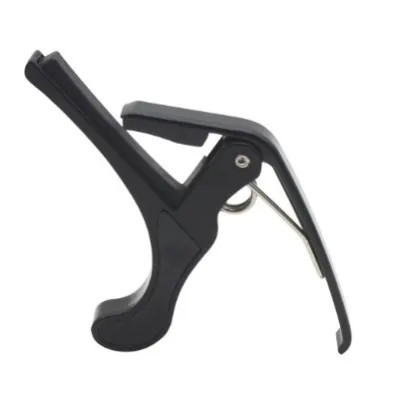
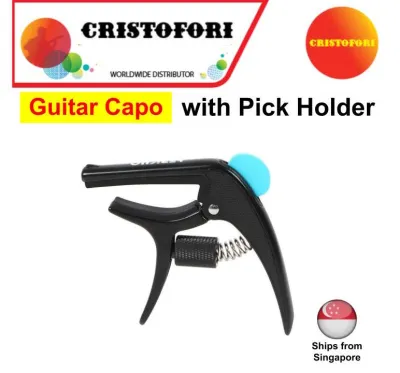

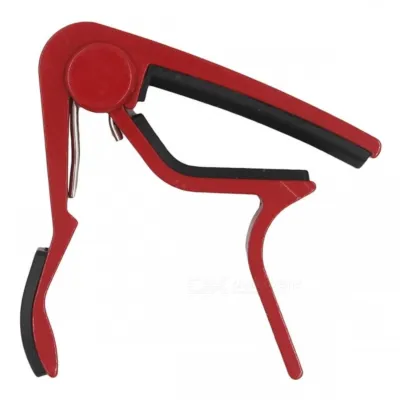
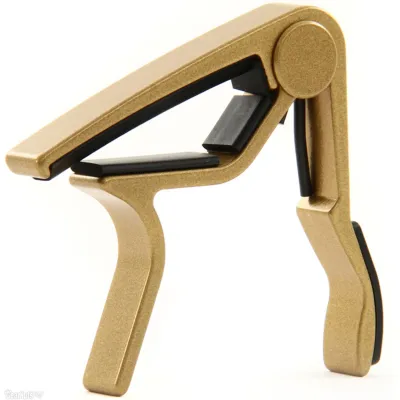
Prices are valid at publication and may change. Please refer to the product page for the latest price.
Conversely, if the clamping force is too weak or unevenly distributed, certain strings will not make clean contact with the frets. This results in a dull, muffled sound or an annoying string buzz that can ruin your practice session. For new players who are still developing their finger strength and ear for pitch, these technical distractions can make it difficult to tell whether a mistake is due to poor fretting technique or an improperly adjusted accessory.
Furthermore, the frequency with which you change keys during practice should influence your choice. If you are working through a diverse playlist or instructional book, a quick-release mechanism allows you to transition between songs seamlessly without breaking your focus. Finally, the materials used in the capo’s construction are critical. Low-quality clamps with hard plastic or abrasive metal edges can scratch your guitar’s neck or degrade its finish, making it essential to choose a design with protective, non-reactive padding.
Common Capo Types and How They Work
To make an informed decision, you must first understand the primary mechanical categories of capos available on the market. While they all serve the same fundamental purpose of shortening the scale length, they achieve this through vastly different engineering approaches. These mechanisms dictate how easily you can apply the capo, how much control you have over the tension, and how securely the device sits on your guitar neck.

Acoustic guitars typically feature thicker strings and higher action (the height of the strings above the fretboard) compared to electric guitars. Consequently, an acoustic capo must exert sufficient, even pressure across all six strings—ranging from the thick, low E string to the thin, high E string—without slipping or causing lateral string displacement. Let us examine the three most common designs you will encounter.
Trigger and Spring-Loaded Capos
Trigger capos utilize a heavy-duty internal spring to provide the clamping force necessary to hold down the strings. To operate this type of capo, you simply squeeze the handles together to open the jaws, position it over the desired fret, and release your grip. The spring automatically clamps down on the neck, securing the device in place instantly.
The primary advantage of this design is its incredible speed and convenience. You can easily attach, move, or remove a spring-loaded capo with one hand, even mid-song if necessary. When not in use, many players simply clamp the trigger capo onto their guitar’s headstock, ensuring it is always within arm’s reach during practice sessions.
However, this convenience comes with a notable trade-off. Because the spring tension is fixed, you cannot adjust the clamping pressure. If the spring is exceptionally stiff, it may apply far more force than your guitar requires, pulling your strings sharp. Additionally, if you do not align the capo parallel to the frets when releasing the trigger, the sudden clamping action can pull the strings sideways, distorting your tuning.
Screw-Adjustable and Clamp Capos
Screw-adjustable capos, often referred to as thumbscrew or dial-adjust capos, rely on a threaded screw mechanism to apply pressure. You place the capo over the neck and turn a small knob or dial to tighten the clamp until the strings are pressed firmly against the fret. This design allows you to customize the tension to the exact level required to eliminate string buzz.
For beginners, the main benefit of a screw-adjust capo is its superior tuning stability. By applying only the minimum amount of pressure needed to clear up the tone, you avoid stretching the strings out of tune. This saves you from the tedious task of retuning your guitar every time you change the capo’s position. The pressure is also distributed highly evenly across the fretboard, resulting in a clean, balanced sound.
The drawback to this style is its slower operation. Applying and adjusting a screw capo requires two hands and a few seconds of turning the dial, making it less suitable for quick transitions during live performances or fast-paced practice. It also cannot be easily clipped to your headstock when not in use, meaning you must store it in your pocket, gig bag, or accessory tray.
Elastic, Toggle, and Strap Capos
Elastic and strap capos represent some of the oldest and most minimalist designs. These capos consist of a rigid bar covered in rubber or plastic, which is held against the strings by a stretchy elastic band, a fabric strap, or a plastic toggle system that hooks into pre-set notches on the back of the neck.
The most appealing aspect of these capos is their lightweight construction and low cost. They add virtually no weight to your guitar’s neck, making them highly portable and easy to slip into a pocket. For a beginner on a very tight budget who wants to try out a capo without making a significant investment, these can serve as a basic entry point.
Unfortunately, elastic and strap capos are generally the most frustrating to use. The elastic bands stretch and wear out over time, leading to inconsistent pressure and inevitable string buzz. Attaching them requires two hands and a fair amount of pulling and hooking, which can easily pull your strings out of alignment. Because they lack a rigid, adjustable clamping frame, they are prone to slipping out of place if bumped during play.
Key Features to Evaluate for Beginner Needs
When shopping for your first acoustic guitar capo, looking beyond the basic mechanical type to evaluate specific physical features will ensure you choose a reliable tool. The first and most critical component to inspect is the padding material. The surface of the capo that makes direct contact with your guitar strings and the back of the neck must be covered in a soft, durable material like high-grade silicone or vulcanized rubber. This padding serves a dual purpose: it mimics the soft texture of a human finger to press the strings down cleanly, and it protects your guitar’s wood and finish from scratches or chemical reactions that can occur with cheap plastics.
Another important factor is the physical weight and bulk of the capo. Acoustic guitars are carefully balanced instruments; adding a heavy, bulky metal clamp to the neck can make the guitar “neck-heavy,” causing the headstock to dip downward when you play standing up or sitting down. Furthermore, an overly large capo can physically interfere with your fretting hand, especially when you are playing chords close to the capoed fret, such as a B7 or an open A chord. Look for a streamlined, low-profile design that provides maximum clearance for your fingers.
Finally, consider your long-term playing goals when deciding on tension adjustability. If you plan to play a variety of acoustic guitars—such as a steel-string acoustic and a nylon-string classical guitar—an adjustable tension capo is highly advantageous. Nylon-string guitars have wider, flatter necks and require much less tension than steel-string acoustics. A fixed-tension spring capo designed for steel strings will apply far too much pressure to a classical guitar, whereas an adjustable screw capo can easily adapt to both instruments.
Matching the Capo to Your Acoustic Guitar Neck
Before finalizing your purchase, you must ensure the capo is physically compatible with your specific guitar’s neck dimensions. The most common mistake beginners make is assuming all guitar necks are shaped the same way. In reality, acoustic guitar fretboards are almost always curved, a measurement known as the fretboard radius. This subtle curvature helps with chord comfort, but it means your capo must also have a matching curved profile. If you use a completely flat capo on a curved fretboard, the middle strings will buzz because the capo cannot press them down fully, while the outer strings will be squeezed too tightly.
You must also check the width and depth of your guitar’s neck. Standard steel-string acoustic guitars typically have a nut width of around 43 millimeters to 44 millimeters, but some models, especially those designed for fingerstyle playing, can be wider. Ensure the capo’s padded bar is long enough to span all six strings comfortably without hanging off the edge or slipping off the high E string.
Additionally, consider the depth of your guitar’s neck profile. Some vintage-style acoustic guitars feature thick “V” or “U” shaped necks, while modern instruments often have slim “C” profiles. A spring-loaded capo with a narrow jaw opening may struggle to clamp onto a very thick neck, or it may apply excessive pressure. Checking the manufacturer’s specifications for both your guitar and the capo will help you verify that the clamp’s opening range is suitable for your instrument’s neck profile.
Practical Setup and Usage Tips for First-Time Users
Once you have selected the right capo, using it correctly is key to maintaining your guitar’s tuning and protecting its frets. The most common error is placing the capo directly in the middle of the space between two frets. This placement requires maximum pressure to hold the strings down, which often pulls them sharp. Instead, position the capo just behind the fret wire of the desired fret—about two to three millimeters away. This mimics the natural placement of your finger when fretting a note, requiring minimal pressure to produce a clean, buzz-free tone.
Even with a high-quality capo, clamping down on the strings will almost always cause minor tuning shifts. After applying the capo, take a moment to check your tuning with an electronic tuner. If certain strings are slightly sharp, you can gently stretch them by pulling them upward away from the fretboard near the soundhole; this helps distribute the tension evenly across the nut and the capo, often restoring accurate pitch without requiring you to turn the tuning pegs.
Finally, establish good storage habits to protect both your capo and your guitar. While clipping a trigger capo to your headstock is convenient during a practice session, avoid leaving it clamped there—or on the fretboard—for extended periods when you are not playing. Constant pressure can prematurely wear out the capo’s spring or compress its rubber padding, reducing its lifespan. Additionally, in humid climates like Singapore, leaving a rubber-padded accessory clamped tightly against wood for weeks can trap moisture or cause a chemical reaction that damages the guitar’s lacquer finish. Store your capo in your guitar case or accessory drawer when your practice session is over.
Frequently Asked Questions (FAQ)
Can I use an electric guitar capo on my acoustic guitar?
While it is physically possible to clamp an electric guitar capo onto an acoustic guitar, it is generally not recommended for regular use. Electric guitars typically have much thinner necks, narrower nut widths, and lighter string gauges than acoustic guitars. Consequently, a capo designed specifically for an electric guitar may not have a wide enough jaw or a long enough bar to cover all six acoustic strings. Furthermore, the spring tension on an electric capo is often lighter, which may fail to press down the heavier, higher-tension steel strings of an acoustic guitar, resulting in persistent string buzz.
Why does my guitar sound out of tune when I put the capo on?
This issue is almost always caused by excessive clamping pressure or improper placement. When a capo clamps down with too much force, it stretches the strings all the way down to the wood of the fretboard, bending them sharp. To fix this, try using a screw-adjustable capo that allows you to back off the tension until it is just tight enough to eliminate buzzing. Additionally, ensure you are placing the capo parallel to and just behind the fret wire. If you apply the capo at an angle or pull the strings sideways while clamping, the lateral tension will pull the strings out of tune.
Do I need a different capo for different acoustic guitar brands?
No, you do not need to buy a capo that matches the brand of your acoustic guitar. Capos are designed based on universal physical dimensions rather than brand names. What matters is matching the capo to your guitar’s specific fretboard radius (curved versus flat) and neck width. Most standard steel-string acoustic guitars from major manufacturers share similar curved fretboards and neck profiles, meaning a standard acoustic capo will work consistently across different brands. Always check your guitar’s specifications rather than its brand logo when selecting an accessory.

Community discussion
Share your experience or ask a question. Comments are reviewed before publication.