
Quick Answer: Which Capo Should a Beginner Buy?
For a beginner guitarist, the most practical choice is a trigger capo or a spring clamp capo. These designs offer the best balance of ease of use, durability, and speed, allowing you to clamp and remove the device with one hand. However, the ideal choice is ultimately conditional, depending on your guitar’s neck profile, your budget, and whether you prioritize rapid key changes over precise tension adjustment.
If you play a standard steel-string acoustic or electric guitar, a spring-loaded trigger capo will get you playing immediately with minimal fuss. If you are on a tight budget, an elastic capo is an inexpensive entry point, while those seeking perfect tuning stability or playing classical guitars with flat fretboards will benefit more from a screw-on or specialized flat-profile capo.
Why the Right Capo Matters for Your Guitar
A capo acts as a movable nut, clamping down across the fretboard to shorten the vibrating length of the strings. This raises the pitch of the instrument, allowing you to play in different keys using the open-chord shapes you already know. For a beginner, this is an invaluable tool for matching a singer’s vocal range or playing along with your favorite tracks without learning complex barre chords.
Products mentioned in this guide
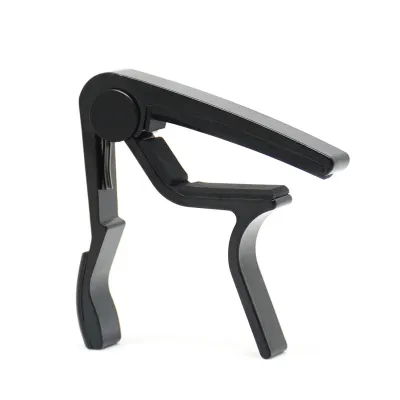
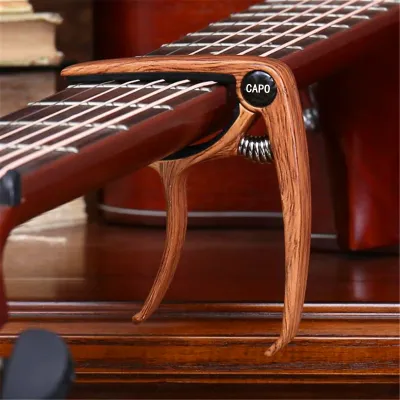
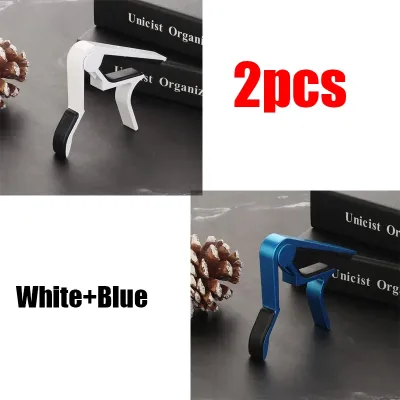
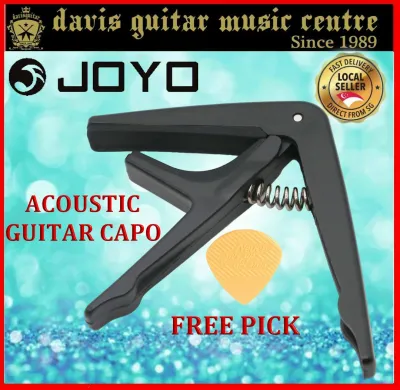
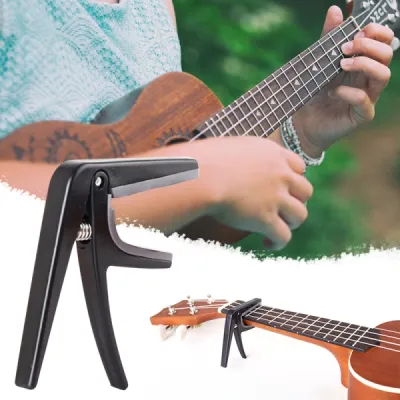
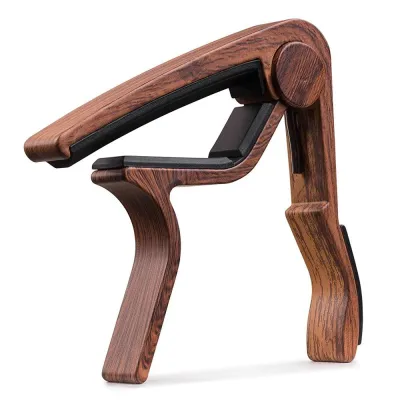

Prices are valid at publication and may change. Please refer to the product page for the latest price.

However, using an incompatible or poorly designed capo can quickly lead to frustration. If a capo applies too much pressure, it stretches the strings downward toward the fretboard, pulling them sharp and ruining your guitar’s intonation. Conversely, if the tension is too weak or uneven, the strings will vibrate against the frets, causing an annoying metallic buzz. Furthermore, a poorly constructed capo with hard plastic or exposed metal parts can scratch your guitar’s neck finish or prematurely wear down the frets. Choosing a capo that matches your instrument’s physical requirements ensures a clean, clear tone and keeps your guitar in pristine condition.
Comparing the 4 Main Capo Types for Beginners
To make an informed purchase, you must understand how the four primary capo designs operate, along with their respective advantages and trade-offs.
Trigger Capos
Trigger capos utilize a pistol-grip mechanism where you squeeze two handles together to open the jaws and release them to clamp onto the neck. This design is highly favored for its speed and convenience. You can easily squeeze, position, and release the capo using only one hand, making it the preferred choice for live performances or practice sessions where you frequently transition between songs in different keys.
The main trade-off with a trigger capo is its fixed, non-adjustable tension. The internal spring is designed to apply a high amount of force to ensure all strings are held down firmly. On guitars with softer wood, thin necks, or light-gauge strings, this high tension can pull the strings sharp, requiring you to retune your instrument every time you apply or move the capo. Additionally, the protruding handles can be somewhat bulky, occasionally interfering with your fretting hand when playing chords close to the capo.
Spring Clamp Capos
Spring clamp capos are closely related to trigger capos but typically feature a simpler, more compact squeeze mechanism. Instead of a long pistol-grip trigger, they often use a rear-mounted spring or a toggle clamp that sits closer to the back of the guitar neck. This gives them a lower physical profile, reducing the likelihood of your hand bumping into the capo while playing complex chord shapes.
These capos provide reliable, even pressure across the fretboard and are highly durable due to their simple mechanical design. However, because they lack the leverage of a long trigger handle, they often require a stronger grip to open. Beginners with smaller hands or limited grip strength may find them stiff and difficult to operate comfortably with one hand, sometimes requiring a two-handed approach to position them safely without scratching the neck.
Elastic and Strap Capos
Elastic and strap capos are the most traditional and budget-friendly options available. They consist of a metal or plastic bar covered in a rubber sleeve, which is held against the strings by an elastic band or a nylon strap that wraps around the back of the neck. The strap is secured using a series of slots, snaps, or a toggle mechanism to adjust the tightness.
The primary benefit of elastic capos is their low cost, often retailing for a fraction of the price of mechanical capos. They are also incredibly lightweight and compact, making them easy to slip into a pocket or a small accessory compartment in your gig bag.
Despite these benefits, elastic capos present significant drawbacks for beginners. They are slow and clumsy to apply, requiring two hands and careful adjustment to get the tension right. Because the elastic band stretches and degrades over time, these capos struggle to maintain even pressure across all six strings. This frequently results in string buzzing on the outer strings or severe tuning instability, which can be highly discouraging for someone who is just learning to tune and play the instrument.
Screw-On and Adjustable Capos
Screw-on and adjustable capos feature a threaded thumb-screw or dial mechanism that allows you to manually adjust the clamping force. You place the capo on the neck and turn the screw until the rubber pad applies just enough pressure to fret the strings clearly without pulling them sharp.
This micro-adjustability is excellent for tuning stability. By applying the absolute minimum pressure required to eliminate buzzing, you preserve the guitar’s natural intonation and minimize the need for retuning. These capos are highly favored for studio recording, fingerstyle playing, and use on delicate vintage instruments where neck protection is paramount.
The obvious trade-off is speed. Screw-on capos cannot be adjusted quickly or moved with one hand. If you need to change keys quickly during a live set or a fast-paced practice session, stopping to unscrew, reposition, and retighten the capo can disrupt your momentum.
How to Match the Capo to Your Guitar's Neck Profile
Before purchasing a capo from an online marketplace or a local music store, you must verify that the physical shape of the capo matches your guitar’s neck profile and fretboard radius.
The fretboard radius refers to the slight curvature of the wood where your fingers press the strings. Electric guitars and steel-string acoustic guitars typically have curved fretboards (ranging from a highly curved 7.25-inch radius to a flatter 16-inch radius) to make fretting chords more comfortable. In contrast, classical guitars almost always have completely flat fretboards and much wider necks.
If you attempt to use a flat classical capo on a curved acoustic guitar, the capo will press down hard on the middle strings (D and G) while failing to make proper contact with the outer E strings, resulting in severe buzzing. Conversely, using a curved capo on a flat classical fretboard will pinch the outer strings too tightly, pulling them sharp, while leaving the middle strings loose.
Additionally, consider the width of your guitar’s neck. Standard steel-string acoustics usually have a nut width of around 43mm, whereas classical guitars feature wider necks of 52mm or more. Ensure the capo’s rubber pad is wide enough to cover all the strings on your specific instrument. If you play a 12-string guitar, you will need a specialized capo with a wider pad and a stronger spring tension to handle the doubled strings without buzzing. Always check the manufacturer’s product specifications for fretboard compatibility before making a purchase.
Decision Framework: Choose Based on Your Playing Style
To help you finalize your decision, use this practical framework based on your specific playing environment, budget, and instrument type.
Choose a Trigger Capo if:
- You play a steel-string acoustic or electric guitar.
- You want the convenience of one-handed operation to quickly change keys during practice or jam sessions.
- You prioritize speed and ease of use over micro-adjusting your string tension.
- You are buying your first general-purpose capo and want a highly popular, reliable design.
Choose a Spring Clamp Capo if:
- You want a compact, low-profile capo that stays out of the way of your fretting hand.
- You do not mind using two hands occasionally to ensure precise, safe placement on the neck.
- You want a highly durable accessory with fewer protruding parts to catch on your clothing or gig bag.
Choose an Elastic Capo if:
- You are on a very strict budget and need the most affordable entry point possible.
- You need an ultra-lightweight, compact backup capo to keep in your pocket.
- You rarely change keys and do not mind taking extra time to manually adjust and secure the strap.
Choose a Screw-On Capo if:
- You struggle with tuning instability and are tired of your strings going sharp when using a capo.
- You plan to use the capo for home recording or fingerstyle guitar where perfect intonation is critical.
- You play a classical guitar with a flat fretboard (ensure you select the flat-profile version).
- You live in Singapore's humid climate, where seasonal neck relief adjustments might require you to fine-tune your capo's clamping pressure over time.
Common Beginner Mistakes When Using a Capo
Even the best capo will perform poorly if used incorrectly. Avoid these common mistakes to protect your guitar and ensure a clean, buzz-free sound.
First, pay close attention to placement. Always position the capo as close to the fret wire as possible—specifically on the headstock side of the fret—without actually sitting on top of the wire. Placing the capo too far back in the middle of the fret space requires more clamping force to prevent buzzing, which pulls the strings sharp and accelerates fret wear.
Second, never leave your capo clamped onto your guitar’s neck or headstock when you are not playing. Over time, the constant, concentrated pressure can compress the wood fibers, dent the neck finish, or leave permanent marks, especially on guitars with delicate nitrocellulose finishes. Additionally, keeping the capo constantly clamped under tension will prematurely wear out the capo’s internal spring or rubber padding, reducing its lifespan.
Finally, always re-check your tuning after applying the capo. Even high-end adjustable capos can slightly alter string tension as they clamp down. A quick pass with a clip-on digital tuner ensures your chords sound harmonious and helps train your ears to recognize correct pitch.
Frequently Asked Questions (FAQ)
Can I use an acoustic capo on an electric guitar?
Yes, you can physically use an acoustic capo on an electric guitar, but it may not provide optimal performance. Acoustic guitars generally have thicker strings and a different fretboard radius compared to electric guitars. Because electric guitars use lighter-gauge strings and have lower action, the high tension of an acoustic capo can easily squeeze the strings too hard, pulling them sharp. For the best results, look for a capo specified for electric guitars or use an adjustable screw-on capo to dial back the tension.
Why does my guitar sound out of tune when I put the capo on?
Your guitar sounds out of tune because the capo is applying too much clamping pressure, acting like a finger pressing down too hard behind the fret. This excess force stretches the strings downward, raising their pitch. To fix this, ensure the capo is placed directly behind the fret wire rather than in the middle of the fret. If you are using a spring-loaded capo, you may need to manually retune your strings after clamping it on, or upgrade to an adjustable screw-on capo that allows you to apply only the minimum pressure required to fret the strings clearly.
Community discussion
Share your experience or ask a question. Comments are reviewed before publication.