
When setting up a digital piano or keyboard at home, selecting the right support structure is just as important as choosing the instrument itself. For a beginner, the ideal piano keyboard table must prioritize structural stability, adequate weight capacity, and flexible height adjustment. These three non-negotiable features ensure that your instrument remains secure and that you can maintain an ergonomic playing posture from day one.
Before making a purchase, you must verify your keyboard’s exact weight, depth, and length. A heavy 88-key digital piano with weighted keys requires a much sturdier foundation than a lightweight 61-key keyboard. Ultimately, the best choice depends on your specific keyboard model, your physical height, and the physical space available in your home. Investing in a dedicated, adjustable stand prevents physical strain and protects your instrument from accidental falls.
Key Specifications to Evaluate Before Buying
To find a piano keyboard table that will safely support your instrument and facilitate comfortable practice sessions, you need to evaluate several critical technical specifications.
Products mentioned in this guide
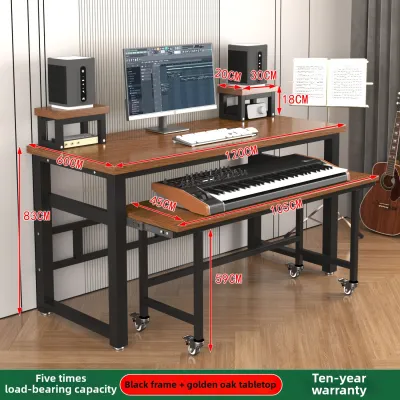
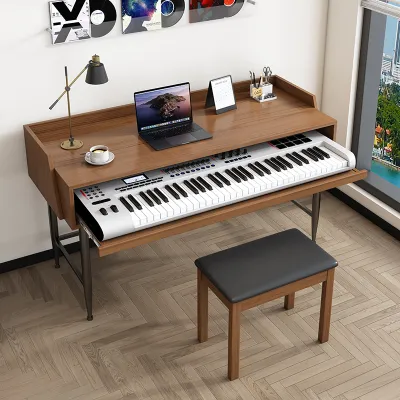
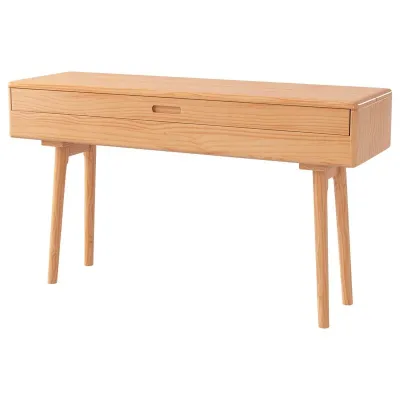
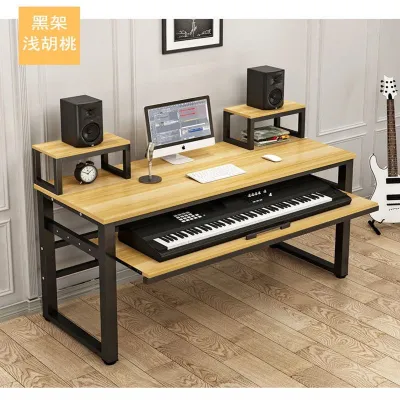
![17vm [In stock]Simple modern piano table Electric Piano Studio worktable music table arranger keyboard tuning table household piano stand F2H6C](https://img.lazcdn.com/g/p/7dbd3aef968890a11e96724edf44bce5.jpg_webp_400x400q80.jpg_.webp)
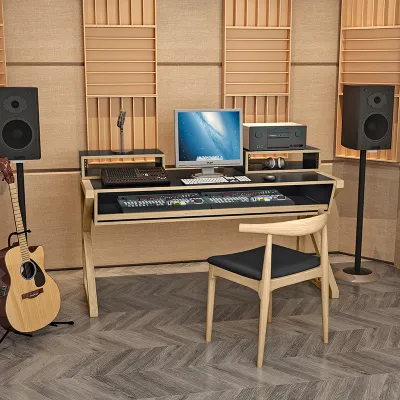
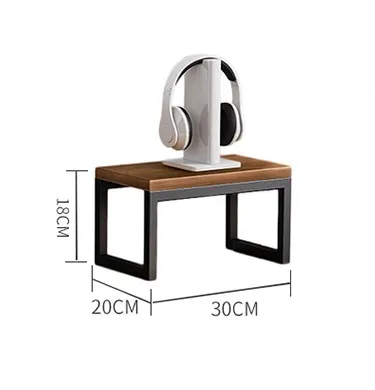
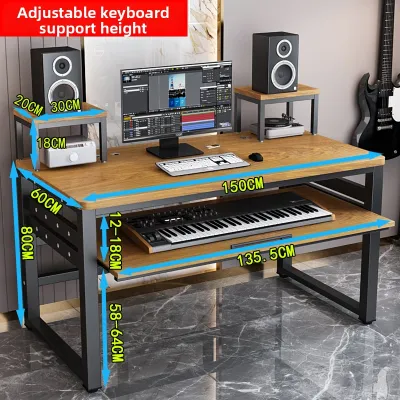
Prices are valid at publication and may change. Please refer to the product page for the latest price.
Weight Capacity and Structural Stability The weight capacity of a stand is a fundamental safety specification. Digital pianos, especially those featuring fully weighted, hammer-action keys, can weigh anywhere from 11 to over 25 kilograms. When you play enthusiastically, you exert additional downward force, which increases the dynamic load on the stand. A table that lacks structural stability will wobble, sway, or flex during active play. This movement is not only distracting but can also cause the stand to collapse over time. Look for stands constructed from heavy-duty steel with reinforced joints and secure locking mechanisms to ensure a wobble-free experience.
Height and Width Adjustability As a beginner, your setup needs to adapt to your physical dimensions and potential future instrument upgrades. A highly adjustable stand allows you to fine-tune the height so that your forearms remain parallel to the floor while playing. Width adjustability is equally important; it ensures the stand can expand or contract to match the length of different instruments, whether you are using a compact 61-key keyboard, a 76-key model, or a full-sized 88-key digital piano. Look for stands that offer discrete, locking adjustment notches or continuous adjustment knobs that secure tightly.
Footprint and Legroom Considerations The physical footprint of the stand determines how much floor space it occupies in your room, which is a vital consideration for compact home environments. However, you must also look at the space underneath the keyboard. Adequate legroom is essential for comfortable, long-term practice. If the stand’s frame features crossbars or support braces that block your knees, you will be forced to sit too far back, leading to back strain. Furthermore, you need unobstructed floor space to place a sustain pedal naturally without having to stretch your leg into an awkward position.
Comparing Common Keyboard Stand Designs
Different stand designs offer distinct structural trade-offs. Understanding these differences will help you choose the right form factor for your home practice space.

X-Frame Stands X-frame stands are among the most common options available on the market. They consist of two metal bars crossed in an “X” shape, which can be folded flat for easy storage and transport.
- Pros: These stands are highly portable, lightweight, and generally very affordable. They are excellent for players who need to pack away their setup after every practice session.
- Cons: The primary drawback of the X-frame design is the lack of legroom. Because the support bars cross directly in the center, they severely limit knee clearance. This forces many players to sit in an ergonomically incorrect position. Additionally, single-braced X-stands can feel unstable under heavy 88-key digital pianos, though double-braced versions offer improved stability.
Z-Frame and Table-Style Stands Z-frame stands feature a “Z” shape on each side, connected by a central crossbar, while table-style stands resemble a traditional four-legged table with adjustable legs.
- Pros: Both designs offer excellent structural stability and exceptional weight capacity, making them the preferred choice for heavy, full-sized digital pianos. Because the support structures are located at the outer edges, these stands provide completely open legroom underneath. This allows you to sit comfortably with proper posture and place your sustain pedal exactly where you need it.
- Cons: These stands are generally heavier, have a larger physical footprint, and are less convenient to fold down and transport. They are best suited for permanent or semi-permanent home setups where the keyboard does not need to be moved frequently.
Column and A-Frame Stands Column stands feature a single vertical column with protruding support arms, while A-frame stands use a wide, triangular frame to support one or more keyboards.
- Pros: These designs offer a modern, sleek aesthetic and are highly popular for multi-keyboard setups, allowing you to stack multiple instruments vertically. They often have a compact base footprint on the floor.
- Cons: Column and A-frame stands typically have stricter weight limits per tier and offer limited width adjustability for standard home digital pianos. They can also feel less stable under heavy, energetic playing compared to a robust Z-frame or table-style stand. For a beginner using a single digital piano, these designs are often unnecessarily complex and less stable than simpler alternatives.
Matching the Stand to Your Keyboard and Space
Before finalizing your purchase, you must ensure that the stand physically matches both your instrument and your living space.
Verify the Keyboard’s Bottom Surface Flip your keyboard over or consult its manual to inspect the bottom surface. Some digital pianos have completely flat bottom surfaces with rubber feet, while others feature molded plastic shapes, battery compartments, or specific screw-thread mounting holes. If your keyboard has dedicated mounting holes, look for a stand that offers matching mounting screws or brackets to lock the instrument securely in place. If the bottom is flat, ensure the stand’s support arms are equipped with high-friction rubber pads or safety straps that can secure the keyboard and prevent it from sliding off.
Measure the Allocated Floor Space Do not rely on visual estimates when planning your home practice area. Measure the exact floor space where you plan to place the setup. Remember to account for the depth of the stand, the space required for your piano bench, and enough clearance for you to sit down and stand up comfortably. Ensure the setup does not block walkways, doorways, or cabinet doors. In compact living spaces, a stand with a smaller footprint or one that can be easily folded and tucked away when not in use may be necessary.
Consider Multi-Tier Add-On Compatibility While you may be starting as a beginner with a single keyboard, your musical needs might grow over time. Some players eventually want to add a second MIDI controller, a synthesizer, or a dedicated laptop shelf to their setup. If you anticipate expanding your gear, check if the keyboard table you are considering is compatible with optional multi-tier add-ons. Choosing an expandable base stand now can save you the expense of buying an entirely new stand system in the future.
Setup, Ergonomics, and Safety Checks
Once you have chosen your piano keyboard table, proper assembly and positioning are crucial to prevent physical strain and protect your equipment from damage.
Determine the Correct Bench and Keyboard Height Achieving a neutral, relaxed posture is essential for developing good playing habits and preventing repetitive strain injuries. Sit on your piano bench with your spine straight and your shoulders completely relaxed. Adjust the height of your stand and bench so that when your hands rest on the keys, your forearms are parallel to the floor, and your elbows are bent at an angle of approximately 90 degrees. Your wrists should remain straight or slightly sloped downward, never bent sharply upward or downward.
Secure All Locking Pins and Screws During assembly, pay close attention to every joint and adjustment point. Ensure that all spring-loaded locking pins are fully engaged in their designated holes and that hand knobs are tightened securely. Check that the non-slip rubber caps on the feet of the stand are positioned correctly to grip the floor, preventing the stand from sliding during use. Before placing your digital piano on the stand, give the frame a gentle shake to verify its stability.
Plan Cable Management A modern home keyboard setup often involves multiple cables, including power adapters, sustain pedal lines, headphone cords, and USB cables connected to a computer or tablet. Loose cables hanging from the keyboard can easily become tripping hazards, which risks pulling the entire setup to the floor. Use cable ties, hook-and-loop straps, or built-in cable clips to secure all wires neatly along the frame of the stand. This keeps your practice area tidy, safe, and free from accidental disconnections.
Frequently Asked Questions (FAQ)
Can I use a regular desk instead of a dedicated keyboard stand?
Standard household desks are typically designed for writing or typing, with a height of around 70 to 75 cm. When you place a digital piano on top of a standard desk, the height of the keys is raised significantly higher, forcing you to raise your shoulders and bend your wrists awkwardly to play. This posture can quickly lead to muscle tension and fatigue. Additionally, standard desks often lack the open legroom and depth required to sit comfortably with a sustain pedal. While you can use a desk temporarily if it is low enough or if you have a highly adjustable chair, a dedicated keyboard stand is highly recommended for proper ergonomic alignment and long-term comfort.
How high should the keyboard be for proper posture?
For proper playing posture, the top of the keyboard’s white keys should be level with your elbows when your upper arms hang naturally from your shoulders. For most adults, this places the keybed at a height of approximately 65 to 72 cm from the floor, depending on your physical height and the height of your bench. To achieve this, you must adjust your stand and bench in tandem. If you experience physical signs of incorrect height—such as shoulder tension, wrist bending, or forearm fatigue—it is a clear indication that your setup needs adjustment. Ensuring your wrists remain in a neutral, straight position is key to building healthy playing habits.

Community discussion
Share your experience or ask a question. Comments are reviewed before publication.