
Integrating an electric drum pad into your DJ setup or live electronic music performance transforms a standard transition-based set into a dynamic, real-time production. Whether you want to trigger vocal chops, layer live percussion over a house beat, or perform intricate finger-drumming routines, adding physical pads introduces a level of human expression that touchscreens and mouse clicks cannot replicate. However, finding the right hardware requires a clear understanding of your performance style, technical workflow, and the physical constraints of the venues where you play.
By focusing on how you interact with the instrument, how it connects to your existing gear, and where you plan to perform, you can narrow down the options to find a tool that enhances your creativity without complicating your workflow. This guide outlines the essential factors to consider when selecting an electric drum pad tailored to your specific performance needs.
Defining Your Live Performance and DJ Mixing Needs
Before evaluating specific hardware features, it is essential to analyze your primary physical interaction with the instrument. Finger drumming is a highly active, rhythmic performance style that demands rapid, expressive feedback from the hardware. If your goal is to play live drum kits, perform complex syncopated beats, or execute rapid rolls, you need a layout with closely spaced, highly sensitive pads that respond to the slightest touch. Conversely, if your workflow centers on triggering pre-recorded loops, launching backing tracks, or dropping occasional sound effects, your physical demands are different. For these tasks, larger, more spaced-out pads with clear visual feedback are often preferred to prevent accidental triggers during a high-energy set.
Products mentioned in this guide
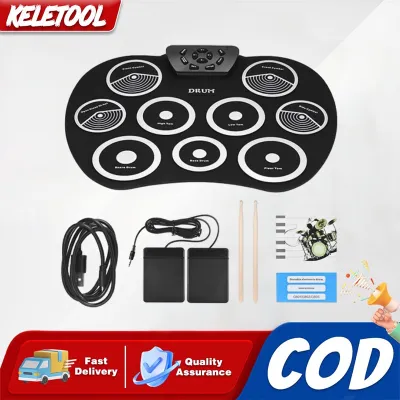
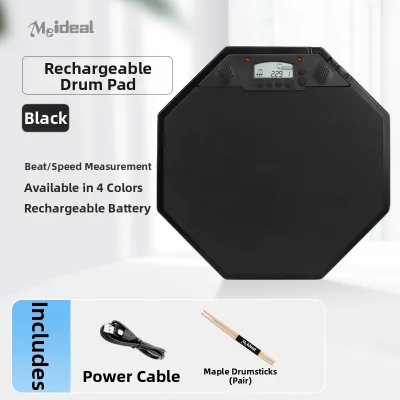
Prices are valid at publication and may change. Please refer to the product page for the latest price.
Portability is another critical factor, especially for performers navigating the bustling nightlife scene in Singapore. Commuting between venues in areas like Clarke Quay, Boat Quay, or Orchard Road often means traveling light. If you frequently gig, a bulky, heavy pad controller can quickly become a logistical burden. Consider how the hardware will fit into a standard backpack or flight case alongside your laptop, headphones, and cables. Lightweight, slim-profile controllers are highly advantageous for mobile setups, whereas heavier, ruggedized units are better suited for permanent studio installations or dedicated live touring rigs where dedicated transport is available.
Finally, map out how the drum pad will integrate with your existing gear. If you are primarily a software-based DJ, your pad will need to communicate seamlessly with platforms like Serato, Rekordbox, or Traktor. This setup relies heavily on USB-MIDI connectivity and software-side configuration. On the other hand, if you perform live electronic music using hardware synthesizers, drum machines, or modular rigs, you will require a controller that can function independently of a computer. This means looking for hardware with traditional 5-pin MIDI ports or CV/Gate outputs to send control signals directly to your external instruments.
Essential Hardware Features for Electronic Music Workflows
The physical construction of the pads dictates how expressive your performance can be. Pad sensitivity refers to how easily a pad registers a strike, while velocity response determines how the volume or timbre of the sound changes based on how hard you hit it. High-quality pads feature customizable velocity curves, allowing you to adjust the hardware’s response to match your playing style. Some advanced pads also offer aftertouch, which detects continuous pressure applied to the pad after the initial strike. This feature is incredibly useful in electronic music for modulating synth filters, adding vibrato, or controlling volume swells in real time.

Understanding the distinction between a pure MIDI controller and a standalone sampler is fundamental to choosing the right gear. A MIDI pad controller does not produce any sound on its own; it simply sends digital control data to a computer or external sound module. This makes MIDI controllers highly customizable and generally more affordable, but they require a connected device to function. A standalone sampler, however, features internal memory, processing power, and audio outputs. It allows you to load, store, and play back audio files directly from the hardware. While standalone units offer greater independence on stage and eliminate the risk of laptop crashes, they are typically more complex to program and carry a higher price point.
Connectivity options determine how easily the pad integrates into a professional audio environment. For software-based performers, a single USB-MIDI connection is often sufficient to handle both power and data. However, live electronic musicians often need to route audio and control signals to multiple destinations. Look for pads that offer dedicated, balanced 1/4-inch audio outputs to ensure a clean, noise-free signal when connecting to a venue’s front-of-house mixer. Additionally, having auxiliary inputs allows you to connect external trigger pads, foot switches, or expression pedals, expanding your physical control options during a live set.
Building a Conditional Shortlist Based on Use Cases
For mobile DJs and performers with limited booth space, a compact pad controller is the most practical choice. These units typically feature a streamlined layout of 8 to 16 pads, a few assignable knobs, and a slim chassis that can easily sit next to a mixer or on top of a media player. Because space in standard DJ booths is incredibly tight, prioritizing a small physical footprint allows you to expand your performance capabilities without cluttering the workspace. These controllers are almost exclusively USB-powered, reducing cable clutter and setup times.
If your workflow bridges the gap between music production in the studio and live performance on stage, you need a more comprehensive hybrid controller. These systems often feature larger pad grids, such as 8×8 arrays, which are ideal for launching clips, sequencing drum patterns, and controlling DAW parameters. They offer deep integration with production software, allowing you to navigate your session, adjust mix levels, and edit parameters directly from the hardware. This setup is perfect for electronic music producers who want to perform their studio tracks live by arranging and mixing stems on the fly.
For performers who want complete independence from laptops, standalone sample manipulation stations are a highly reliable option. These units are designed to be the centerpiece of a live electronic set, offering robust multi-pad layouts, onboard audio recording, and powerful built-in effects processors. They allow you to capture audio inputs in real time, slice samples on the fly, and apply performance effects like filters, delays, and beat repeaters. This workflow is highly engaging for audiences, as they can see and hear you actively manipulating the sound in real time without staring at a computer screen.
Pre-Purchase Verification and Setup Considerations
Before purchasing any electric drum pad, it is crucial to verify its compatibility with your preferred performance software. While almost all modern pads send standard MIDI data, the ease of integration varies significantly. Some controllers offer native, plug-and-play integration with specific DJ software or DAWs, meaning the pads, knobs, and screens are pre-mapped to the software’s functions right out of the box. If a controller does not have native support, you will need to manually map each pad and control element. Verify if the manufacturer provides downloadable MIDI mapping files or if there is an active user community that shares custom templates for your specific software.
Power reliability is a critical consideration for live performances. Many compact controllers rely solely on USB bus power from a connected laptop. While this simplifies cable management, it can introduce risks if your laptop’s USB ports cannot supply stable power, especially when multiple devices are connected. For professional stage use, look for hardware that offers the option of a dedicated external power adapter. Running your controller on its own power supply ensures stable operation, prevents unexpected disconnects, and often allows the pads to glow brighter, which is highly beneficial in dark club environments.
Finally, carefully measure the physical dimensions of the drum pad and compare them to the available space in your typical performance setup. DJ booths in clubs are notoriously cramped, often leaving very little room for extra gear. If you plan to place the pad on a standard DJ table, ensure it can fit alongside two media players and a mixer without blocking access to essential controls. If space is too limited, research mounting options. Many drum pads feature standard mounting holes on the bottom, allowing them to be attached to cymbal stands, laptop stands, or dedicated brackets that can be clamped to the edge of the DJ booth.
Frequently Asked Questions (FAQ)
Can I use an electric drum pad with standard DJ software?
Yes, most professional DJ software platforms allow you to connect external MIDI controllers to trigger internal functions. You can map the pads to control the software’s built-in sampler, trigger hot cues, activate loops, or toggle performance effects. While some controllers offer native integration with specific software, others require manual MIDI mapping. To set this up, open your DJ software’s MIDI settings, select the connected drum pad, and assign each physical pad to the corresponding software command.
Do I need built-in audio outputs for live gigs?
Whether you need built-in audio outputs depends entirely on whether your drum pad generates its own sound. If you are using a MIDI-only controller, the unit does not process audio; it simply sends control data to your laptop, which outputs the sound through your DJ controller or audio interface. In this case, the pad does not need audio outputs. However, if you are using a standalone sampler or drum machine that stores and plays audio files internally, you will need dedicated audio outputs to route the sound directly into your DJ mixer or the venue’s sound system.
How do I map custom samples to the pads?
The process for mapping custom samples depends on your hardware and software setup. If you are using a MIDI controller with a laptop, you must first load your custom audio files into your software’s sampler or DAW drum rack. Once the samples are loaded, you assign each sample slot to a specific MIDI note that corresponds to a physical pad on your controller. For standalone drum pads, you typically transfer your custom samples to an SD card or USB drive, insert it into the hardware, import the files into the unit’s internal memory, and use the onboard interface to assign each sound to a specific pad.

Community discussion
Share your experience or ask a question. Comments are reviewed before publication.