
Choosing the correct strap for a Taylor acoustic guitar requires more than just picking a favorite color or pattern. Because most Taylor models are designed with a specific hardware configuration—typically a single strap button on the bottom bout—players must carefully evaluate how the top end of the strap will attach to the instrument. This guide helps you diagnose your guitar’s current setup, select the safest attachment method, and choose a strap material that protects your instrument’s finish while providing long-lasting comfort.
Diagnosing Your Taylor's Strap Button Setup
Most Taylor acoustic guitars feature a factory-installed strap button at the base of the bottom bout. On acoustic-electric models, this button is integrated with the 1/4-inch output jack, which serves as the connection point for your amplifier or audio interface. Knowing whether your guitar has this dual-purpose end-pin jack is the first step in selecting a compatible strap.
Next, inspect the heel of the neck to see if a secondary strap button is present. Many Taylor models ship from the factory with only the bottom button installed, leaving the player to decide how to secure the neck side of the strap. Look closely at the treble side of the neck heel to determine if a previous owner or a luthier has already added a secondary button to your instrument.
Products mentioned in this guide
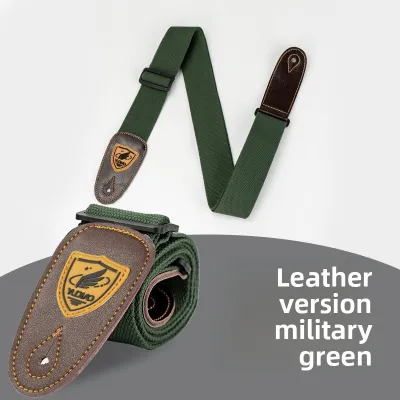
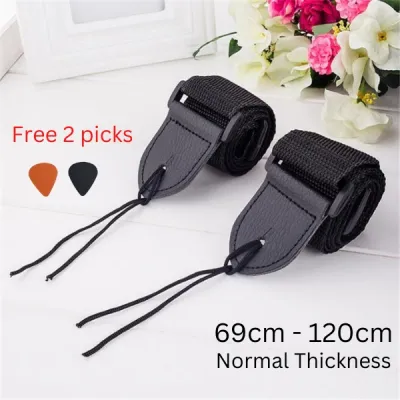
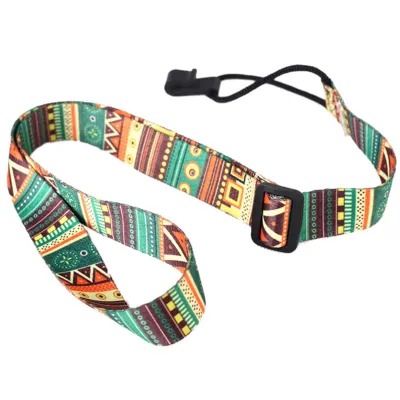
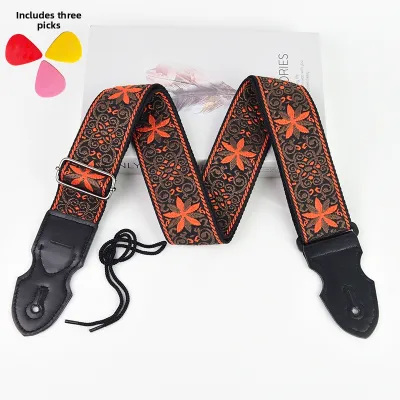
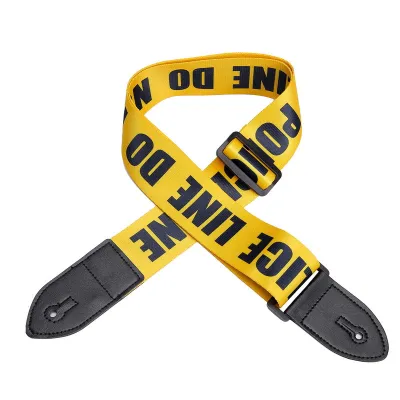
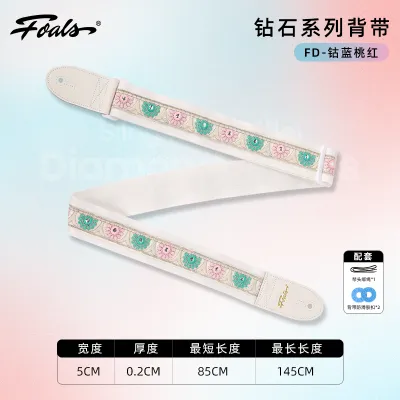
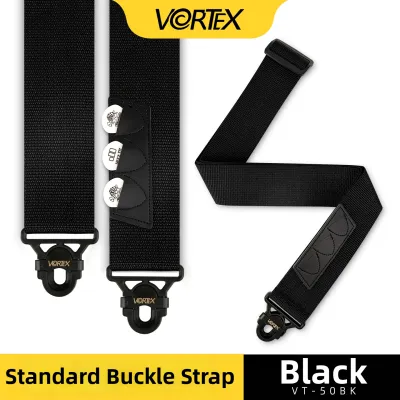

Prices are valid at publication and may change. Please refer to the product page for the latest price.
Before making any modifications, verify your guitar’s original specifications. Some limited editions or specific body shapes may have unique hardware configurations. Understanding your instrument’s exact setup ensures you do not purchase unnecessary accessories or attempt modifications that could compromise the guitar’s structural integrity.
Solving the Top Attachment: Headstock Ties vs. Adapters
If your Taylor guitar only has a bottom strap button, you must choose a secure method to attach the top of the strap. The most traditional, non-invasive option is a headstock tie. These ties are typically made of leather, suede, or woven cord, looping underneath the strings just past the nut and attaching directly to the front hole of your guitar strap. This method preserves the original structure of your guitar and is completely reversible.

Strap adapters offer a modern, highly convenient variation of the traditional headstock tie. These quick-release loops wrap around the headstock under the strings and feature a secure buckle or clip that connects directly to the strap. This design allows you to quickly detach the strap for storage in a tight-fitting hard case without having to untie or unthread the connector every time you pack up your instrument.
Alternatively, you can choose to have a secondary strap button installed on the neck heel for a more balanced, modern playing feel. However, drilling into the heel of a Taylor guitar carries structural risks due to the patented NT neck joint design, which utilizes internal bolts. If you prefer this setup, professional installation by an authorized service center or a qualified luthier is highly recommended to avoid hitting internal hardware or splitting the wood.
Matching Strap Material and Width to Your Playing Style
The physical design of your strap directly impacts your physical comfort and the safety of your instrument’s finish. Taylor acoustic guitars vary in weight depending on the body shape—such as a compact Grand Concert versus a larger Grand Orchestra—and the density of the tonewoods used. A wider strap, typically around 2.5 to 3 inches, helps distribute the weight of heavier models across your shoulder, reducing fatigue during long practice sessions.
Material selection is equally critical for protecting your guitar’s finish. Taylor uses different finishes across its model lines, including high-gloss UV-cured finishes and thin satin or matte finishes. Avoid cheap synthetic straps with rough plastic adjusters or metal buckles that can easily scratch the wood. Additionally, some low-grade vinyl or synthetic materials can chemically react with certain guitar finishes over time, leaving permanent marks or softening the lacquer.
For optimal grip and comfort, consider padded leather or suede-backed straps. Suede provides natural friction against your clothing, which helps prevent “neck dive”—a common issue where the headstock of the guitar pulls downward when you let go of the neck. In humid tropical climates like Singapore, leather and suede straps require regular airing out after use to prevent mold growth and moisture transfer to the guitar’s wood.
Navigating End-Pin Jacks on Electro-Acoustic Models
If your Taylor is an electro-acoustic model, it likely features an Expression System (such as the ES2) or an older ES-T system. On these models, the bottom strap button doubles as the 1/4-inch audio output jack. This dual-purpose hardware has a wider diameter and a shallower flange than a standard, non-electric strap button, which presents a unique challenge when fitting a standard guitar strap.
Standard strap holes are often too small or too stiff to slip securely over the wide collar of an end-pin jack. Forcing a thick leather strap onto the jack can put unnecessary leverage on the internal electronics housing, potentially loosening the jack over time or causing connection issues. Conversely, if you stretch the strap hole too much to make it fit, it may become loose and slip off unexpectedly during play.
To solve this, look for straps specifically designed with larger, more flexible end-holes, or use a dedicated acoustic strap adapter designed for end-pin jacks. These adapters clip securely onto the wide jack flange and provide a standard-sized button for your strap to attach to, ensuring a secure fit without putting physical stress on your guitar’s electronics.
Step-by-Step: Securing and Adjusting Your Strap Safely
To attach a headstock tie safely, slide the thin loop or cord underneath the strings on the headstock side of the nut. Ensure the tie sits flat against the wood and is positioned entirely behind the nut, so it does not interfere with the vibration of the open strings. Thread the tie through the front hole of your strap and secure it tightly, checking that it does not press down on the strings or mute them.
Next, attach the bottom end of the strap to the bottom button or end-pin jack. If you are using a standard strap without an adapter, gently work the leather hole over the button. Verify that the slit in the leather closes snugly around the narrow neck of the button. Give the strap a gentle tug to ensure it is locked in place and cannot slip off under the weight of the guitar.
Finally, adjust the length of the strap using the buckle or slider. The ideal strap height should allow you to maintain a comfortable wrist angle in both standing and seated positions. Adjusting the strap so the guitar sits at a similar height when standing as it does when resting on your lap helps maintain consistent fretting hand technique and prevents wrist strain.
Frequently Asked Questions (FAQ)
Can I install a second strap button on my Taylor guitar myself?
It is highly recommended to avoid DIY installation of a secondary strap button on a Taylor guitar. Taylor necks use a specific bolt-on design (the NT neck joint) with internal hardware inside the heel. Drilling in the wrong spot can permanently damage the neck joint, hit an internal bolt, or split the wood. To protect your investment and maintain your warranty, have a qualified luthier or an authorized service center perform this modification.
Will a headstock tie affect my guitar's tuning or intonation?
A properly installed headstock tie will not affect your guitar’s tuning or intonation. The key is to place the tie above the nut and beneath the strings, ensuring it does not exert downward or sideways pressure on the strings themselves. If the tie is wrapped too tightly or placed directly over the strings, it can cause binding at the nut, leading to tuning instability when you play.
What is the safest way to clean a leather or suede guitar strap?
To clean a leather or suede strap safely, start by wiping away surface dust and sweat with a dry or slightly damp microfiber cloth. Avoid using harsh household detergents or soaking the strap in water, as this can dry out the leather or ruin the texture of the suede. Always check the manufacturer’s care label before applying any specialized leather conditioners or suede cleaners to ensure compatibility.

Community discussion
Share your experience or ask a question. Comments are reviewed before publication.