
To apply and remove piano key labels safely, you must match the label adhesive to your keyboard’s specific keycap material, clean the keys thoroughly before application, and use gentle, controlled heat with non-abrasive tools during removal. Taking these precautions prevents permanent scratches, chemical clouding, and sticky residue on your instrument. Whether you are a beginner learning note positions or a teacher preparing a keyboard for students, maintaining the physical integrity of your keys ensures the instrument retains its playability and resale value.
Preparing Your Keyboard and Choosing the Right Labels
Identify the material of your keyboard keys before purchasing any labels. Most modern electronic keyboards and digital pianos feature keycaps made of Acrylonitrile Butadiene Styrene (ABS) plastic, while some premium models use acrylic or specialized synthetic ivory coatings. Check your instrument’s official user manual or manufacturer specifications to confirm the exact material, as certain plastics react poorly to strong adhesives or chemical cleaners. If you are working with an older acoustic piano that features genuine ivory keys, avoid adhesive labels entirely, as the porous organic material can permanently absorb adhesives, leading to deep staining and irreversible damage.
Selecting the right label type is crucial for protecting these materials.
Products mentioned in this guide
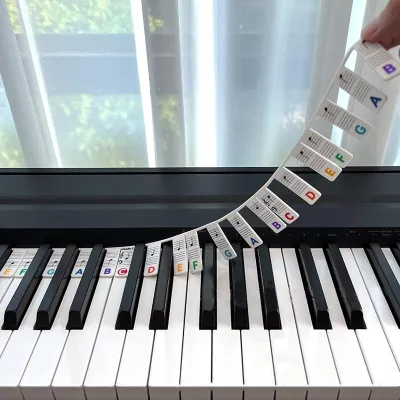
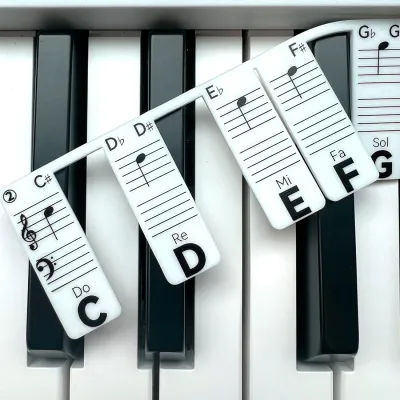
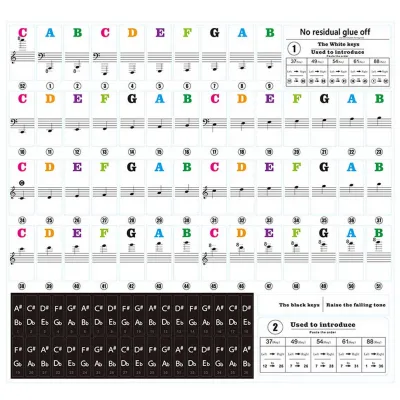
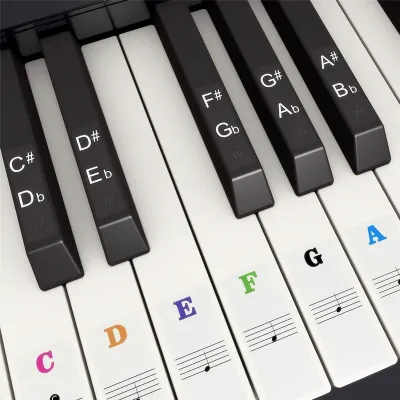
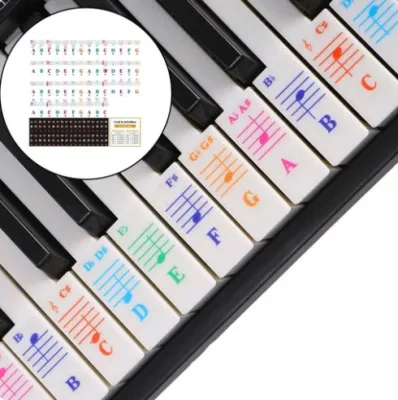
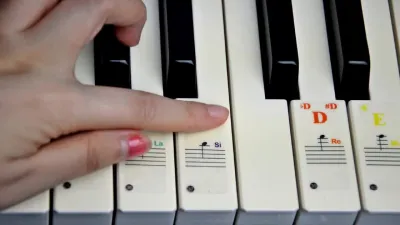
![TMW ABC 123 Piano Stickers for Universal 61 73 76 88 Keys Keyboards Sticker Digital Piano Music Note Transparent Removable Full Set Keyboard Absolute Piano The Music Works Store MA2 [BULKY]](https://img.lazcdn.com/g/p/d6521082e9a82ea48d8fcdea8de267d4.jpg_400x400q80.jpg_.webp)
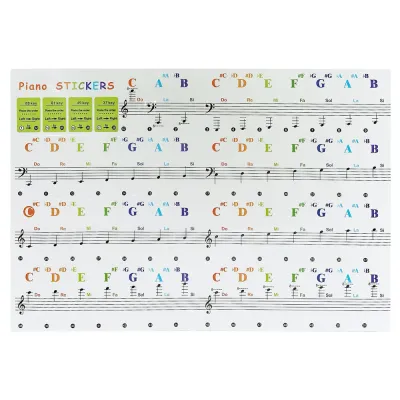
Prices are valid at publication and may change. Please refer to the product page for the latest price.
- Silicone strips: These are completely adhesive-free, resting snugly over the keys and behind the fallboard, making them the safest option for high-value instruments.
- Transparent vinyl stickers: These use a low-tack adhesive that offers a low profile and clear visibility, though they require careful removal to avoid leaving residue over time.
- Paper stickers: These often feature stronger, permanent adhesives that can degrade, tear during removal, and trap moisture, making them less suitable for long-term use on delicate keycaps.
Before applying any label, you must clean the key surfaces to ensure proper adhesion and prevent trapping abrasive dust particles. Wipe down each key with a dry, lint-free microfiber cloth to remove surface dust and finger oils. If the keys require deeper cleaning, use a slightly damp cloth with water only, ensuring no moisture drips between the keys, and let the keyboard dry completely before proceeding. Avoid using household glass cleaners, kitchen sprays, or abrasive scrubbing pads, as these can strip away the protective UV coatings applied to modern keycaps.
Step-by-Step Guide to Applying Piano Key Labels
To achieve a clean, professional look and prevent peeling, gather the necessary tools before you begin. You will need a pair of fine-tipped tweezers to handle the labels without transferring oils from your fingers, a clean microfiber cloth, and a soft plastic squeegee or a clean plastic card wrapped in a thin cloth. Having these tools ready allows you to work methodically and avoids the need to touch the adhesive backing with your bare hands.

Start the application process by aligning each label precisely on the keycap. Position the label away from the primary striking zone—the lower half of the key where your fingers make the most contact—to minimize wear and tactile distraction. Placing the labels near the top of the keys, close to the fallboard or control panel, keeps them highly visible while protecting them from the constant friction of active playing.
Once aligned, lower the label gently onto the key using your tweezers. Press down firmly starting from the center of the label and slide your squeegee or cloth-covered card outward toward the edges. This technique pushes out trapped air pockets and prevents the edges from curling up, which can catch on your fingers during play. Work slowly, applying one octave at a time, and double-check your note alignment against a standard keyboard diagram to avoid layout mistakes.
After applying the labels across the desired octave range, test the physical action of each key. Press the keys down fully to verify that the labels do not rub against adjacent keys or interfere with the key travel and bottoming-out mechanism. If you feel any friction or resistance, peel the misaligned label off immediately and reposition it. Ensuring a flat, seamless fit prevents the labels from lifting at the corners and collecting dust over time.
How to Safely Remove Key Labels Without Leaving Residue
Removing old labels requires patience to avoid scratching the keycaps or stripping away their original finish. Begin by evaluating how long the labels have been on the keyboard and what material they are made of. Older vinyl or paper labels that have been exposed to heat and humidity over several years—especially in warm, tropical climates—will have more brittle adhesives, requiring a slower, more deliberate removal process. Understanding the age of the adhesive helps you gauge how much care is needed to lift the label without tearing it.
To ease the removal of stubborn adhesives, you can use gentle, controlled heat to soften the bond. Set a household hairdryer to its lowest, coolest setting and hold it at least fifteen centimeters away from the keys, moving it constantly. Never concentrate heat on a single spot, as excessive temperatures can easily warp plastic keycaps, damage the internal key switches, or melt delicate membrane contacts. Keep your free hand near the keys to monitor the temperature; if the plastic feels hot to your touch, turn off the heat immediately.
Once the adhesive is slightly warmed, begin peeling the label from one corner. Use your fingernail or a soft plastic prying tool, such as a guitar pick or a plastic card, to lift the edge. Avoid metal scrapers, razor blades, or kitchen knives, as these hard tools will permanently gouge the plastic and ruin the smooth texture of your keys. Pull the label back slowly at a shallow angle, keeping it almost flat against the key surface to minimize upward tension on the keycap.
Pay close attention to the key surface as you peel. If you notice the keycap’s original paint, UV coating, or plastic material lifting, discoloring, or showing signs of structural weakness, stop the process immediately. In such cases, consult your keyboard manufacturer or a professional instrument technician before proceeding further to prevent irreversible damage. Taking a cautious approach ensures that a simple label removal does not turn into an expensive key replacement project.
Cleaning Residual Adhesive and Restoring the Key Surface
After removing the physical labels, you may find a sticky layer of residual adhesive left behind on the keys. To clean this off safely, consult your keyboard manufacturer’s care instructions to identify approved cleaning agents. While mild soapy water is generally the safest starting point, some manufacturers explicitly forbid the use of chemical solvents or specialized adhesive removers on their specific plastic blends. Using unapproved chemicals can permanently dissolve ABS plastic, leaving the keys sticky, dull, or structurally compromised.
Before applying any cleaning agent to the visible playing surface, perform a mandatory patch test. Apply a tiny drop of the chosen solution to an inconspicuous area, such as the underside of the lowest key or a hidden edge of the casing. Wait a few minutes and wipe it off to check for any adverse chemical reactions, such as clouding, melting, or loss of gloss. If the test area remains clean and undamaged, you can proceed to clean the rest of the keys with confidence.
When applying the cleaning solution, use a lint-free microfiber cloth or a cotton swab to target the sticky residue directly. Dampen the cloth or swab slightly; it should never be dripping wet. Gently rub the residue in a circular motion, taking extreme care to prevent any liquid from seeping down the sides of the keys into the sensitive electronic switches or contact membranes below. Moisture entering the internal keybed can cause short circuits, corrosion, and unresponsive keys.
Once the adhesive residue is completely gone, wipe the keys down with a clean, dry microfiber cloth to remove any remaining cleaning agent. Allow the keyboard to air-dry completely in a well-ventilated room before plugging it in or playing. This final step ensures the keycaps are clean, dry, and comfortable for your next practice session, restoring the instrument to its original, pristine condition.
Frequently Asked Questions (FAQ)
Can I use rubbing alcohol to remove label residue from piano keys?
Using rubbing alcohol (isopropyl alcohol) to remove adhesive residue is highly risky and depends entirely on your keyboard’s specific plastic formulation and surface coatings. Many manufacturers use ABS plastic or apply protective UV coatings that can dissolve, cloud, or crack when exposed to alcohol. Before using any alcohol-based solution, verify your keyboard’s official cleaning guidelines. If the manufacturer permits it, always perform a patch test on a single, less visible key first to observe for any clouding, stickiness, or paint removal before treating the rest of the keyboard.
Are silicone keyboard covers a better alternative to adhesive key labels?
Silicone keyboard notes and covers offer an excellent, residue-free alternative to adhesive labels, especially for temporary learning and dust protection. Because they rest on top of the keys without glue, they eliminate the risk of surface damage and can be removed instantly when practicing ear training. However, they can slightly alter key travel and tactile feedback, and some thicker designs may interfere with the clearance of a closing key cover or fallboard. When choosing between them, consider whether you prefer a completely clean removal process or the low-profile, zero-interference feel of thin vinyl labels.

Community discussion
Share your experience or ask a question. Comments are reviewed before publication.