
Applying piano key labels correctly requires a balance of surface preparation, precise alignment, and the selection of non-damaging materials. While these visual aids are highly effective for beginners learning note positions, improper application can lead to permanent adhesive residue, scratched keytops, or damaged key finishes. By choosing low-tack or static-cling labels and following a methodical application process, you can safeguard your instrument’s keys—whether they are made of modern polished acrylic, textured synthetic ivory, or traditional materials—while accelerating your musical learning journey.
Preparing Your Keyboard and Materials
Before peeling a single label, preparing both your workspace and the keyboard surface is essential. Any dust, skin oils, or microscopic debris trapped beneath a label will prevent proper adhesion, create unsightly air bubbles, and potentially scratch the key surface over time. In Singapore’s warm and humid climate, moisture and oils can degrade adhesives faster, making thorough preparation even more critical to prevent a sticky residue buildup.
Begin by cleaning the keys. Use a high-quality, dry microfiber cloth to wipe away loose dust. If the keys have visible smudges or oil buildup, slightly dampen the microfiber cloth with clean water. The cloth must be barely damp, not wet; excess moisture can easily seep into the narrow gaps between the keys, potentially damaging the delicate electronic sensors or wooden key sticks underneath. Never use harsh household detergents, alcohol-based wipes, or abrasive pads, as these can strip the protective gloss or texture from your keytops.
Products mentioned in this guide
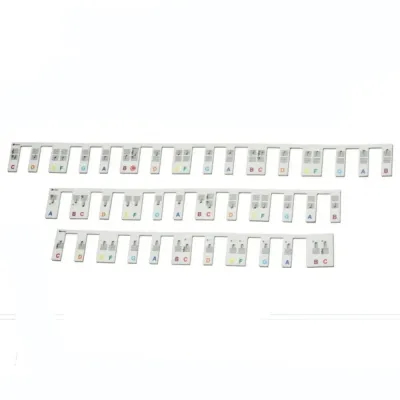
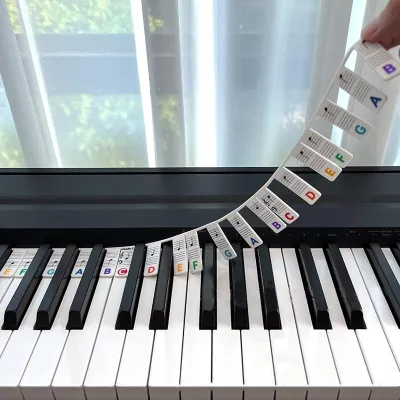
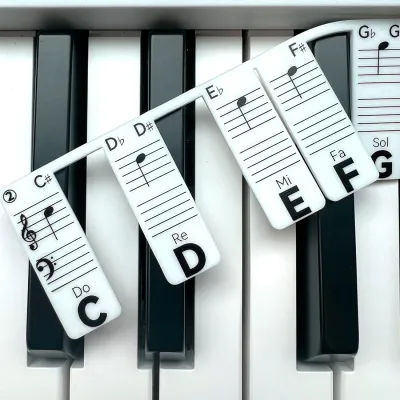
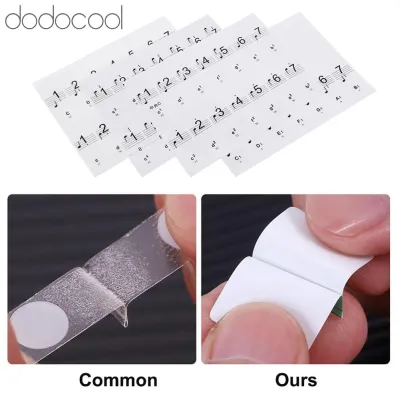
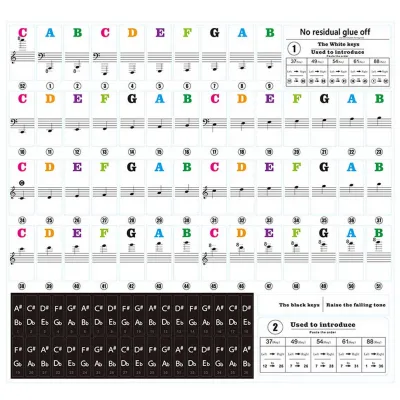
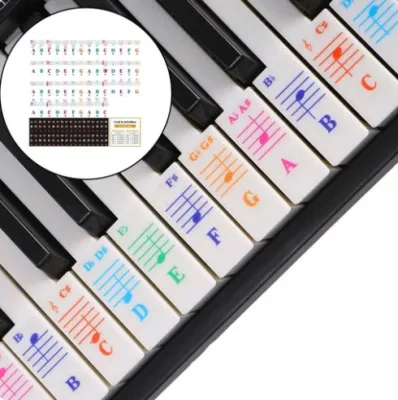
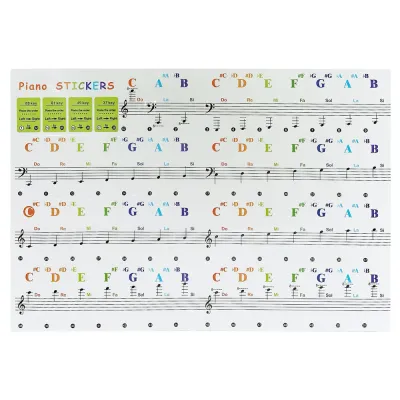
Prices are valid at publication and may change. Please refer to the product page for the latest price.
Next, verify the suitability of your label materials. Avoid cheap paper stickers with permanent adhesives. Instead, prioritize labels made of static-cling vinyl or those utilizing low-tack, removable adhesives specifically formulated for musical instruments. These materials are designed to hold securely under the friction of playing while releasing cleanly when it is time to remove them.
Finally, gather your precision tools. Having the right tools on hand prevents the need to touch the adhesive backing with your fingers. You will need a pair of clean tweezers to hold and position the labels, a soft plastic squeegee or a clean, lint-free cloth wrapped around a plastic card to smooth out bubbles, and a bright, adjustable desk lamp to ensure you can see the alignment clearly.
Step-by-Step Guide to Applying Key Labels
Applying piano key labels is a task that rewards patience and precision. To ensure a clean, uniform look across your entire keyboard, you must establish a clear reference point before placing the first sticker.

Start by identifying Middle C (C4 on a standard 88-key piano). This serves as your primary anchor. If you are working with a smaller keyboard, such as a 61-key or 76-key model, locate the central C key by referencing your instrument’s user manual or counting the octave patterns. Aligning your first label perfectly on Middle C establishes the height and horizontal alignment for all subsequent labels, ensuring a neat, professional appearance across the keyboard.
When you are ready to apply a label, use your tweezers to gently peel it from its backing sheet. Avoid touching the adhesive side of the label with your bare fingers. The natural oils on your skin can degrade the low-tack adhesive, leading to peeling edges and reduced longevity. Hold the label securely by its top edge with the tweezers, allowing you to position it over the key with an unobstructed view.
Hover the label slightly above the key surface to check its alignment. For white keys, the label is typically placed near the top of the key (closest to the fallboard) so it remains visible while playing without being constantly rubbed by your fingertips. Once aligned, gently lower the bottom edge of the label onto the key first, then slowly roll the rest of the label upward.
Immediately after placing the label, use your soft plastic squeegee or a cloth-wrapped card to smooth it down. Work from the center of the label outward to the edges. This motion expels any trapped air, preventing the formation of unsightly air bubbles that can lift the label over time. If you notice a bubble or misalignment, do not peel the label off quickly; instead, lift it slowly and gently with the tweezers and reapply.
Applying labels to black keys requires extra care. Black keys have a much narrower surface area and often feature a matte or textured finish that behaves differently with adhesives. Ensure the labels designed for black keys are centered precisely on the flat top surface, avoiding the sloped sides. Use light, even pressure to secure them, as excessive force on the narrow keys can strain the key action.
Common Mistakes and How to Avoid Them
Many keyboard owners inadvertently damage their instruments by using improper materials or rushed techniques. Understanding these common pitfalls is the best way to protect your piano’s appearance and resale value.
The most damaging mistake is using non-specialized adhesives. Standard office stickers, masking tape, packing tape, or standard transparent tape are formulated for paper or cardboard, not delicate instrument keytops. The high-tack adhesives in these household tapes can chemically react with the plastic or acrylic of your keys, causing permanent clouding, yellowing, or a sticky residue that is incredibly difficult to remove without scratching the surface.
Another frequent error is spraying liquid cleaners directly onto the keyboard. Whether you are prepping the keys or trying to clean up after a messy application, spraying liquids directly onto the keybed is highly risky. Liquid can run down the sides of the keys, reaching the metal guide pins, felt bushings, and electronic contact boards. This can lead to sticky keys, corrosion, or complete electronic failure. Always apply any cleaning liquid to your microfiber cloth first, ensuring it is only damp before touching the keys.
Additionally, avoid the temptation to forcefully rip off a misaligned label. If a label is crooked, pulling it off rapidly can create high tension that may lift the delicate surface coating of the key, especially on older digital pianos or acoustic pianos with synthetic ivory overlays. Always peel slowly, maintaining a low angle close to the key surface to minimize stress on the material.
Safe Removal and Residue Cleanup
When your sight-reading skills improve and you no longer need the visual guides, removing the labels safely is just as important as applying them correctly. A rushed removal can leave behind stubborn adhesive patches or damage the keytops.
To remove a label safely, start at one corner using your fingernail or a soft plastic edge—never use metal blades, knives, or sharp tweezers directly on the key surface, as these will leave permanent scratches. Once you have lifted a small corner, peel the label back slowly at a sharp angle, keeping it as close to 180 degrees against the key surface as possible. This technique minimizes upward pulling force, reducing the risk of straining the key mechanism or lifting the keytop coating.
If the labels have been on the keyboard for an extended period, they may leave behind a faint adhesive residue. Before reaching for strong chemical solvents, check your keyboard manufacturer’s manual for approved cleaning agents. Many manufacturers explicitly warn against using acetone, nail polish remover, or alcohol, as these chemicals can melt or cloud plastic keys.
Instead, test a very mild, specialized adhesive remover or a drop of mild dish soap diluted in warm water on an inconspicuous area first, such as the side of the lowest or highest key on the keyboard. Apply a tiny amount to a microfiber cloth, gently rub the residue in a circular motion, and immediately wipe the area dry with a clean section of the cloth.
If you notice any signs of the key coating lifting, clouding, or changing texture during the removal process, stop immediately. Do not attempt to scrape or chemically strip the remaining adhesive. At this point, it is best to consult a qualified piano technician or contact the instrument manufacturer’s service center to prevent further cosmetic or structural damage.
Alternatives to Adhesive Key Labels
If you are hesitant about applying any adhesive materials to your keyboard, or if you own a high-end digital or acoustic piano and want to preserve its pristine condition, several excellent non-adhesive alternatives are available.
Silicone keyboard notes strips are a highly popular alternative. These flexible, pre-printed strips lay flat across the top of the keys without any adhesive. They are held in place by gravity and the natural contours of the keyboard. Before purchasing, verify the exact dimensions of your keyboard, as these strips are typically designed for standard 88-key pianos and may not fit non-standard key widths or smaller controller keyboards. They can be placed and removed in seconds, making them perfect for shared instruments.
Another option is static-cling key guides. Unlike adhesive stickers, static-cling labels rely entirely on surface tension to adhere to smooth surfaces. They leave absolutely zero residue and can be peeled off and repositioned indefinitely. However, they require a highly polished, smooth key surface to cling effectively, meaning they may not adhere well to textured synthetic ivory keys.
Ultimately, the most sustainable path to keyboard navigation is transitioning to traditional learning methods. You can combine temporary visual aids with muscle memory exercises, finger-placement guides, and structured method books. By gradually reducing your reliance on visual labels and focusing on the relationship between the sheet music and the physical feel of the black and white key patterns, you will naturally develop the spatial awareness needed to play fluently without any on-key guides.
Frequently Asked Questions (FAQ)
Will piano key labels affect the touch or weight of the keys?
Ultra-thin, high-quality piano key labels generally have a negligible effect on the physical touch or weight of the keys. Because they weigh a fraction of a gram, they will not alter the key resistance or return speed, whether you are playing on a lightweight synth-action keyboard or a fully weighted hammer-action digital piano. However, some players may notice a slight tactile difference under their fingertips if the labels are placed too low on the keys where the fingers make frequent contact. To maintain a consistent feel, place the labels near the top of the keys and ensure they are smoothed down completely flat. Additionally, check your keyboard manufacturer’s warranty guidelines, as some high-end brands may have specific recommendations regarding surface modifications.
Can I use standard office stickers on my piano keys?
Using standard office stickers, color-coding dots, or household masking tape on piano keys is highly discouraged. These products use permanent or high-tack adhesives that are not designed for clean removal from plastic or acrylic surfaces. Over time, the adhesive can undergo a chemical reaction with the key material, leading to permanent discoloration, cloudiness, or a sticky residue that attracts dirt and is difficult to clean. Furthermore, standard paper office stickers degrade rapidly under the friction of playing, leading to peeling edges, tearing, and smudged ink that can stain your fingers and the surrounding keys. Always use labels specifically manufactured and marketed as safe, low-tack, or static-cling accessories for musical instruments.

Community discussion
Share your experience or ask a question. Comments are reviewed before publication.